39
SS-P Models
USER GUIDE
INSTALLATION
SMART-SENSOR
™
2004 – 2014 Reliable Controls
®
Corporation. All rights reserved.
SS-P MODELS
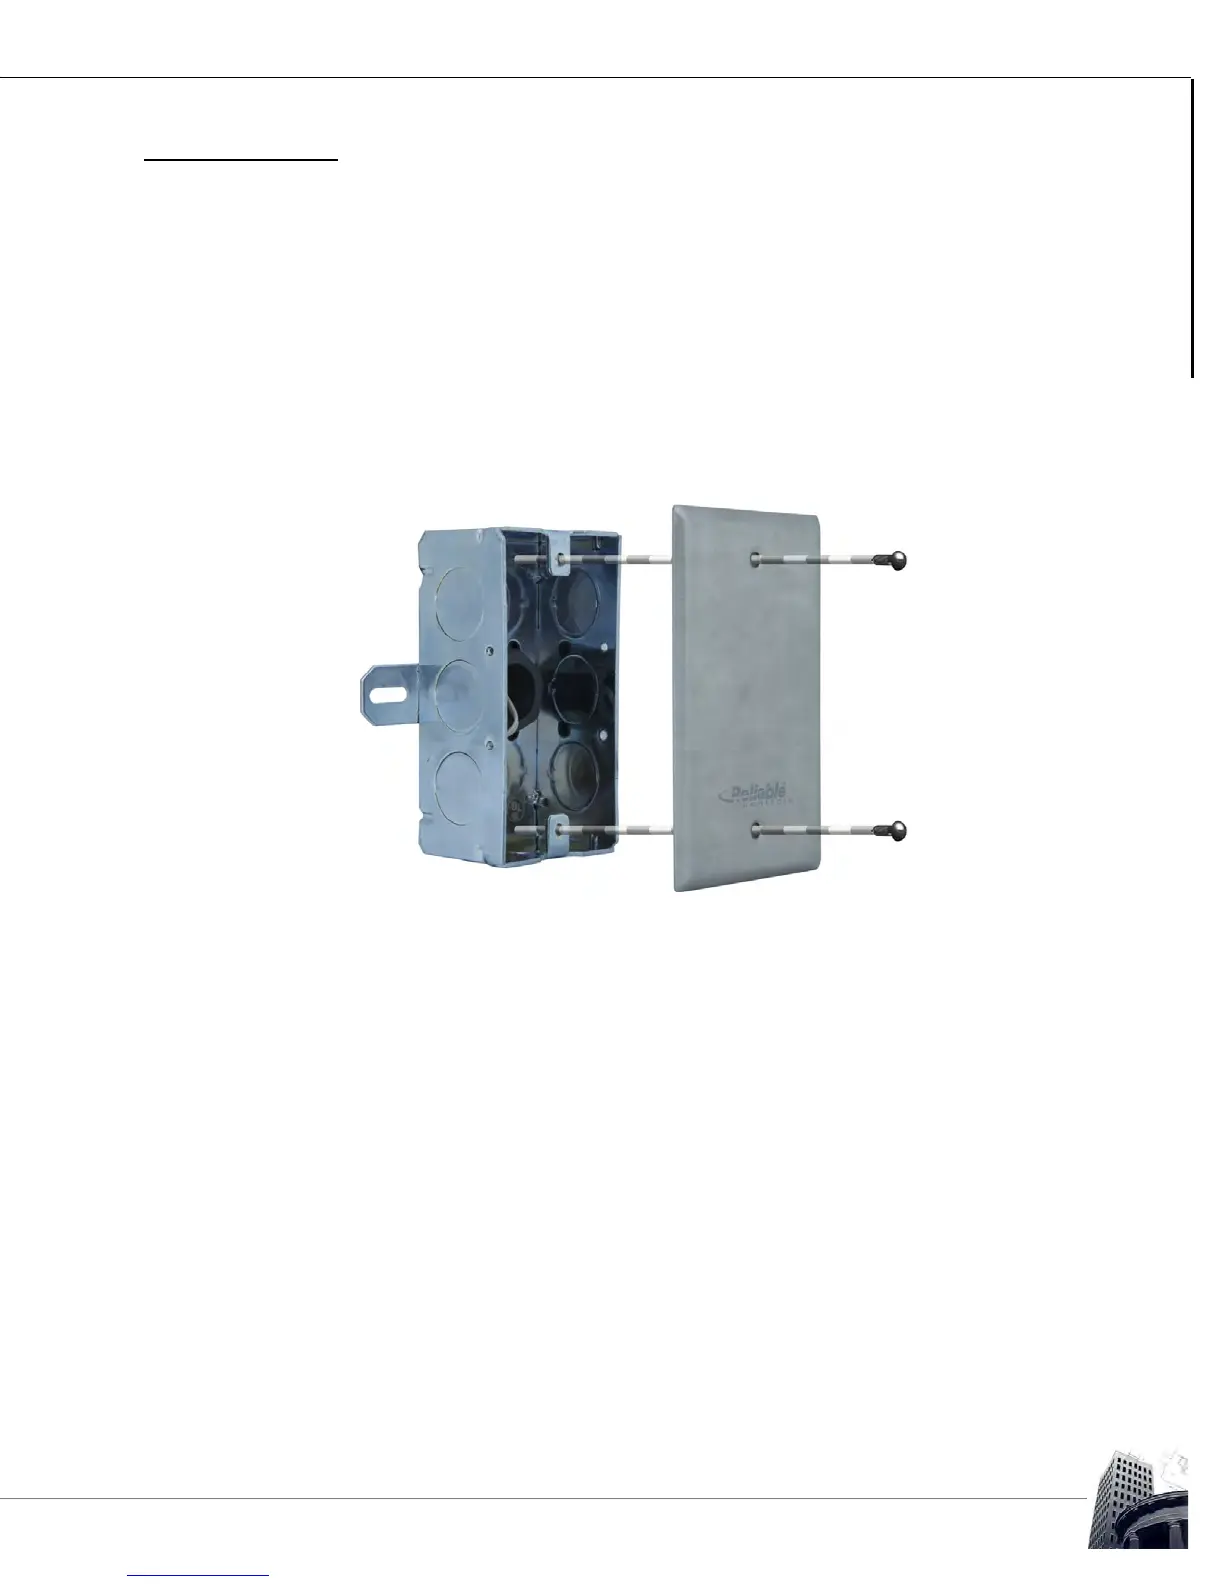
TO MOUNT THE SS-P MODEL
1 The Stainless Plate temperature sensor is mounted on the back of a 1 Gang
stainless steel plate. The foam pad will insulate the sensor from any drafts in the
wall. There are two machine screws (6/32" x 1") provided for junction box
mounting.
2 Insert (2) screws through the mounting holes and tighten them until the unit is
held firmly in place. Ensure that the sensor is not mounted on an outside wall to
avoid extreme temperature changes from drafts or heat transfer.
FIGURE 34: MOUNTING AN SS-P
TO TERMINATE THE CABLING FOR THE SS-P MODEL
1
Terminate the SMART-Net
™
communication cable conductors to the SS-P using
the 4-pole terminal strip.