35
Introduction Playing Sounds Editing Sounds
Other Convenient
Functions
Connecting Other
Equipment
Appendix
Quick Guide
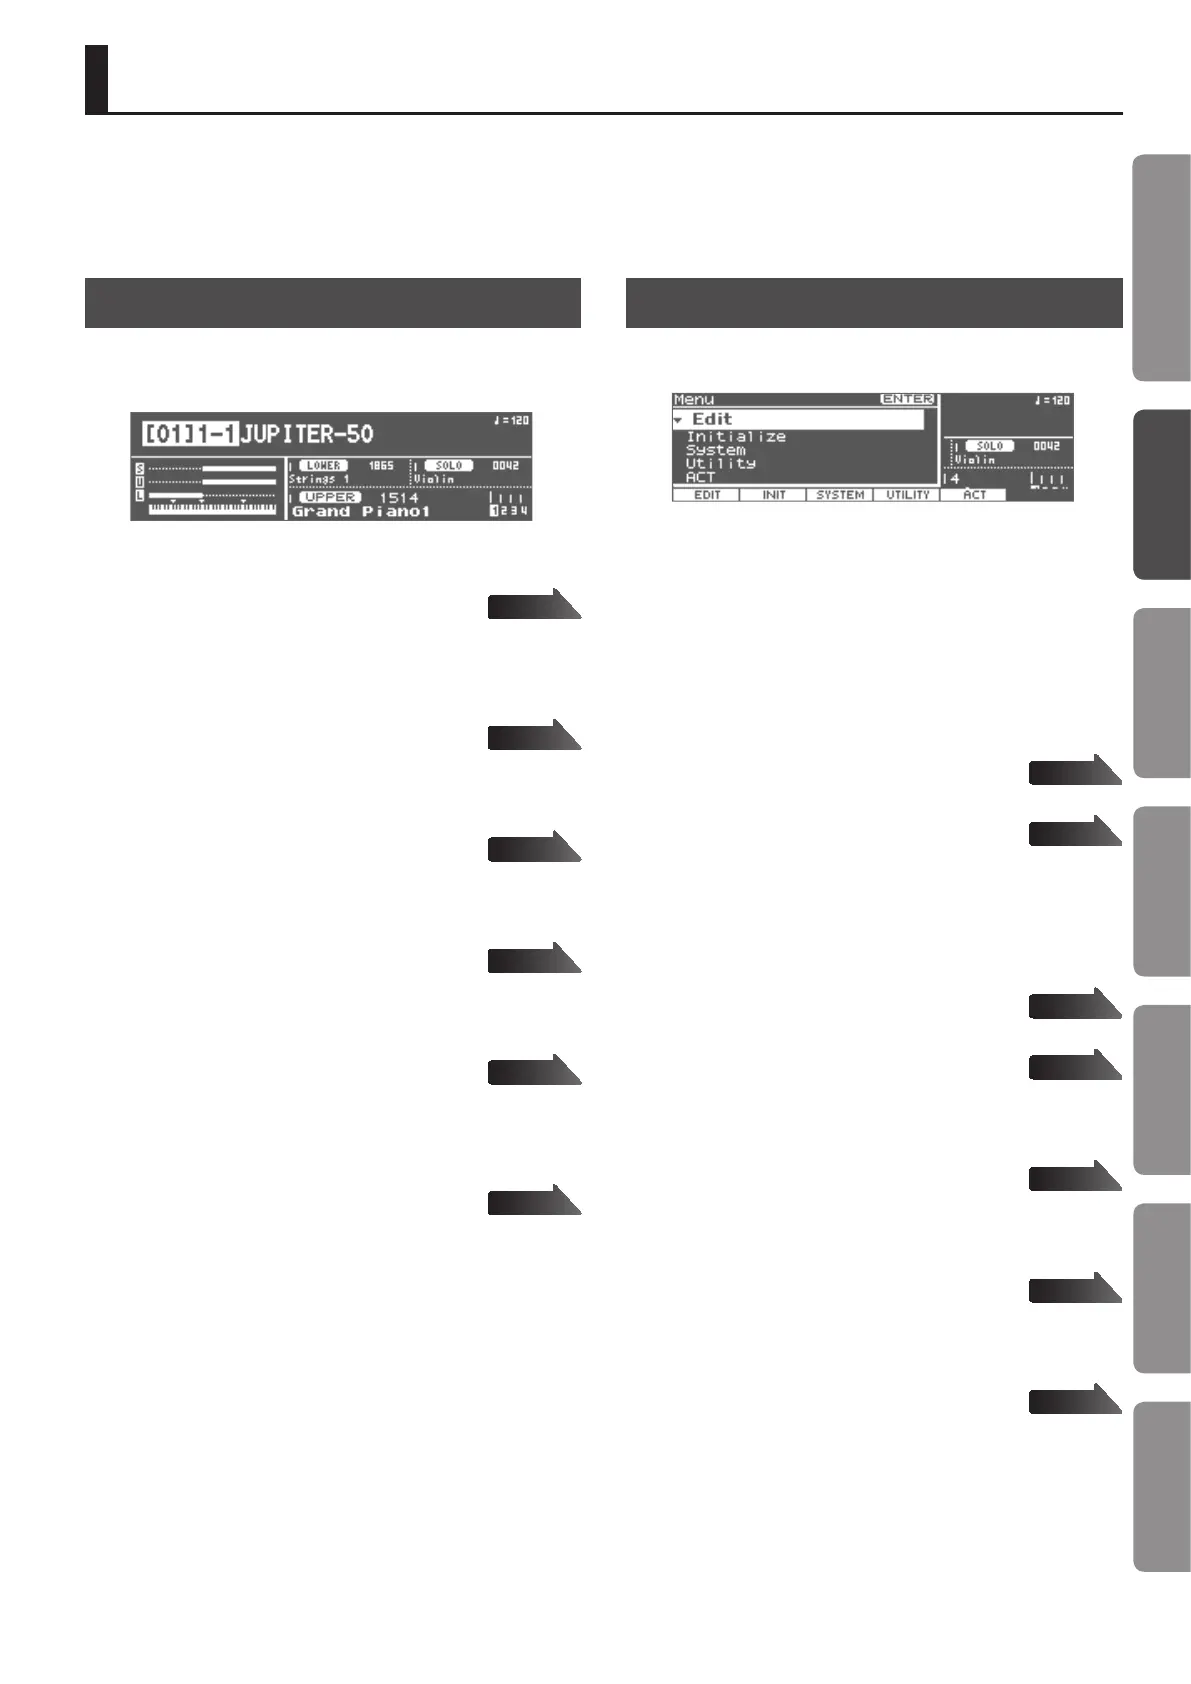
Top Screen
This is the main screen that appears when you turn on the power.
It shows the name of the currently selected Registration, the sound
and volume of each Part, and the split status.
REGISTRATION screen
([SHIFT] + [F1](REG) button)
Edit the Registration’s volume, and the volume and pan of each
part.
REGISTRATION PERC/LOWER EDIT screen
([SHIFT] + [F2](PRC/LWR) button)
Make settings for the Percussion/Lower Part.
REGISTRATION SOLO EDIT screen
([SHIFT] + [F3](SOLO) button)
Make settings for the Solo Part.
REGISTRATION EFFECT screen
([SHIFT] + [F4](EFFECT) button)
Make eect settings for the Registration.
LIVE SET (UPPER) screen
([SHIFT] + [F5](UPPER) button)
Edit the tone assigned to each layer of the Live Set, and specify its
volume.
LIVE SET TONE BLENDER screen
([SHIFT] + [F6](BLENDER) button)
Simultaneously edit multiple parameters for the Live Set.
Menu Screen
Press the [MENU] button; the Menu screen will appear in the
display.
1. Press the [MENU] button.
The Menu screen will appear.
2. Select one of the following items, and press the [ENTER]
button.
Edit
([F1] (EDIT) button)
Access the Registration or Live Set edit screen.
Registration
Access the Registration edit screen.
Live Set (UPPER)
Access the Live Set edit screen.
Initialize
([F2] (INIT) button)
Initialize the Registration or Live Set.
Registration
Initialize the Registration.
Live Set (UPPER)
Initialize the Live Set.
System
([F3] (SYSTEM) button)
Make overall settings for the entire JUPITER-50.
Utility
([F4] (UTILITY) button)
Execute operations such as backing up user data or initializing.
ACT
([F5] (ACT) button)
Make ACT settings.
page 54
page 54
page 54
page 54
page 57
page 60
page 54
page 57
page 56
page 63
page 75
page 70
page 87
Navigating Between Screens
On the JUPITER-50, you can navigate between the screens by pressing each button or the function buttons assigned to various features. Here we
explain how to navigate between screens.
The explanations in this manual include illustrations that depict what should typically be shown by the display. Note, however, that your unit may
incorporate a newer, enhanced version of the system (e.g., includes newer sounds), so what you actually see in the display may not always match
what appears in the manual.