80
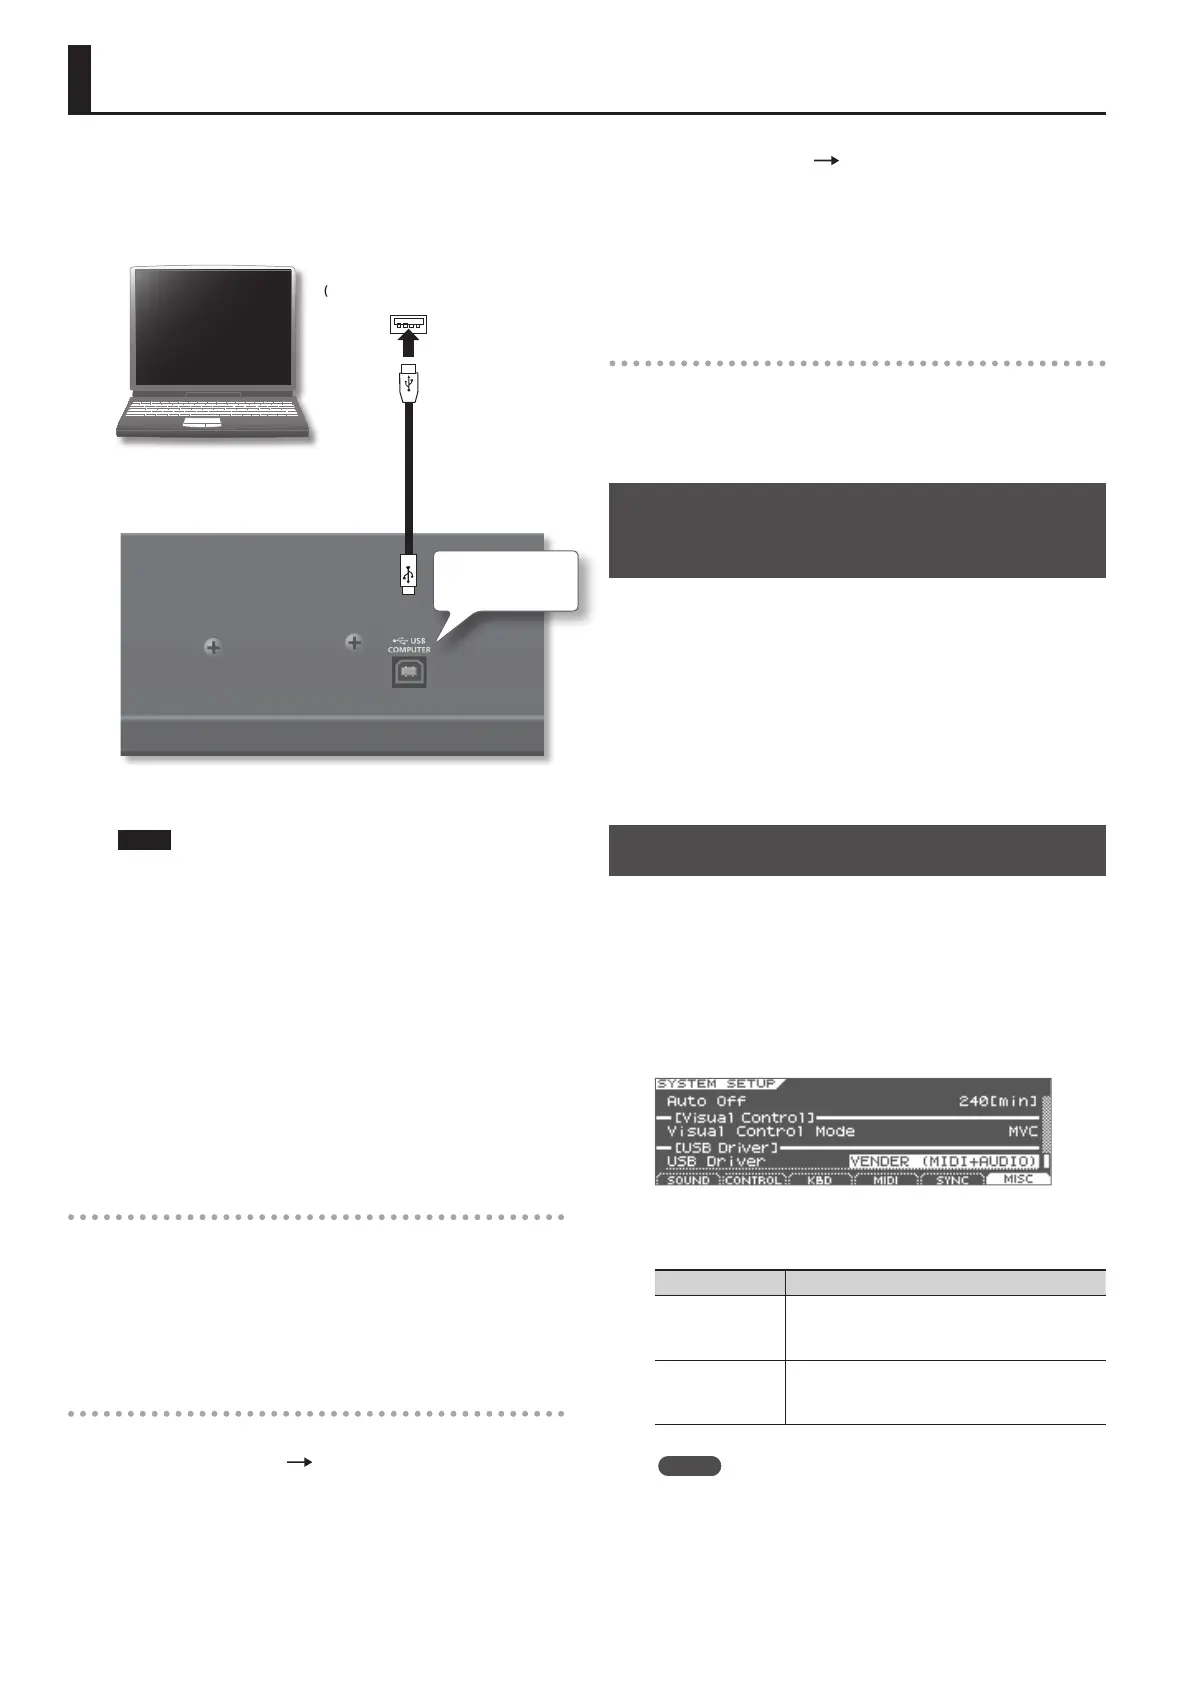
Connecting to Your Computer via USB
If you use a commercially available USB cable to connect the USB
COMPUTER port on the JUPITER-50’s rear panel to your computer’s
USB connector, audio or MIDI data played by your MIDI software
(DAW software) can be sounded by the JUPITER-50.
Computer’s USB port
(Supports USB 2.0 Hi-Speed)
USB cable
(Supports USB 2.0 Hi-Speed)
JUPITER-50
USB COMPUTER
port
For details on operating requirements, refer to the Roland website.
http://www.roland.com/
NOTE
• For some models of computer, the system might not operate
correctly. Refer to the Roland website for the operating systems
that are supported.
• Before you make connections to other equipment, turn down
the volume and turn o the power o on all equipment in order
to prevent malfunction and/or speaker damage.
• A USB cable is not included. To purchase one, please contact the
dealer where you purchased the JUPITER-50.
• Use a USB cable that supports USB 2.0 Hi-Speed.
• Use a computer with a USB connector that supports USB 2.0
Hi-Speed.
• Switch on the JUPITER-50’s power before you start up the DAW
software on your computer. Do not switch the JUPITER-50 on/o
while your DAW software is running.
What is the USB driver?
The USB driver is software that transfers data between the
JUPITER-50 and the application (e.g., DAW software) on your
computer when the JUPITER-50 is connected via USB to your
computer.
The USB driver sends data from your application to the JUPITER-50,
and data from the JUPITER-50 to your application.
USB audio
Settings for JUPITER-50 computer
If the JUPITER-50 is connected via a USB cable to the application
(e.g., DAW software) on your computer, the same sound as from
the JUPITER-50’s MAIN OUT can be recorded into your computer
(except for the metronome sound).
Settings for computer JUPITER-50
If the JUPITER-50 is connected via a USB cable to your computer,
sound from your computer can be played from the audio system
connected to the JUPITER-50’s MAIN OUT jacks, or recorded on the
JUPITER-50’s USB memory song player/recorder.
If you want to record this audio using the USB memory song player/
recorder, set “Recording Mode” (p. 68) to “MIX.”
USB MIDI
If the JUPITER-50 is connected via USB to your computer, your
DAW software can record the JUPITER-50’s performance data (MIDI
data), and performance data (MIDI data) played back by your DAW
software can play the JUPITER-50’s sound generator section.
Connecting the JUPITER-50 to Your
Computer
1. Install the USB driver on your computer.
The USB driver is on the included CD-ROM “JUPITER-50 DRIVER
CD-ROM.”
The driver installation procedure will depend on your system, so be
sure to carefully read the “Readme” le on the CD-ROM.
2. Use a USB cable (sold separately) to connect the
JUPITER-50 to your computer.
USB Driver
Here’s how to switch between the dedicated JUPITER-50 USB driver
and the generic driver provided by the operating system.
1. In the Menu screen (p. 35), choose “System” and press the
[ENTER] button.
2. Choose “SETUP” and press the [ENTER] button.
3. Choose “Misc.”
4. Specify the USB Driver that you want to use.
Driver Explanation
VENDER
(MIDI+AUDIO)
The dedicated JUPITER-50 driver provided by Roland
will be used.
MIDI and audio will be available.
GENERIC
(MIDI only)
The generic driver provided by the operating system
will be used.
Only MIDI will be available.
MEMO
This setting will take eect after you’ve carried out a System
Write, and you’ve turned the power o, then back on again.
5. Press the [WRITE] button to save the setting.
6. Turn the power o, then on again.