The connecting cable can be routed away in different directions.
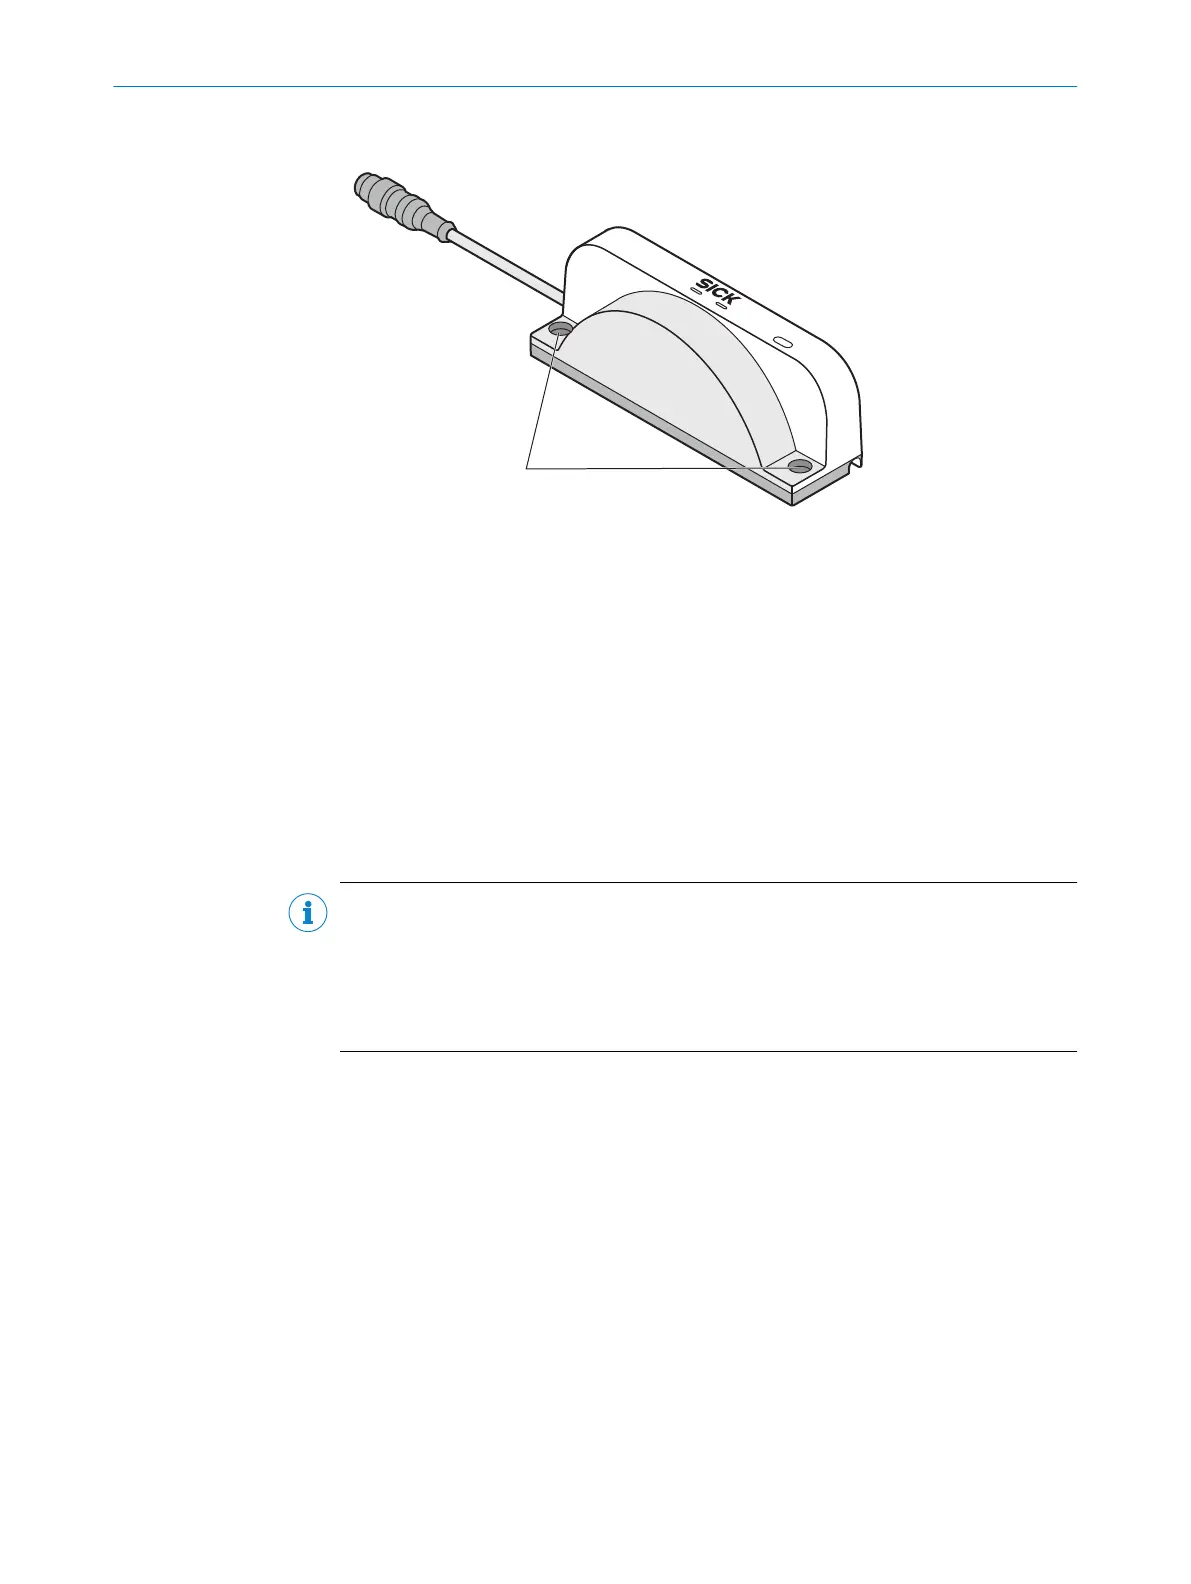
Figure 20: Mounting the safe multibeam scanner
!
Fixing holes
Prerequisites
•
Pr
oject planning has been completed.
•
Mount according to project planning.
•
Installation location provides protection against moisture, dirt and damage.
•
Status indicators are easily visible after mounting.
•
After mounting, an area up to 250 mm from the front of the front screen is free of
objects.
Approach
1.
Screw the safe multibeam scanner to the machine through the two fixing holes.
NOTE
•
Use M5 scr
ews.
•
Minimum depth of thread: 12 mm.
•
Tightening torque: 4.5 Nm … 5.0 Nm.
•
In case of strong vibrations (see data sheet), use screw locking devices to secure
the fixing screws.
Complementary information
Y
ou can also mount the safe multibeam scanner using the optionally available align‐
ment bracket. When mounted using the alignment bracket, the device can be rotated
vertically and aligned. For further information, see the separately available mounting
instructions of the alignment bracket.
Further topics
•
"Pr
oject planning", page 16
•
"Dimensional drawings", page 79
•
"Accessories", page 81
5 MOUN
TING
38
O P E R A T I N G I N S T R U C T I O N S | scanGrid2 I/O 8025936/2021-01-08 | SICK
Subject to change without notice

 Loading...