Simrad AP35 Autopilot
54 22083083H
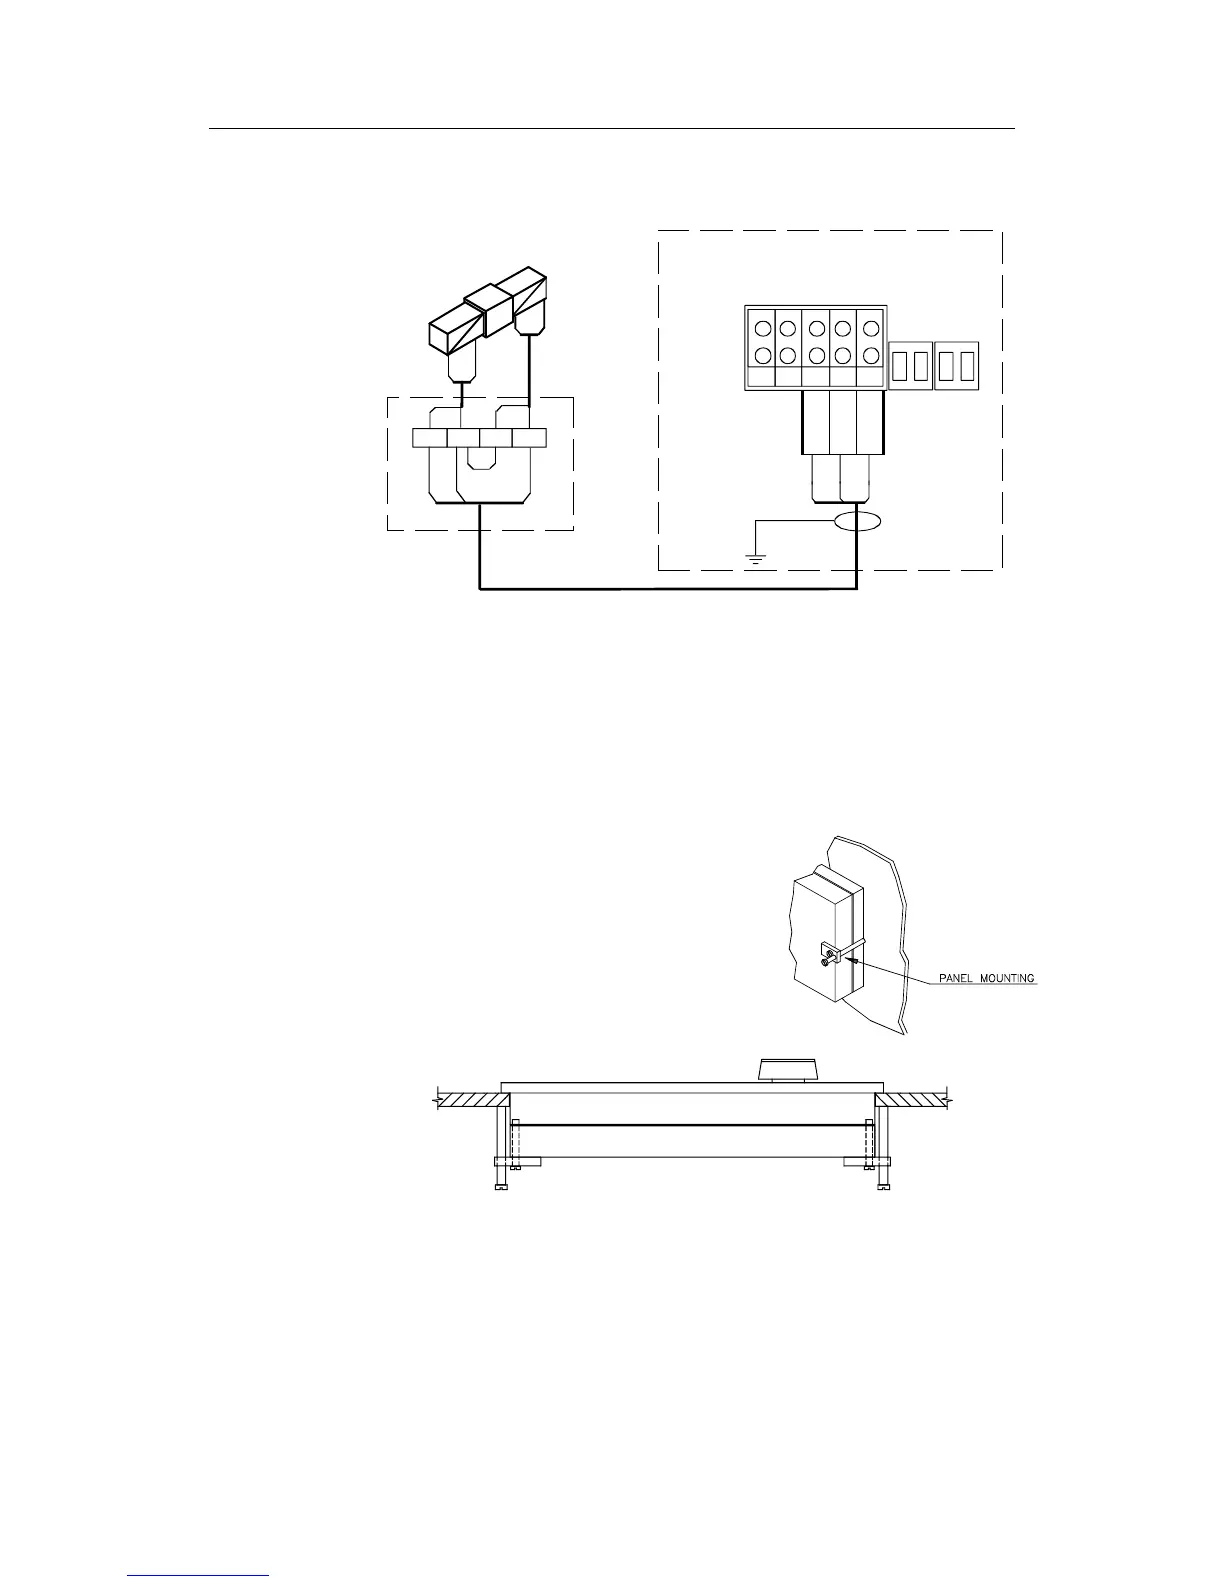
Connecting a solenoid valve
JUNCTION UNIT
POWER PCB
TB1
TB2 TB3 TB4
TB5
TB6
Sol. -Motor
Sol. -Motor
Sol. gnd
TB7
Sol.
Sol.
Sol. gnd
SOLENOID
VALVE
Figure 4-10 Connecting a solenoid valve
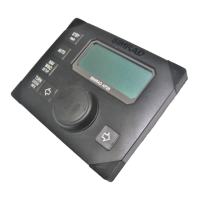
4.10 Control unit
Avoid mounting the control unit(s) where it is easily exposed to sunlight, as
this will shorten the lifetime of the display.
Panel mounting
• Make a panel cut-out of 210x102 mm.
• Use the supplied fastening device to
fasten the control unit to the panel. See
Figure 4-11
• Connect the Robnet cables to the control
unit connectors (See note on next
page).
Figure 4-11 AP35 Panel mounting
Bracket mounting
• Mount the two bracket halves to the Control unit.
• Temporarily bolt together the other two halves of the bracket to the two
other halves.
• Hold the Control unit in place by hand and mark the 4 holes for the fixing
screws on the mounting surface.