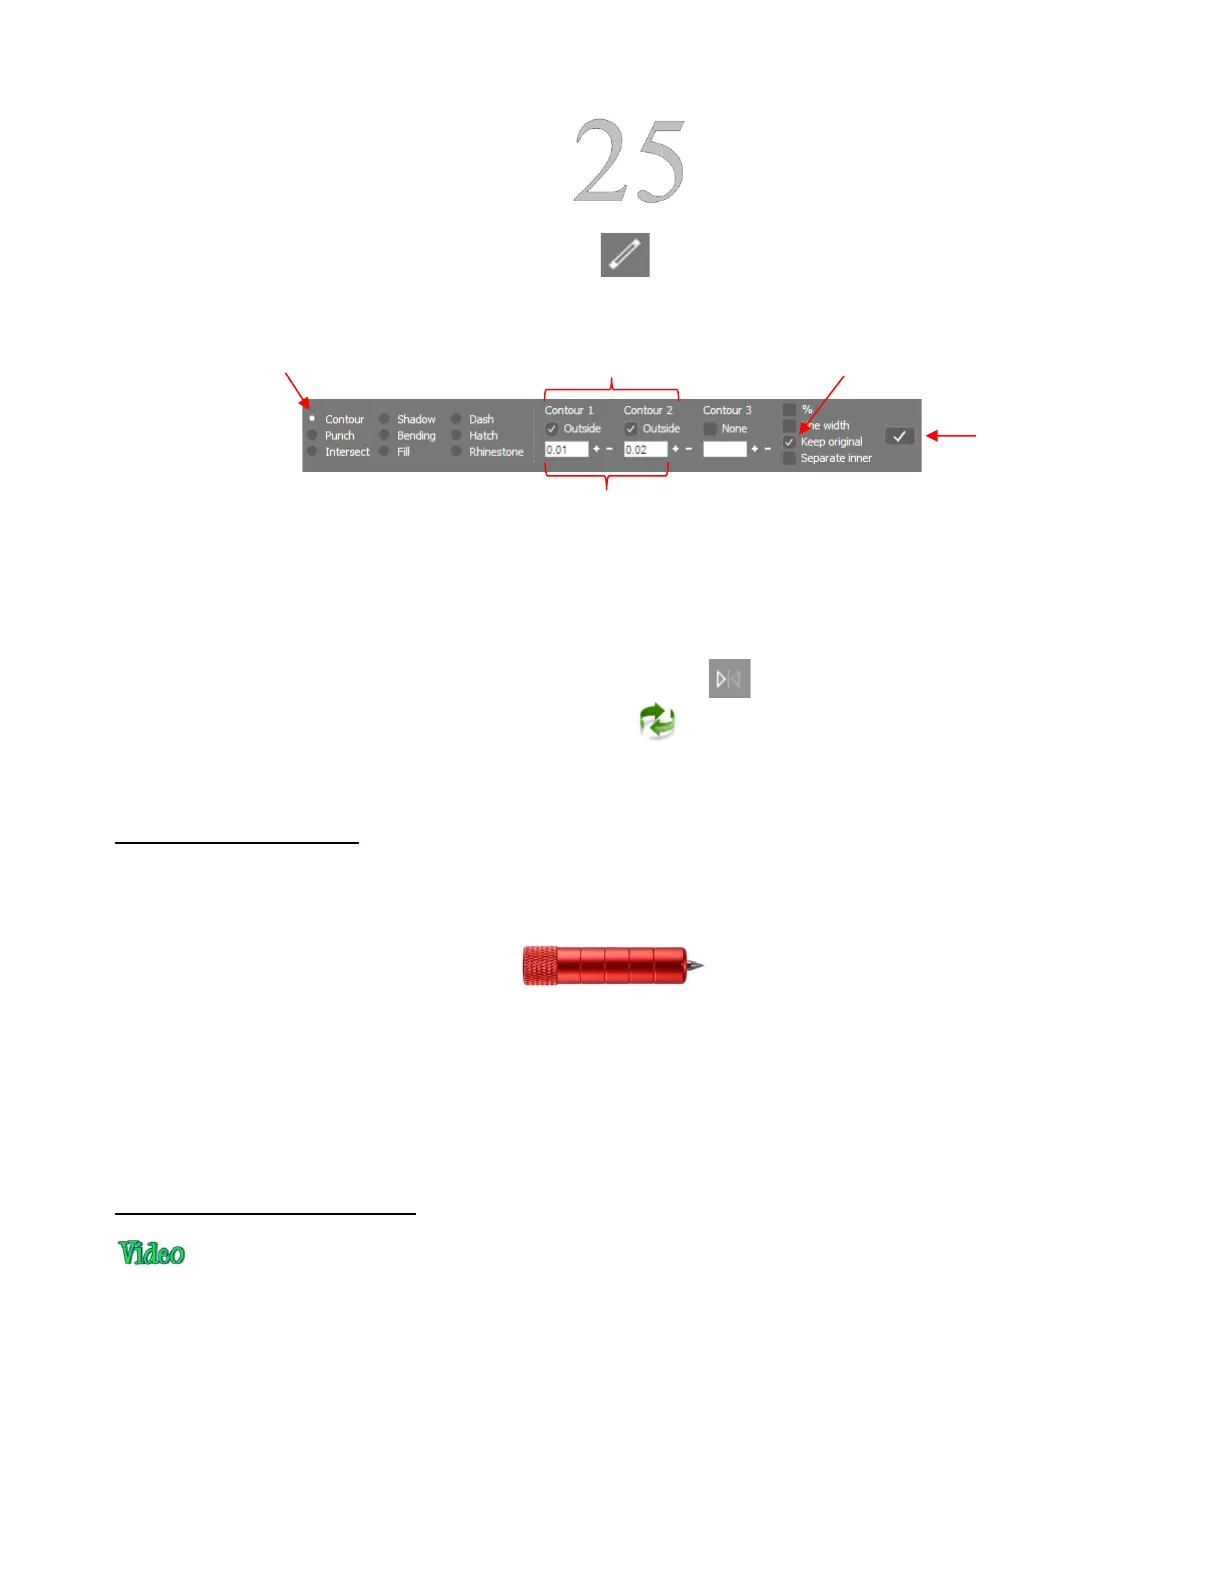
Select the shape and click on the Effects icon (shortcut A) and select the Contour option. On the
Properties & Functions Bar, enter the settings for the two contours:
Now you have three versions of the shape, each one slightly outset from the other. Thus, when using
the embossing tool, this will result in a thicker outline made of this shape.
Important: don’t forget to mirror the image so that when you flip over the cardstock after embossing, the
design will “read correctly.” This can be done in one of two ways:
o In SignCut Draw, click on the Mirror horizontally icon
o In SignCut Pro, click on the Mirror image icon
4.03 Scratch Engraving
• The Skycut engraving tool can be used to engrave vellum, foils, acrylic, and most metals, including trophy
labels, dog tags, and jewelry charms.
• On softer metals, you may not want the engraving tip too far above the metal as it can leave pock marks
when it drops to start engraving. If possible, test on scraps first.
• Refer to the Suggested Settings table at the end of this chapter for Force and Speed settings on various
materials. Note that in some cases you may want to use more than one pass for a slightly deeper engraving.
• To design an engraving fill pattern, use the instructions in Section 5.03.
4.03.1 Engraving a Metal Tag
• When engraving items that are already cut (such as metal tags, trophy plates, charms, etc.), it’s very
important to have precise alignment before proceeding. Therefore, the camera on the Skycut will be used to
set the origin for engraving. If you haven’t already calibrated the camera, go to Section 3.03.
• The following is a list of the items you’ll need for this kind of an application:
The item to be engraved
The Skycut engraving tool
Double sided tape to secure the item to the cutting mat. Thermo-web is perfect for this.