• Create a replica of the item to be engraved:
If it’s something simple, like a square or a rectangle, use the basic shapes available in SignCut Pro:
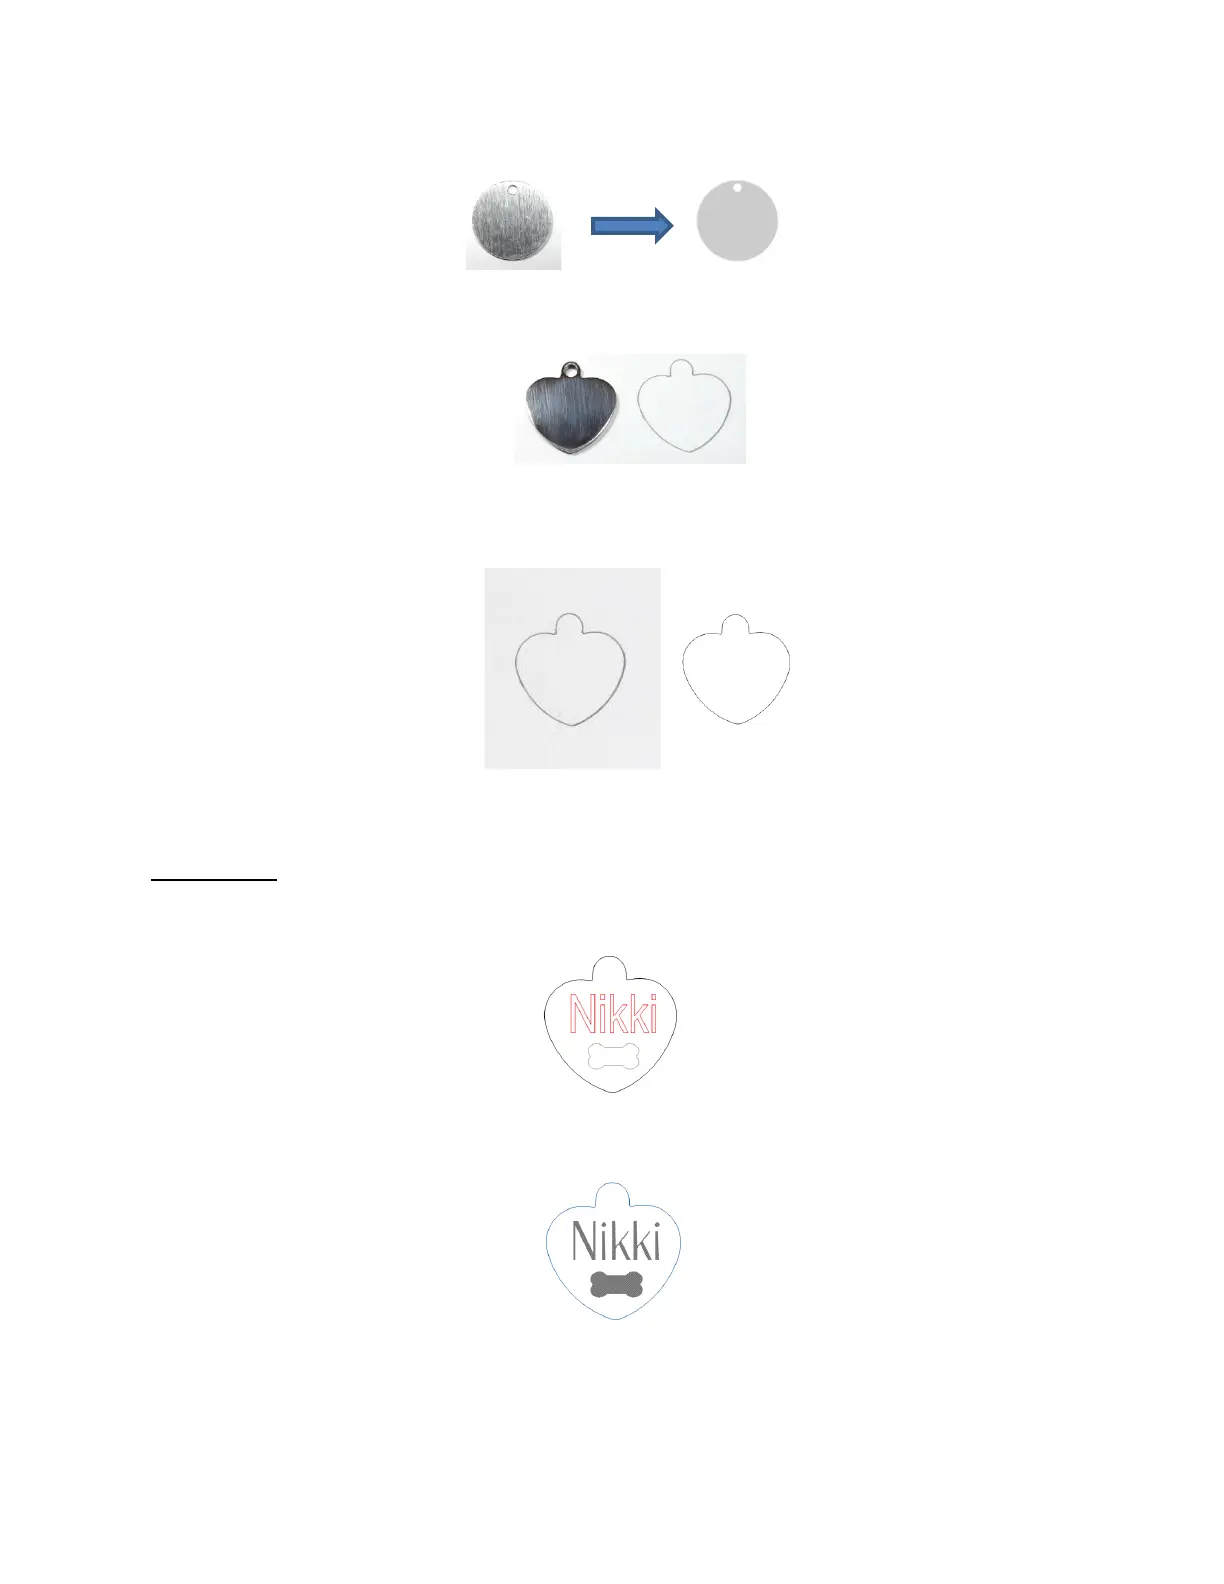
If it’s not a shape that can easily be recreated in SignCut Draw, then trace it onto paper:
Scan or photograph the trace and use the instructions in Section 5.01 to import the scan and create a
contour of the heart:
• IMPORTANT: Carefully measure the actual tag and compare it to the dimensions of the contour. Adjust the
size of the contour if needed.
• Create the design to be engraved. In this case both text and a vector shape of a bone are added:
• Because a filled engraving is desired, select the text and the bone shape and use the Hatch Fill effect to fill
the design with lines. Details on this function are presented in Section 5.03.1. The color of the outside tag is
changed since it won’t be sent to the Skycut:
• On the Skycut, the metal tag needs to be very firmly attached to the cutting mat. Place strips of double-sided
tape onto the mat, where the tag will be mounted: