• When placing the tag onto the mat, align the bottom side of the tag with a vertical grid line and the left side
of the tag with a horizontal grid line. The intersection of the two gridlines will be the origin for the engraving
process:
• Load the mat into the Skycut and be very precise in alignment by using the cutting strip to make sure the
mat is perfectly straight on both sides:
• Load the engraver into the Skycut using 15 Post-It notes, making sure the notes are on top of the tag so that
the tip is clearly above the tag.
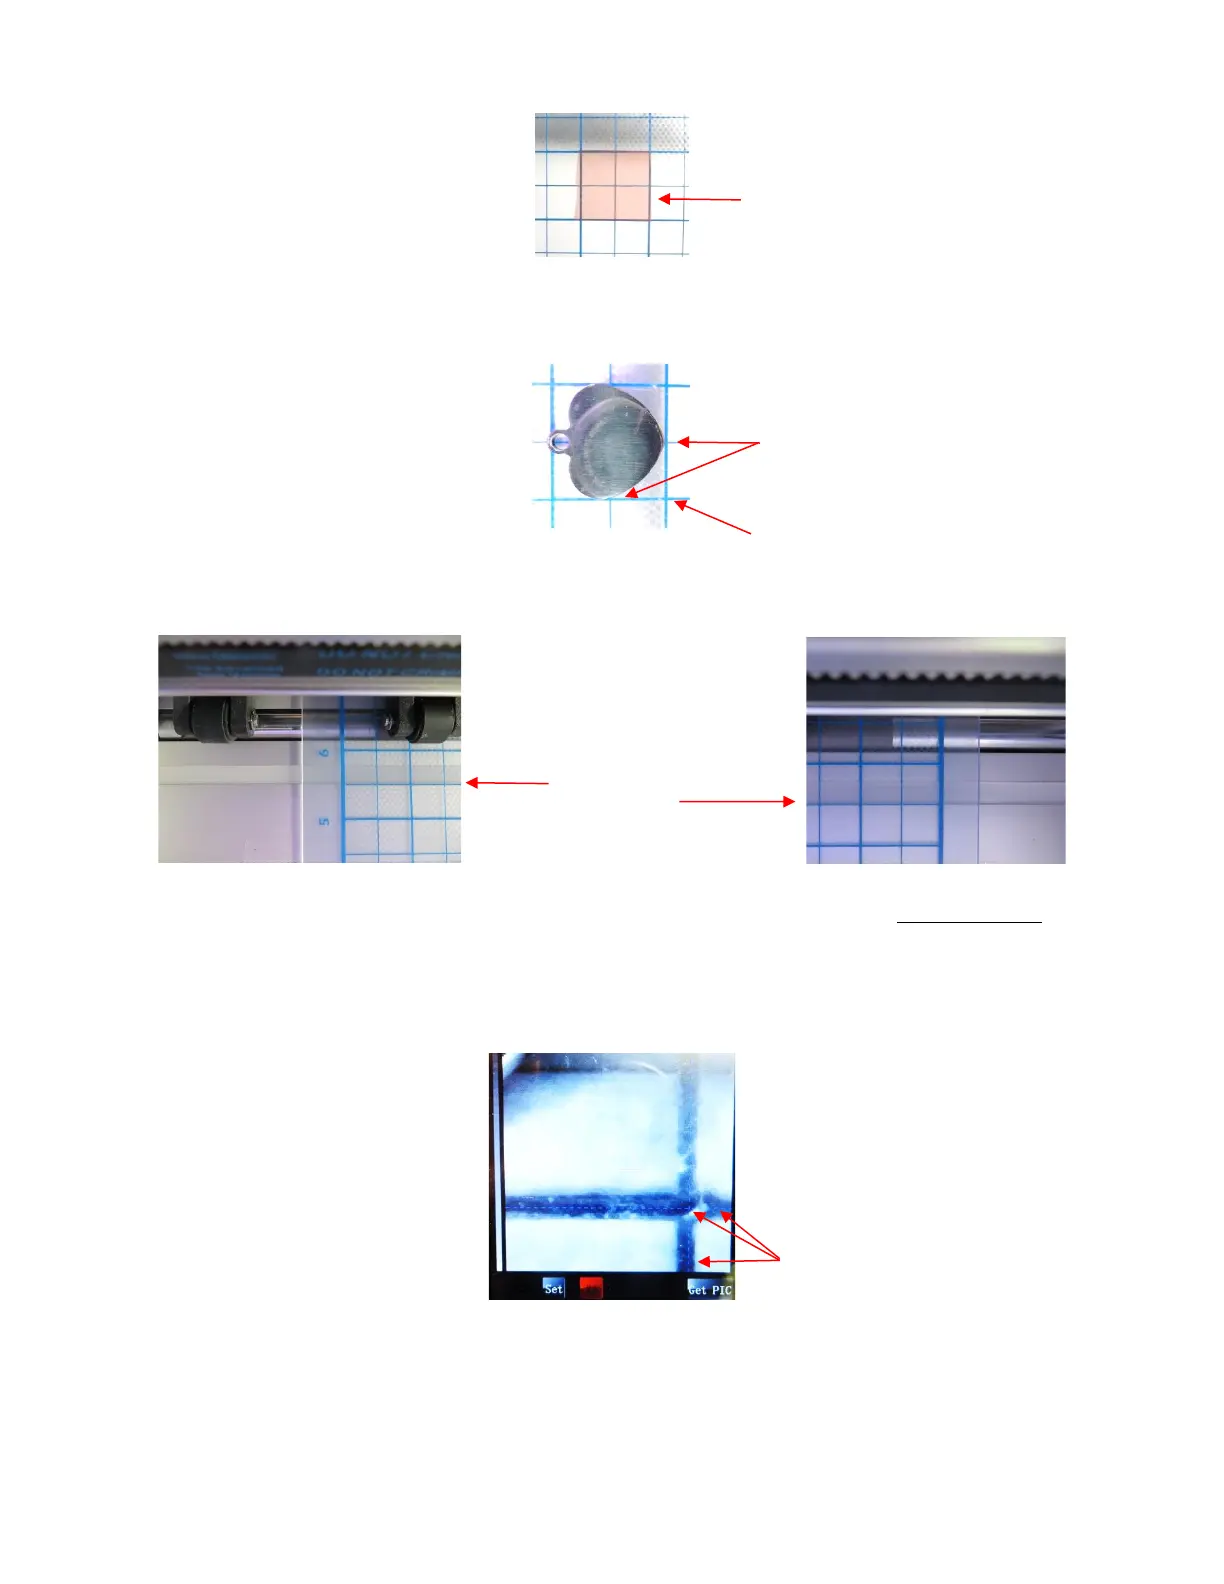
• Move the cutting head so that the engraver tip is over the intersection of the two grid lines bounding the tag.
Then use the camera instructions in Section 2.05.1 to set the origin even more precisely by getting the blue
dashed + in the middle of the grid intersection:
• After clicking on Home, press down on the engraver and verify, once more, that the correct grid intersection
was used.
• Back in SignCut Draw, send the design to SignCut Pro. Note that it’s very important to include the outside
tag color since it defines where you want the engraving pattern to be made:
Double sided tape is placed on the
mat to cover the size of the tag (note:
the pink liner hasn’t yet been removed
from the top of the tape)