The same tile settings in the Cut out window can be used to make additional copies with a specified
spacing, add a weeding frame (in case it wasn’t originally marked in the Tile window), etc.
• Deactivate all tiles - click this icon to deactivate all of the tiles. The prior icon, Activate / deactivate
tiles icon will now be highlighted and you can click on any tile to reactivate it, as desired.
• Activate all tiles - click this icon to activate all of the tiles. As with the Deactivate all tiles, the mode
will switch to Activate / deactivate tiles so that you can the individually deactivate any, as needed.
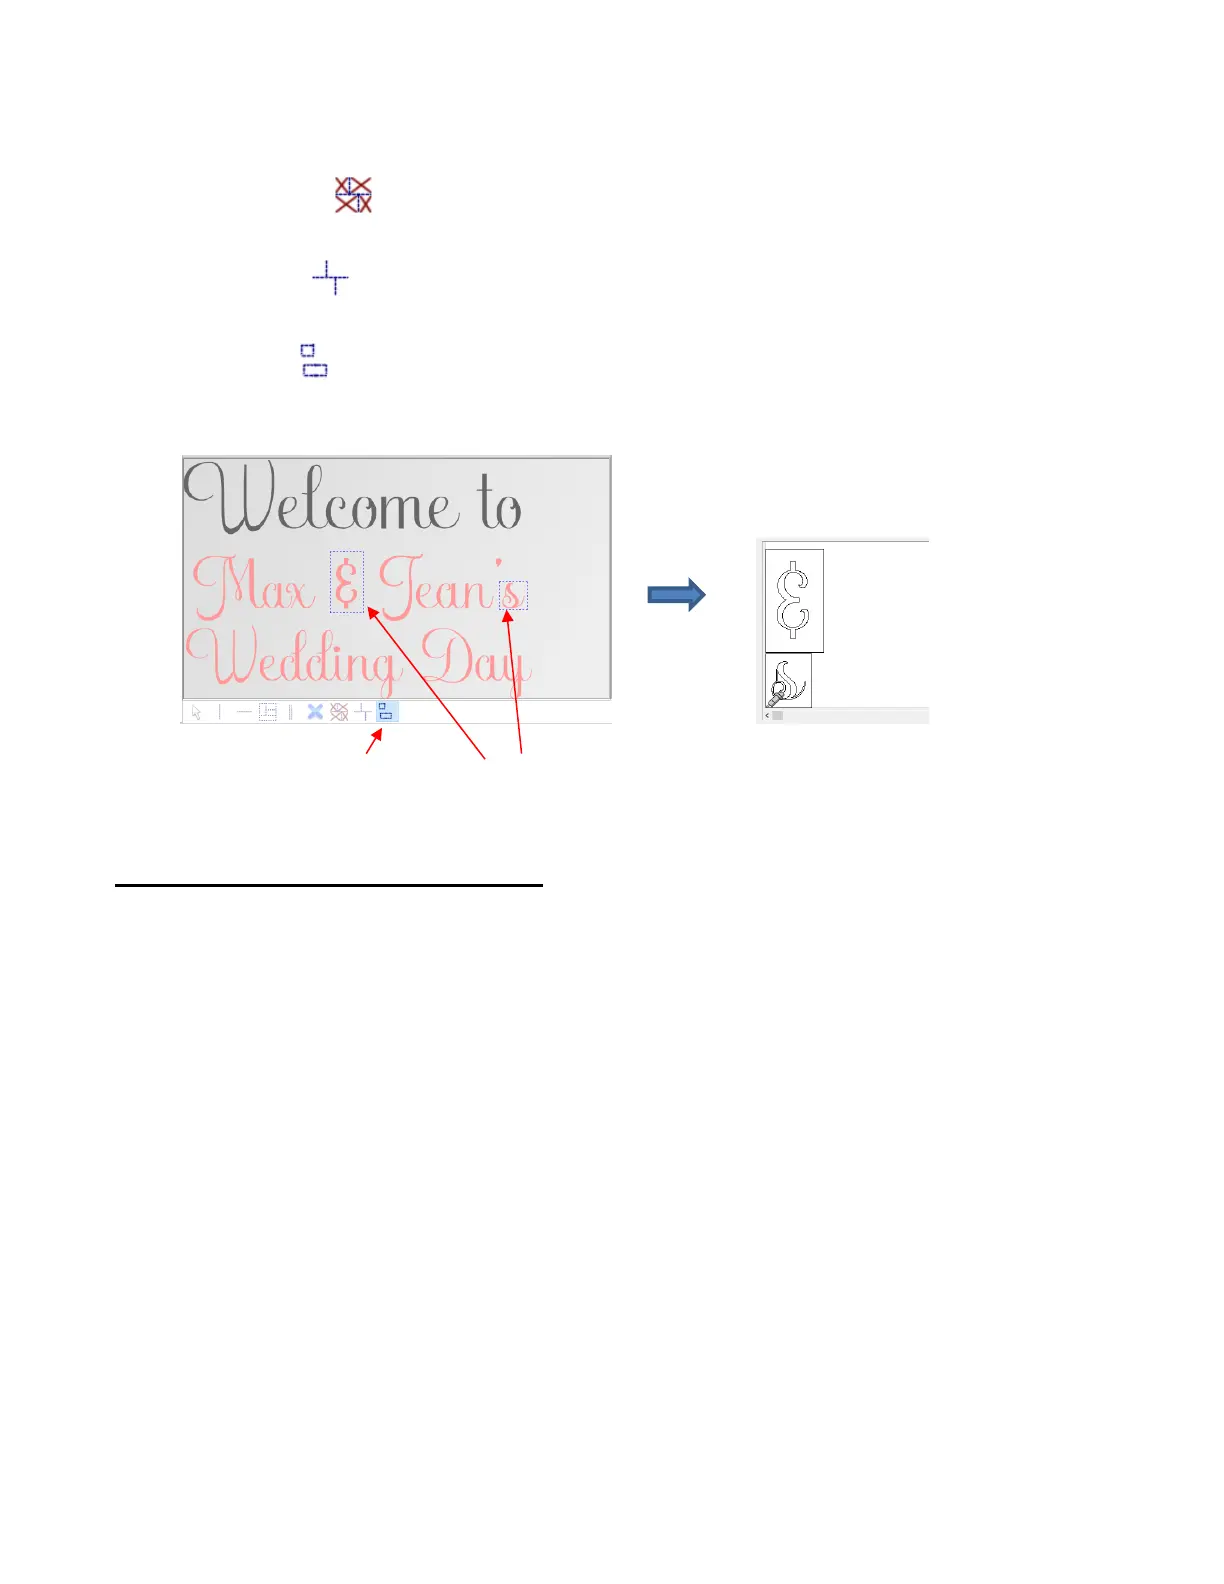
• Draw free tiles - click this icon and then drag your mouse to create rectangular tiles where needed. For
example, if a few parts of a design need to be recut, then rectangles can be draw around just those parts to
create tiles to be sent to the cutter:
2.07 Important Checklist Before You Cut!
• Do you have your material on the mat and the mat inserted into the Skycut? (Note: materials with a backing
sheet, such as vinyl and iron-on transfer do not require a mat for cutting)
• Do you have the pinch wheel lever raised (so that the pinch wheels are down)?
• Have you set the blade length based on the thickness of the material you are cutting?
• Do you have the blade holder firmly mounted in the blade holder seat and the blade tip at the correct height
above the material?
• Have you set the Origin (location of the blade tip) at the bottom right corner of your material (or wherever
you need the origin to be)?
• Have you set the Force? And the Speed?
• Have you selected the correct Blade Offset for the blade you are using?
• Do you need to turn on Passes for this material?
• Do you see the correct shapes in the preview window?
• Do you need to select Rotate or Mirror the project? Do you know, with confidence, where your shapes are
going to cut?
• Do you need to apply any weeding lines?