Finally, the third setting is at the top of the Color toolbar on the right side of the screen. This tutorial will
cover both options but, for now, click the top icon to the Whole Area setting (if needed) so that it looks
like the one in the following screenshot. Note that the icon below it controls whether closed shapes
display filled or in wireframe mode. Either option for this setting is fine since it does not affect where the
shapes draw or cut:
1.13.3 Adding a Test Shape to Draw
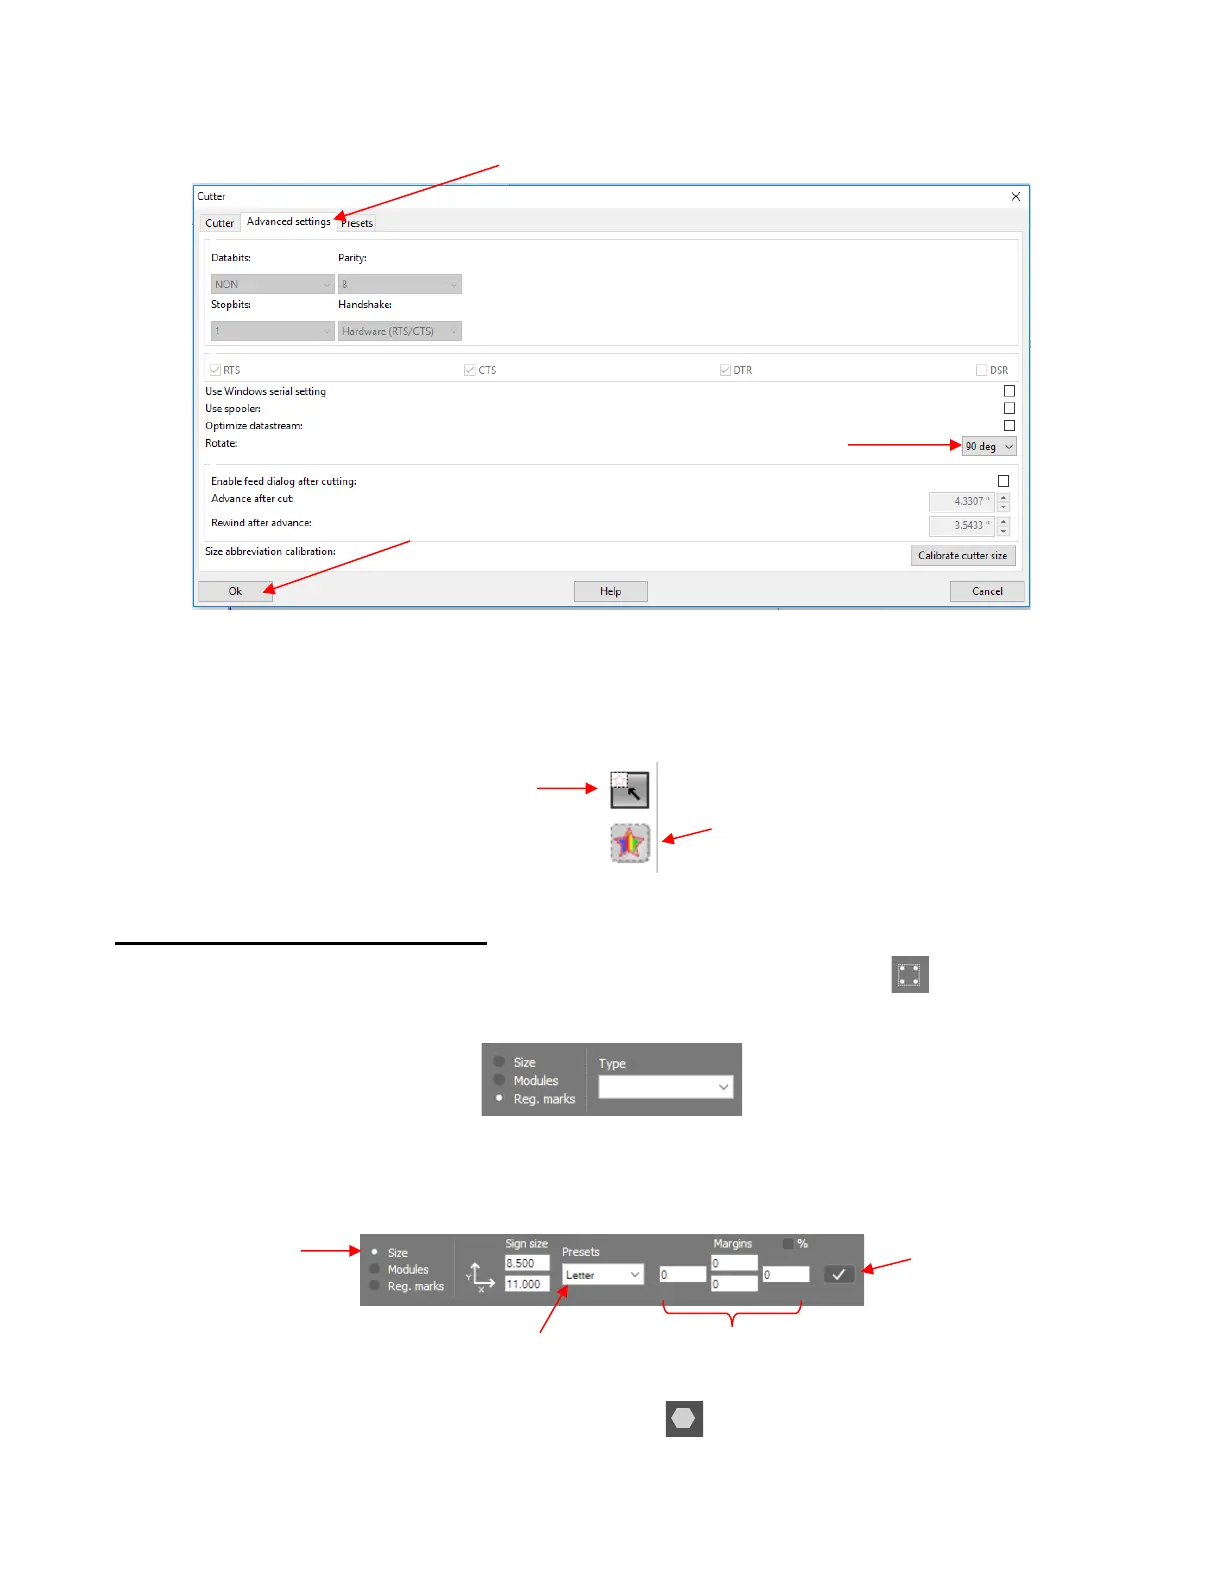
• Open SignCut Draw and, on the left side Tools panel, click on the Sign Setup icon or press the
shortcut key W. In the Properties & Functions Bar above the Sign Area, you will see the following:
• Mark the Size option and other settings will appear. From the Presets menu, select Letter or A4 or
whatever size of paper you are using for testing. Set the Margins to 0. Click on the checkmark icon to
Apply:
• On the left side Tools panel, click on the Shape tool icon or press the shortcut key Y.
• In the Properites & Functions Bar at the top there will now be an assortment of shapes from which to
select. The arrow is the best choice because it’s important to learn the orientation of shapes on the screen