J
Jose GreeneSep 6, 2025
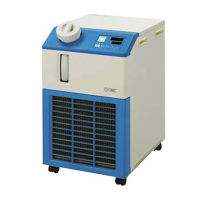
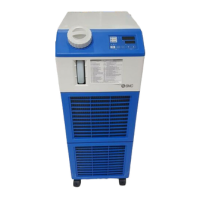
Why is the refrigerant circuit pressure (low pressure side) rising in my SMC Networks HRS012-A-10 Chiller?
- SShawn EsparzaSep 6, 2025
If the refrigerant circuit pressure (low pressure side) is rising in your SMC Networks Chiller, reduce the ambient temperature or heat load.