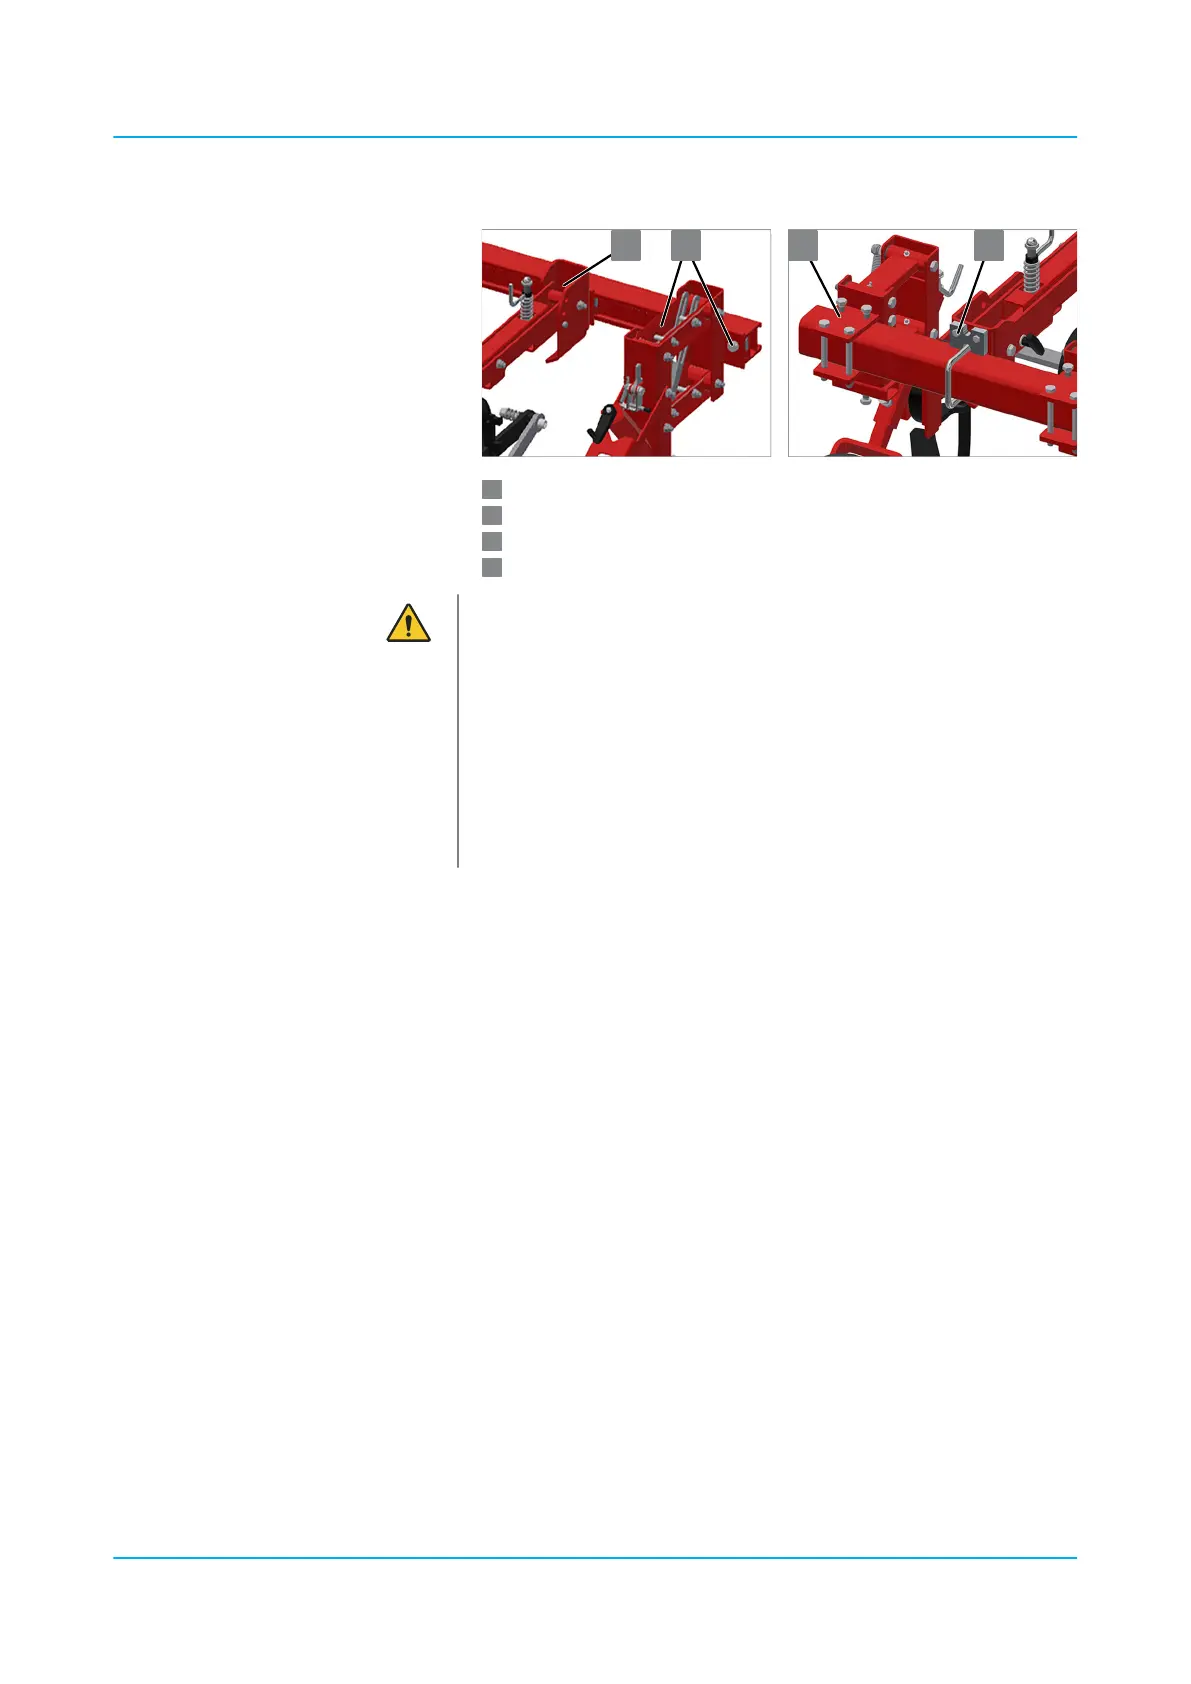
Attachment of a hoeing element on a prole toolbar
Attachment of a nger weeder arm on a prole toolbar
Attachment of a hoeing element on a square tube
Attachment of a nger weeder arm on a square tube
CAUTION
Risk of being crushed at moving mechanical compo‐
nents
Components with a high dead weight can move down‐
wards independently.
– NEVER reach between components that can move
independently under their own dead weight.
– When moving the components manually: Wear pro‐
tective gloves.
1. If required, have a second person help you move the hoeing ele‐
ments.
2. Lift the hoeing element using the three-point linkage.
3. Undo the screw connection.
n Leave nuts and screws connected.
4. Move the hoeing element to the new position. When doing so, take
hold of the bolted connection or the parallelogram.
ð
The distances of the hoeing elements correspond to the dis‐
tances of the plant rows.
5. Retighten the screws.
ATTENTION: Hoeing elements on a prole toolbar must be
screwed on to a tightening torque of 200 Nm.
Move hoeing elements on the toolbar
Operation
en-GB | Item no. 17513597 | BA 02/05-2022 74