Objet260 User Guide 5 Using Objet Studio
DOC-37004 Rev.E 5-23
Surface Finish
Modelscanbeprintedwithamatteorglossysurfacefinish.Tocreateamatte
finish,theprintersurroundsmodelswithathinlayerofsupportmaterial.
Tosetthemodelfinish:
1. Selectthemodel.
2. SelectMatte orGlossy inoneofthefollowingplaces:
❒ Model Settingsribbon,Optionsgroup
❒ ModelToolbar
❒ right-clickcontextmenu(whenselectingthemodel)
YoucanconfigureObjetStudiotodistinguishbetweenobjects’surfacefinish
onthebuildtraybycolor.ToconfigurehowObjetStudiodisplaysobjects,see
"SettingObjectColors"onpage5-51.
Splitting
Objects into
Components
Youcanconvertacomplexobjecttoanassemblyofcomponentparts.Todo
so,yousplitthestlfilethatrepresentstheobjectintoagroupofseparatestl
files,eachonerepresentingacomponent.(ThisisreferredtointheObjet
Studiointerfaceasseparatingtheobjectintoshells.)Youcanthenassigna
modelmaterialtoeachstlfile,andyoucansavethenewly-createdassembly
asanobjdffile.
Tosplitanobjectintoanassemblyofcomponentparts:
1. Iftheobjectisnotdisplayed,placeitonthebuildtraybyinsertingitsstl
file(see"PlacingObjectsontheBuildTray"onpage5-13).
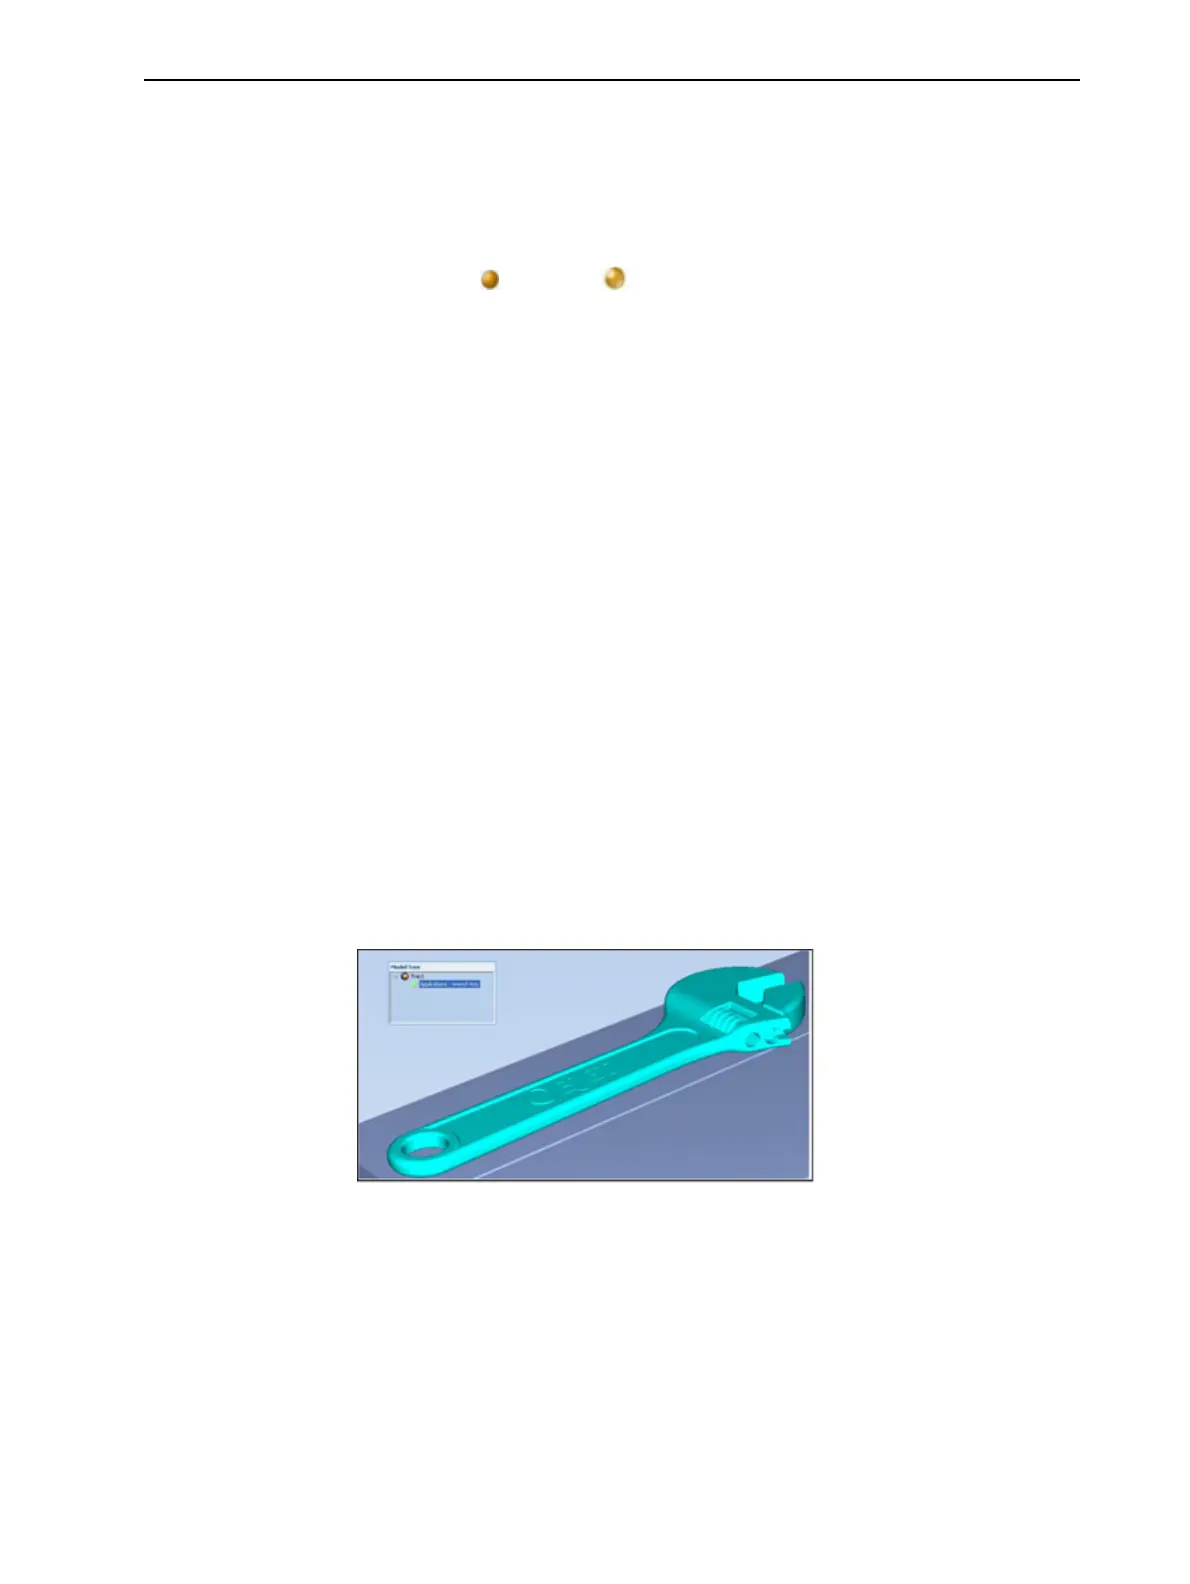
Theobjectappears—onthebuildtrayandinthemodeltreepane—asa
singlepart.Itisassigned,bydefault,the“primary”modelmaterial.(If
ObjetStudioisconfiguredwithasecondarymaterial,youcanassignit—or
adigital material—totheentireobject.Thisisexplainedin"Model-
MaterialSettings"onthenextpage.)
Figure5-22Objectplacedonthebuildtrayfromasinglestlfile
Note: Thereisnoneedtoresizeorarrangetheobjectonthebuildtrayatthis
time.