LUCAS
®
3 Chest Compression System – Service Manual
3328798-002, ©2017 Physio-Control, Inc.
Page 78 of 91
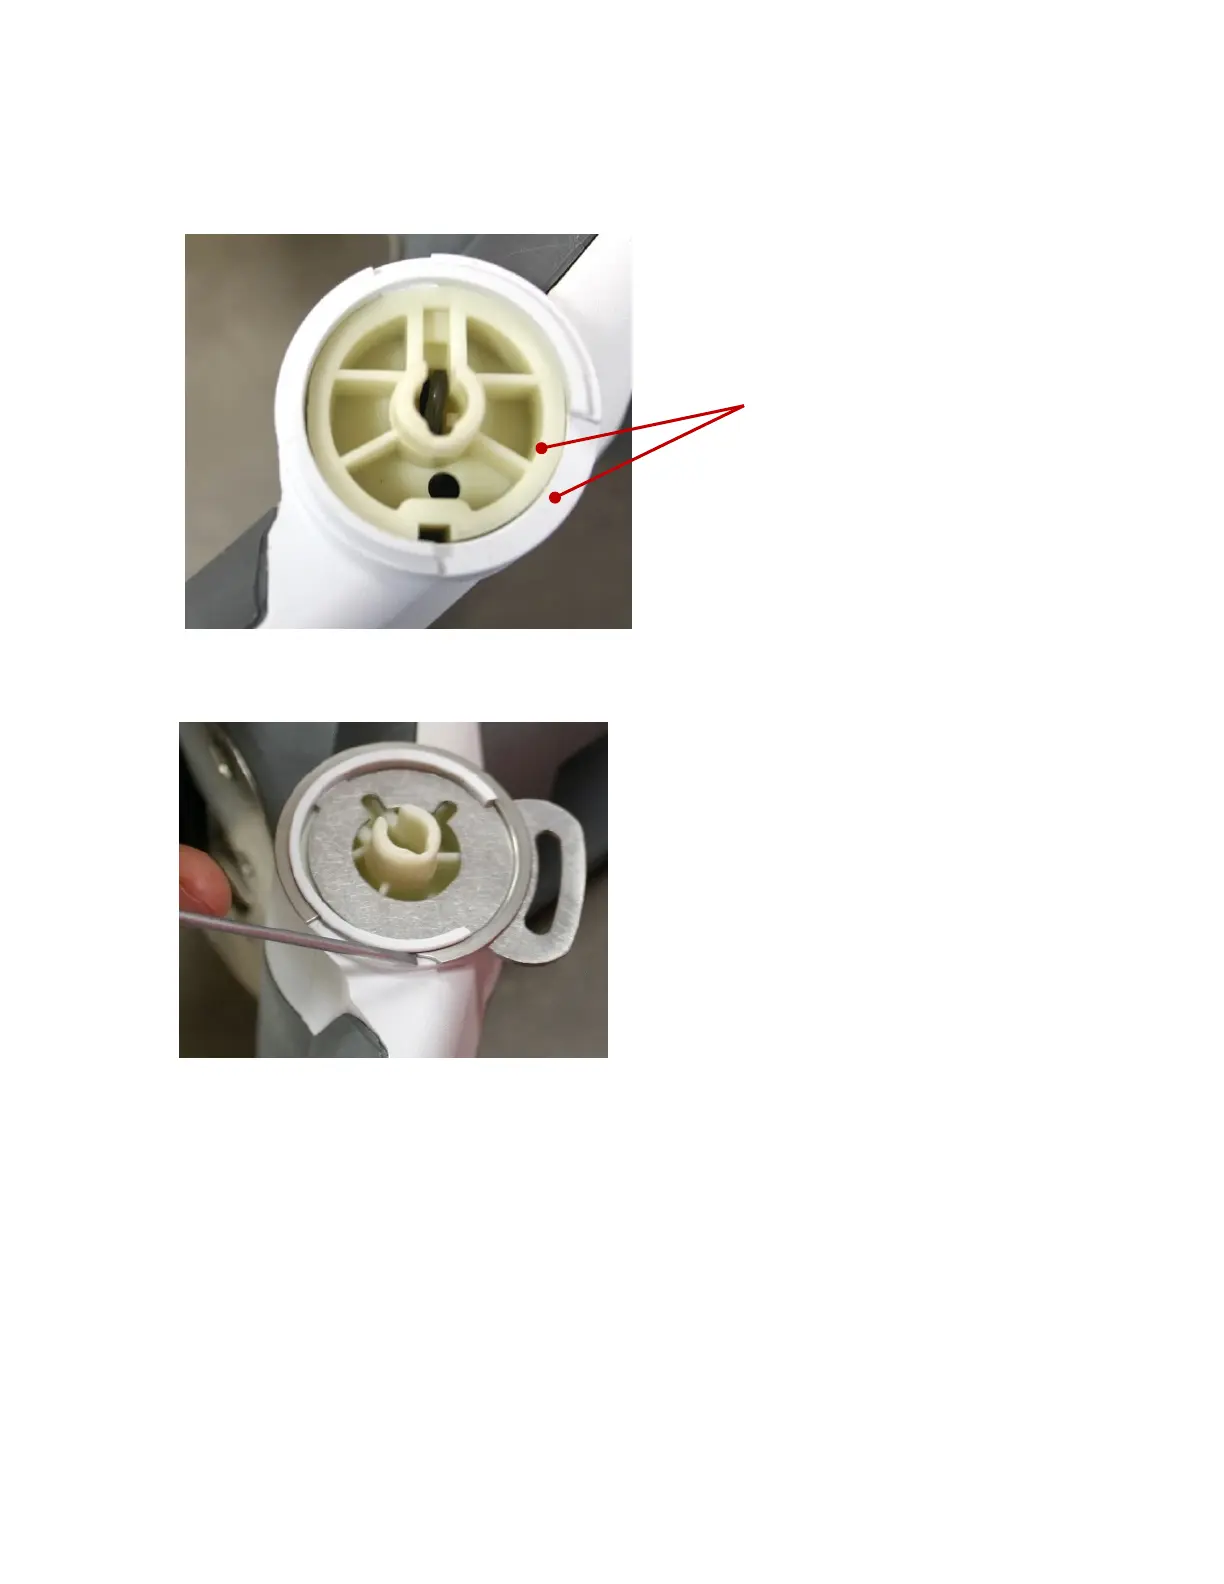
• Carefully hammer down the Angle Shaft with a hammer and the Angle Shaft Tool (Optional Tool) or
similar tool. The surface of the Angle Shaft should be on the same level as the Support Leg. Double
check the L-shaped side of the spring to make sure it is still seated in the Angle Shaft. A mandrel can be
used to tap it into place if not fully seated.
• Put the Patient Strap Holder in place (two sides).
• Install Snap Ring according to the picture below (two sides), place the open end of the ring downwards.
• Slide the Bumper up over the support leg (note the direction of the bumper, skirt edge should be on the
bottom).
• Thread the Bumper over the shaft and the patient strap holder on both sides.
Leg on the same
level
 Loading...


