Chapter 2 Installing Trays 41
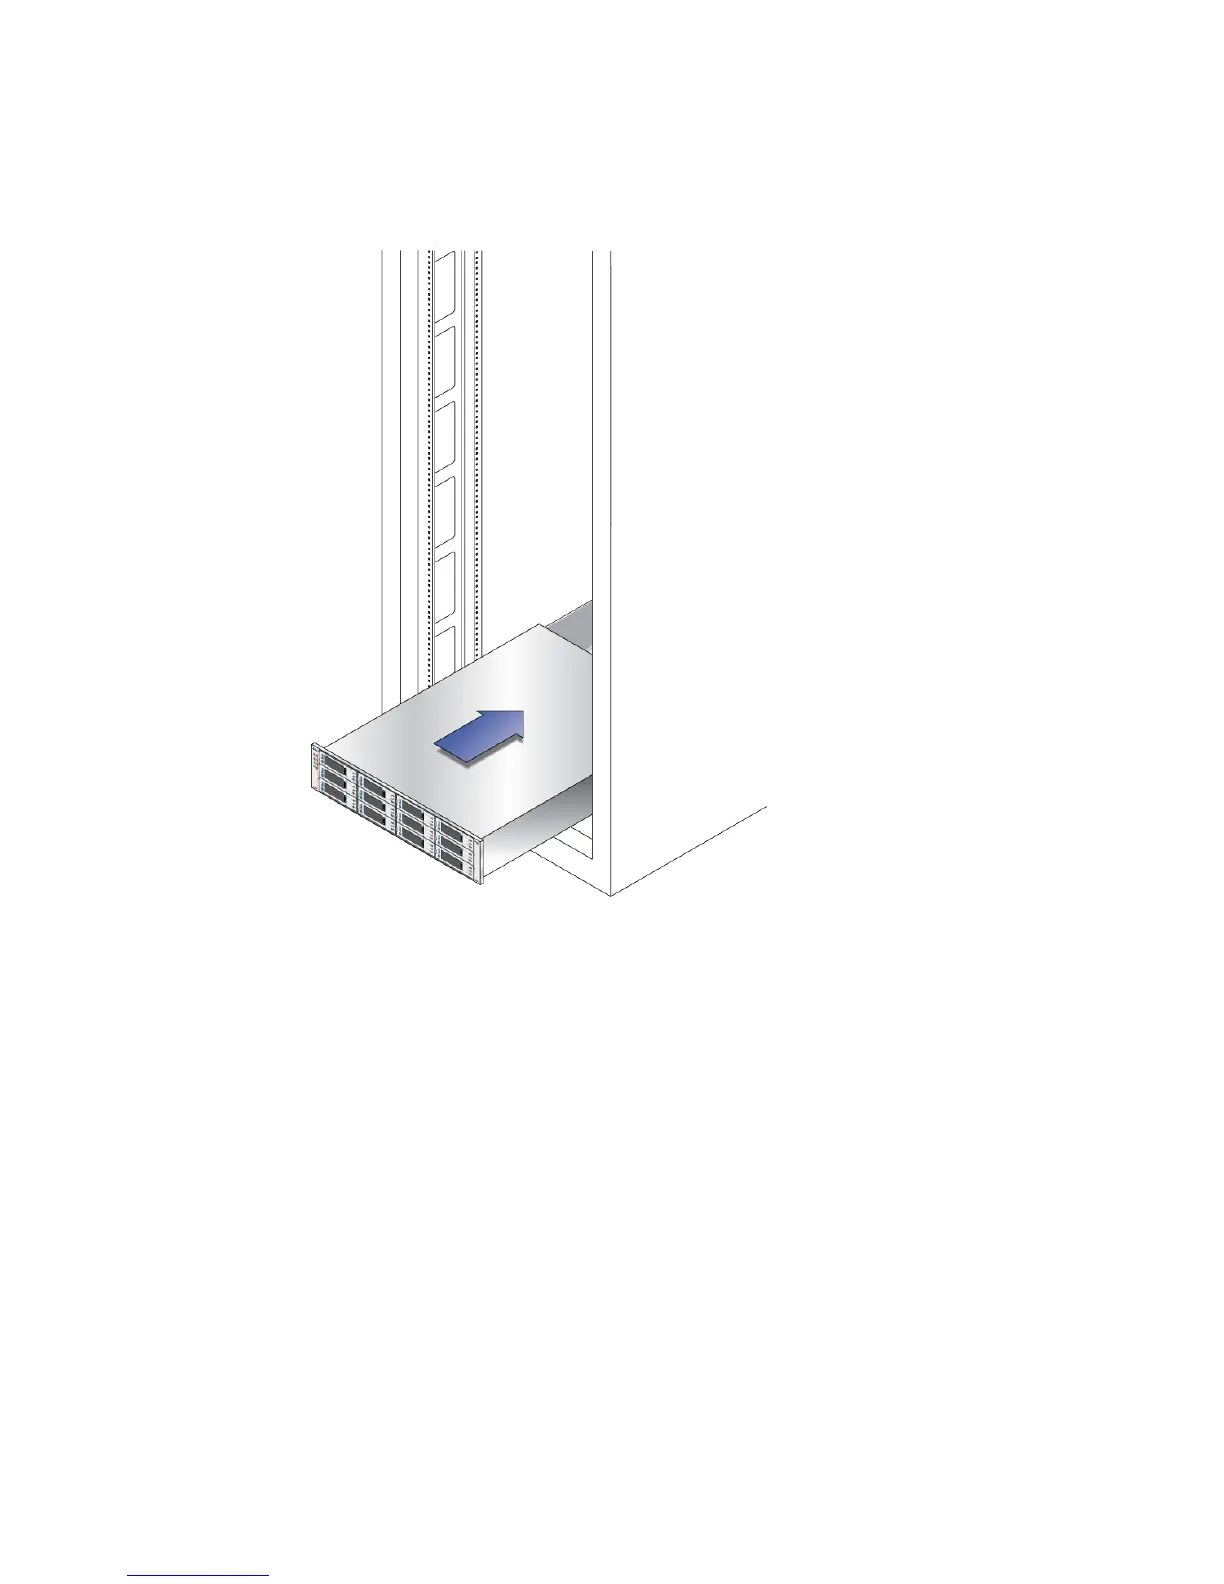
FIGURE 2-13 Controller Tray Installed
The tray has mounting flanges on both sides with three mounting holes in them. The
top and bottom holes are large enough to fit over the heads of the screws already in
the cabinet rails used to mount the universal rails. If the tray was shipped with end
caps (bezels) clipped on the tray mounting flanges, remove them before sliding the
tray all the way in over the mounting screw heads.
To remove an end cap, place your thumb on the lower front face of the cap and reach
your forefinger underneath to the back bottom edge of the cap, then pull the cap
towards you and slightly upwards.
On the rear of the controller tray, a flat metal tab on each side corner slides into a
special mounting clip on the rear of each universal rail, securing the back of the tray.
This eliminates the need for rear mounting screws to secure the tray. For racks that
might move or be shipped, Sun recommends that you install M4 screws through the
hole in the tab and into the corresponding threaded hole in the rail as shown in
FIGURE 2-14.