getting started
SYNRAD FH Series Flyer Operator’s Manual Version 3.4
53
Ethernet conguration
2
By default, the Use DHCP property is set to No. Contact your IT Department or Network Adminis-
trator for, and then enter, these property values: Ethernet IP Address or Host Name, IP Netmask,
IP Gateway, and DNS Server IP Address. You may enter two dierent DNS server IP addresses.
3
If you are required to use DHCP, then set the Use DHCP property to Yes. When DHCP is enabled,
Flyer automatically queries your DHCP server for a valid IP address and other network parameters.
4
Click OK and remove power from the Flyer head.
5
Reset your computer to its original Ethernet conguration.
6
Disconnect the Ethernet crossover cable from Flyer and connect the Ethernet cable required by your
network—straight-through or crossover—as determined by your IT department.
7
Reapply DC power to Flyer. Upon start-up, Flyer will communicate via the Ethernet using the proto-
col you have selected.
Note: If WinMark Pro does not connect to Flyer after boot-up, go to the Devices menu and click Con-
nect To Ethernet Flyer. In the Select Ethernet IP Address dialog box, enter Flyer’s Ethernet IP
address (the value you entered for the Ethernet IP Address or Host Name property).
Ethernet security
The release of WinMark version 5.1.1, build 5942 and Flyer rmware 2.14 allow you to restrict the range
of IP addresses that connect with the Flyer head. If there are no restrictions, Flyer will connect to any
address; if one or more IP address ranges (up to ten ranges) are listed, Flyer will connect to devices within
those ranges, but will refuse all other connections.
To setup Ethernet security, refer to Figure 1-13 and perform the following steps:
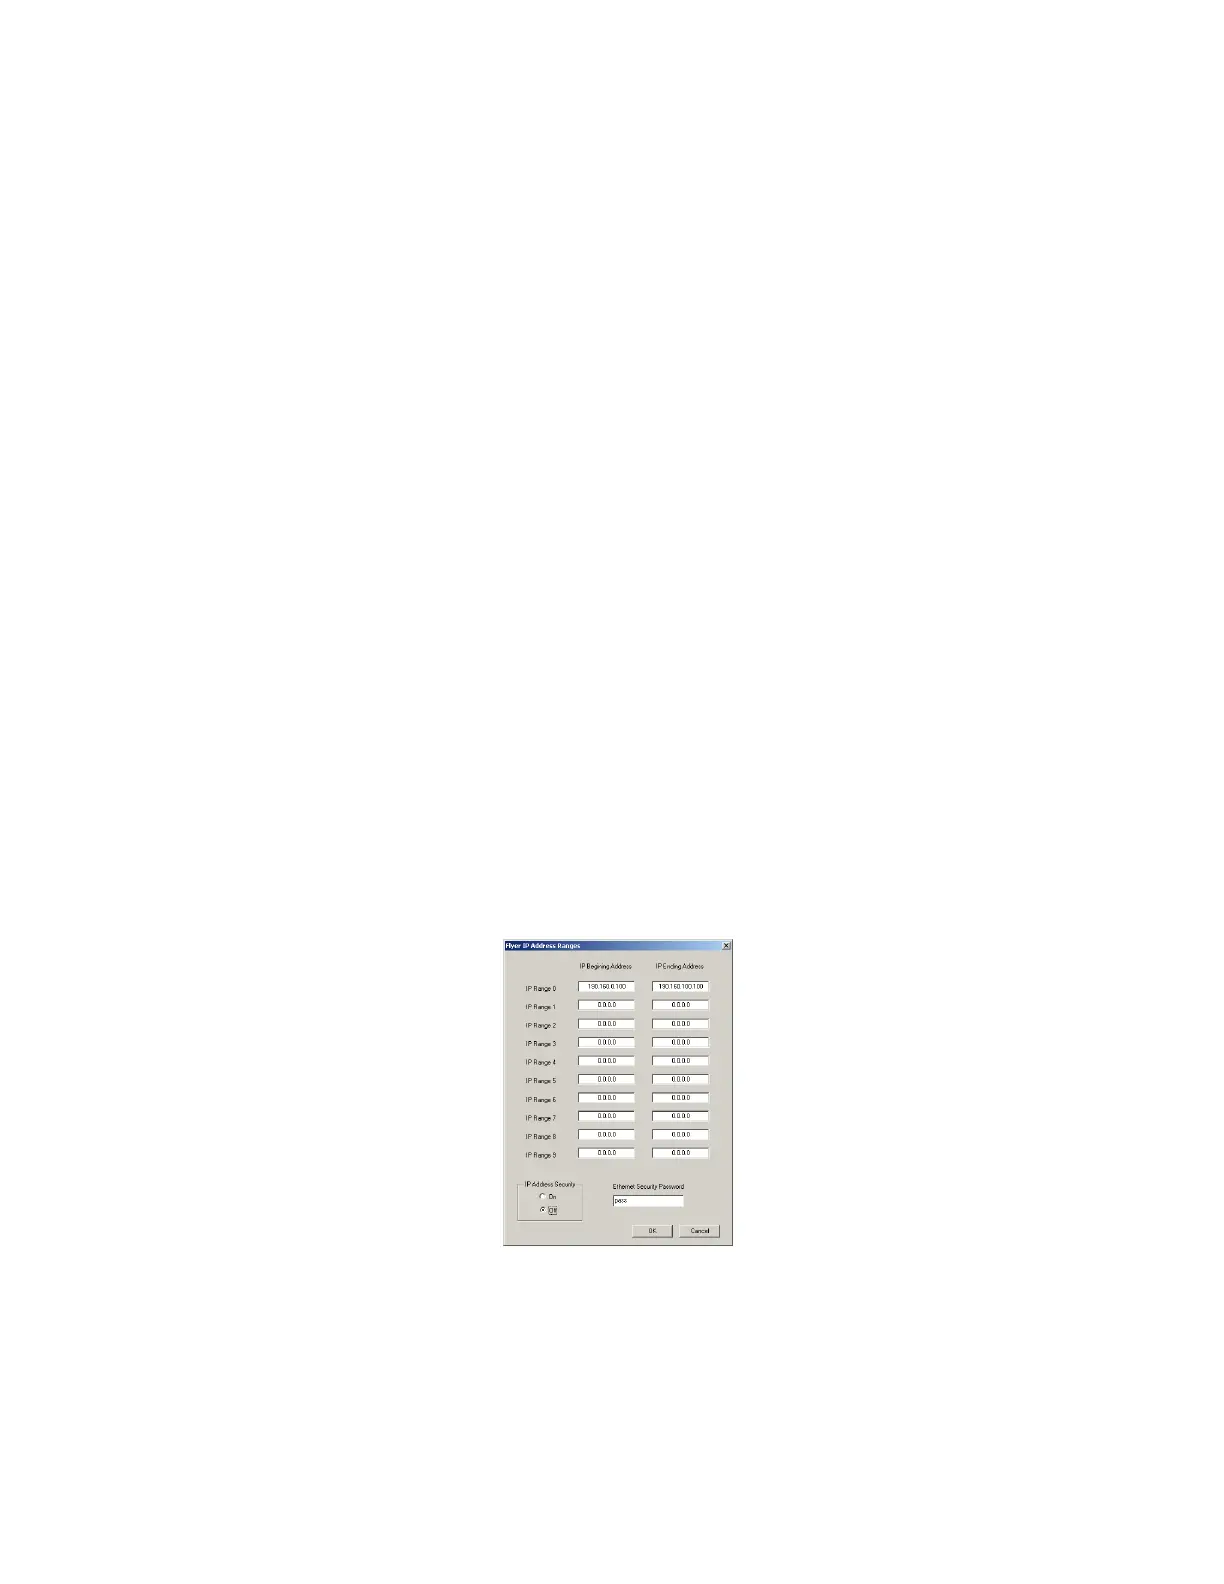
Figure 1-13 Flyer IP Address Ranges dialog
1
In WinMark Pro under the Tools menu, click Flyer IP Address Range.
2
Enter your user password. The default factory password is “pass” (without the quotes).
3
Once the Flyer IP Address Ranges dialog opens, enter a range of authorized IP addresses.