operation
74
SYNRAD FH Series Flyer Operator’s Manual Version 3.4
Initial start-up
2
Power up the Flyer marking head and wait until the Status indicator is solid green.
Caution
possible
equipment
damage
Do not attach or remove the DC Power cable while DC power to the
FH Flyer head is energized. This “hot-plug” action causes arcing that
will damage the connector pins and may damage Flyer circuitry.
Always switch AC power to the +30 VDC supply to energize or de-
energize FH Flyer.
3
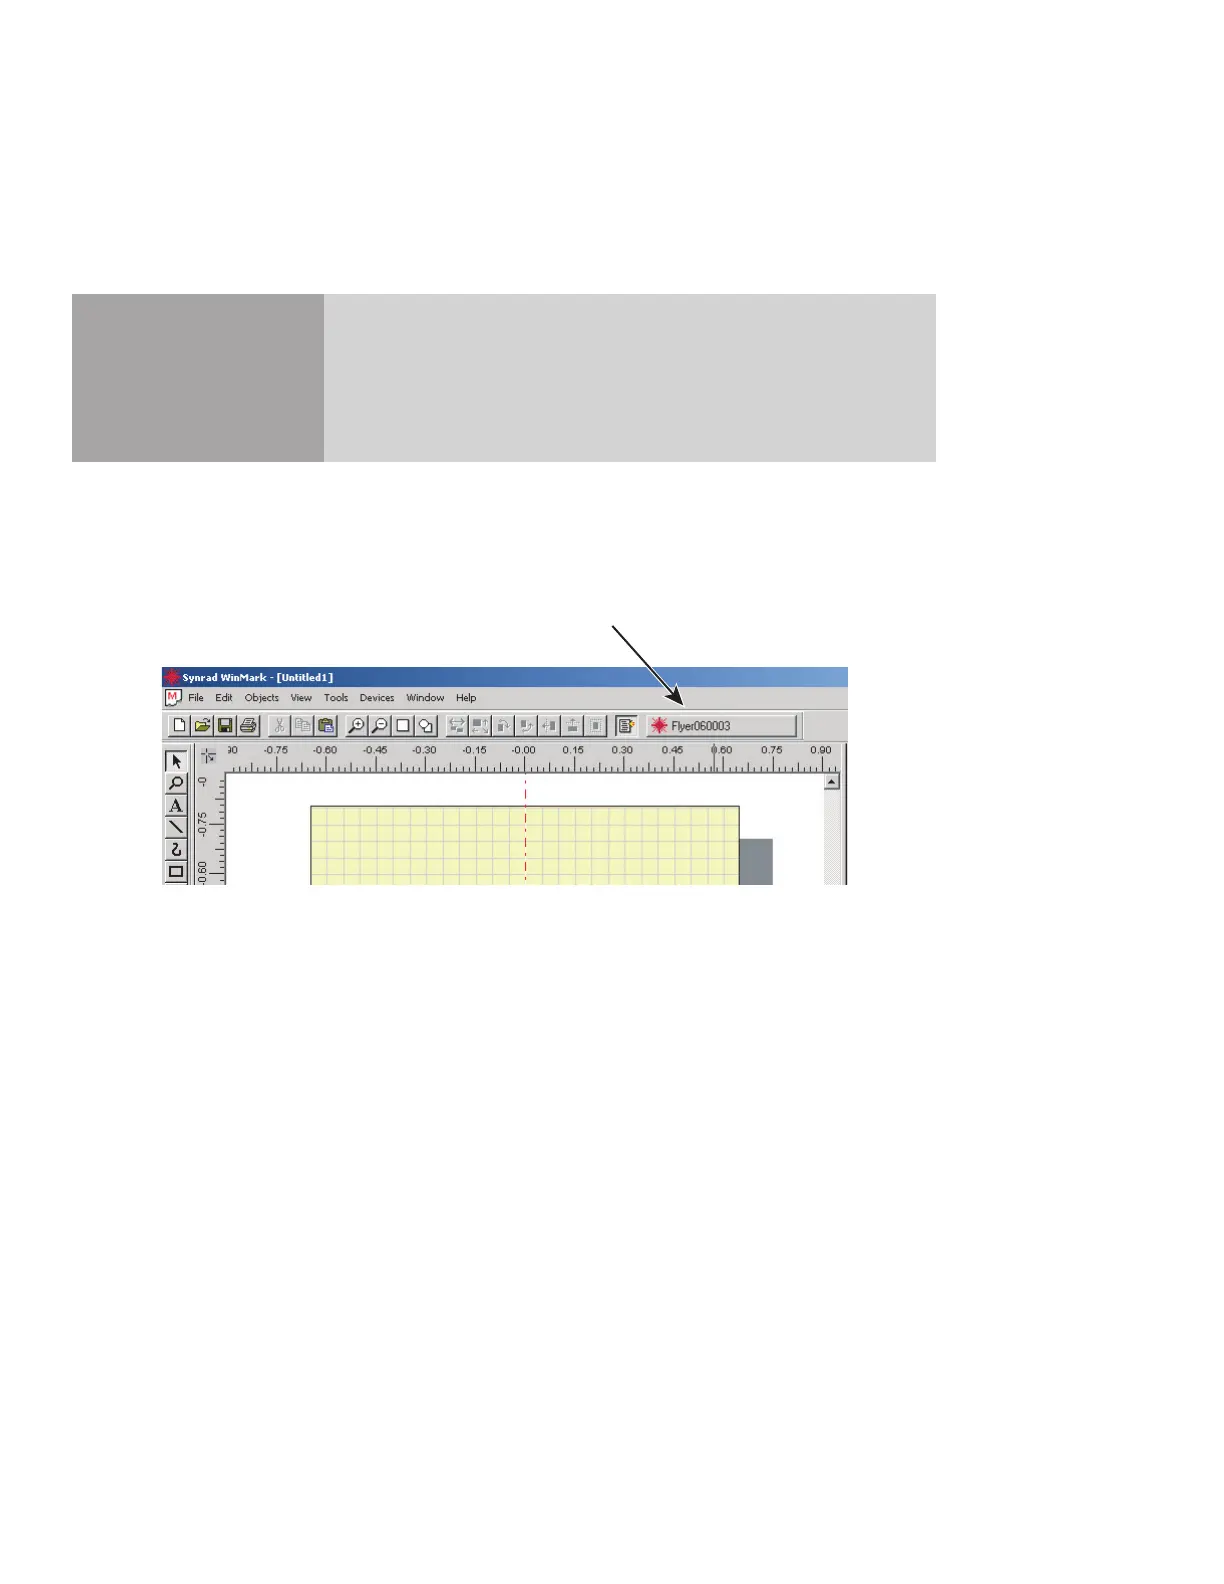
Open WinMark and verify that the Mark button displays the name of the FH Flyer head you are op-
erating (see Figure 3-4). If not, refer to Troubleshooting in the Maintenance/Troubleshooting chapter.
Figure 3-4 WinMark Pro’s Mark button
Create a mark le
1
Check that the Lens size entered in WinMark is the same as the currently installed focusing lens.
a
From the Tools menu in WinMark Pro, select General Settings….
b
In the General Settings dialog box, click the “Device” tab.
c
Click Lens and then click the arrow.
d
In the drop-down list, select the lens currently installed on your FH Flyer head.
WinMark v6 automatically resizes the Drawing Canvas to t the extents of the selected lens.
Note: An alternate method to access the “Device” tab is to right-click the Mark button.
2
Design and save your .mkh mark le using WinMark Pro’s Drawing Editor.
Lase the mark
1
Place a part in the eld of the focusing lens.
WinMark Pro “Mark” Button