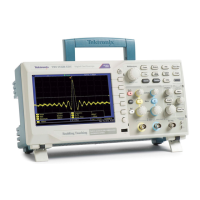
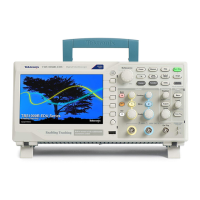
Application Examples
Using Autoran
ge to Examine a Series of Test Points
If you have a m achine that is malfunctioning, you may need to find the frequency
and RMS voltage of several test points, and compare these values to ideal values.
You are not ab
le to access front-panel controls since you need to use both hands
when probing test points that are difficult to physically reach.
1. Push the 1 (channel 1 menu) button.
2. Push Probe ► Voltage ► Attenuation. Chose the attenuation of the probe
attached to channel 1 from the pop-out selectable list of values by turning
and pushing the Multipurpose knob.
3. Push the Autoset button for more than 1.5 seconds to activate autoranging,
and select the Vertical and Horizontal option.
4. Push the Measure button to see the Measure Menu.
5. Push Ch1.
6. Turn the Multipurpose knob to select Frequency.
7. Push Ch2.
8. Turn the Multipurpose knob to select Cycle RMS.
9. Attach the probe tip and reference lead to the first test point. Read the
frequency and cycle RMS measurements from the oscilloscope display and
compare these to the ideal values.
10. Repeat the preceding step for each test point, until you find the malfunctioning
component.
NOTE. When Autorange is active, each time you move the p robe to another test
point, the oscilloscope readjusts the horizontal scale, the vertical scale, and the
trigger level, to give you a useful display.
Taking Cursor Measurements
You can use the cursors to quickly take time and amplitude measurements on
a waveform.
Measuring Ring Frequency
and Amplitude
To measure the ring frequency at the rising edge of a signal, follow these steps:
1. Push the Cursor front-panel button to see the Cursor Menu.
2. Push the Type side-menu button. A pop-out menu should appear showing a
scroll-able list of the available cursor types.
3. Turn the Multipurpose knob to highlight Time.
4. Push the Multipurpose knob to select Time.
30 TBS1000B and TBS1000B-EDU Series Oscilloscopes User Manual
 Loading...