FRONT SUSPENSION AND STEERING
Read all of SAFETY and this section before attempting any procedure. Pay particular attention to Notices, Cautions, Warnings and Dangers.
37
d. If the steering wheel is not oriented properly,
remove the yoke from the steering box pinion
and turn the steering wheel to the correct orien-
tation.
e. Install the yoke on the spline of the steering box
pinion.
12. Install the lower cross bolt (13) through the un-
threaded portion of the yoke. Make sure the lock
washer (14) is in place.
13. Tighten the upper cross bolt (10) and nut (11). Make
sure the lock washer (12) is in place. Tighten the
lower cross bolt (13) to the torque value specified
below.
Tie Rod End / Ball Joint
Tool List Qty.
Socket, 16 mm ............................................................ 1
Ratchet........................................................................ 1
Torque Wrench, ft. lbs. ................................................ 1
Ball Joint Separator ..................................................... 1
Ball Peen Hammer ...................................................... 1
Inspect the tie rod end or ball joint by grasping the end
and checking for vertical motion. If the tie rod moves up or
down, this is an indication that the ball joint is worn and
requires replacement.
Raise and support the vehicle as described in the
SAFETY section. Remove the front wheels as described
in the WHEELS AND TIRES section.
1. Loosen the jam nut (7) securing the tie rod end to the
spindle arm (Figure 5).
2. Using a ball joint separator as a lever, apply pressure
to the ball joint and tap the spindle arm sharply with
the ball peen hammer to release tie rod from the
spindle arm.
3. Remove the jam nut (7) and remove the tie rod end
from the spindle arm.
4. Measure the length of the threaded part of the tie rod
end to the jam nut or count the number of turns that it
takes to remove the tie rod end.
5. Install the new tie rod end the same number of turns
counted when removing the old tie rod end, or to the
same measured length of the threaded part of the tie
rod end to the jam nut.
6. Install the tie rod end into the spindle (4).
7. Tighten the jam nut (7) against the tie rod end.
8. Replace the other tie rod end if necessary.
9. Check the wheel alignment and correct if necessary.
The procedure for alignment is detailed at the begin-
ning of this section.
Steering Box
Tool List Qty.
Torx Bit, T-45 IP ..........................................................1
Ratchet ........................................................................1
Torque Wrench, ft. lbs..................................................1
Ball Joint Separator .....................................................1
Ball Peen Hammer.......................................................1
Raise and support the vehicle as described in the
SAFETY section. Remove the front wheels as described
in the WHEELS AND TIRES section.
1. Loosen the nut (21) securing the tie rod (22) end to
the spindle arm (Figure 5).
2. Using a ball joint separator as a lever, apply pressure
to the ball joint and tap the spindle arm sharply with
the ball peen hammer to release tie rod from spindle
arm.
3. Remove the nut (21) and remove the tie rod end
from the spindle arm.
4. Repeat steps 1 through 3 for the remaining tie rod
end.
5. Remove the lower cross bolt securing the yoke to the
steering box pinion.
6. Loosen the upper cross bolt securing the yoke to the
intermediate shaft.
7. Remove the yoke from the steering box pinion by
sliding it up the intermediate shaft.
8. Remove three torx head screws (15) securing the
steering box (16) to the vehicle frame (Figure 12).
9. Remove steering box from the driver side of the vehi-
cle.
Installation is reverse order of removal. Replace worn or
damaged hardware.
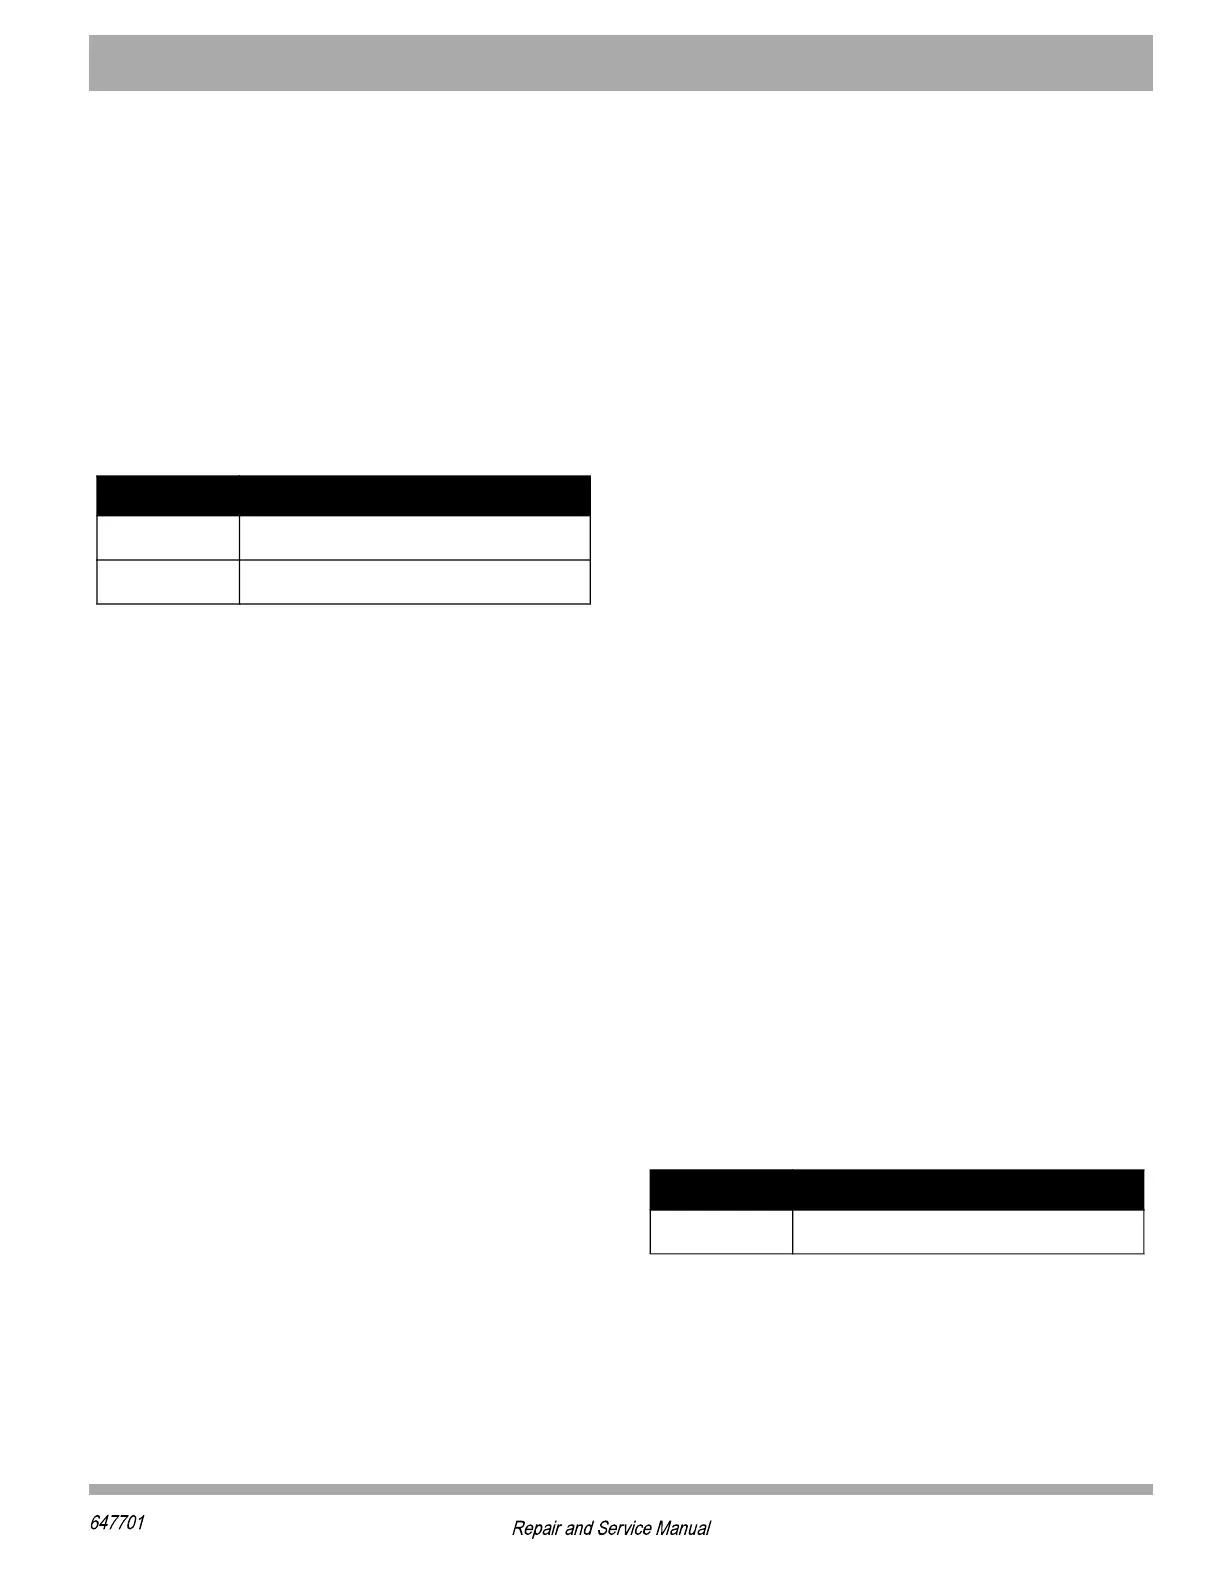
Tighten the screws (15) to the torque value specified
below.
Item Torque Specification
9 20 - 25 ft. lbs. (27 - 34 Nm)
11, 13 22 - 27 ft. lbs. (30 - 36 Nm)
Item Torque Specification
15 20 - 25 ft. lbs (27 - 34 Nm)