Routine Maintenance
CLCH-SVX07K-EN 163
Cleaning the Bulbs
Note: If bulbs are found to be broken, see the proper
warning and cautions below regarding broken
bulbs and hazardous vapors.
1. Disconnect all electrical power to the unit and the
ultraviolet bulbs.
2. Wearing soft cloth gloves and safety glasses, loosen
the compression nut on each end of the bulb, use two
hands and firmly grasp the bulb at each end.
3. Rotate the bulb 90 degrees in either direction and move
bulb away from the fixture and out of unit.
4. Wipe down each bulb with a clean cloth and alcohol.
Avoid touching the bulb with bare hands as skin oils
can accelerate future glass soiling and degrade the
bulb performance.
5. Wearing soft cloth gloves and safety glasses, install
lamp by grasping each non-glass end with the thumb
and index fingers. Carefully push lamp ends into
previously mounted lamp clamps and tighten
compression nuts.
6. Attach the loom to the lamp by firmly pushing the four-
port connector onto the four pins on the lamp end.
Note: Connection must be snug to avoid potential arcing.
Replacing the Bulbs
Ultraviolet bulbs should be replaced annually if operated
continuously or after 9,000 hours of use if operated
intermittently. Replacement bulbs must be the specific size
and wattage as originally supplied from the factory.
Replacement UV bulb part ID assistance available on the
HUB - DOC-136773.
Note: Although the lights may continue to generate a
characteristic blue glow beyond 9,000 operating
hours, the ultraviolet radiation emitted by the bulbs
degrades over time and will no longer provide the
intended benefit.
1. Disconnect power to the HVAC unit and the ultraviolet
bulbs. SEE WARNING ABOVE.
2. Before installation, lamps should be cleaned using 99
percent isopropyl alcohol and a lint free cloth.
Note: If Teflon coated EncapsuLamp™ is used, it is not
necessary to clean the surface.
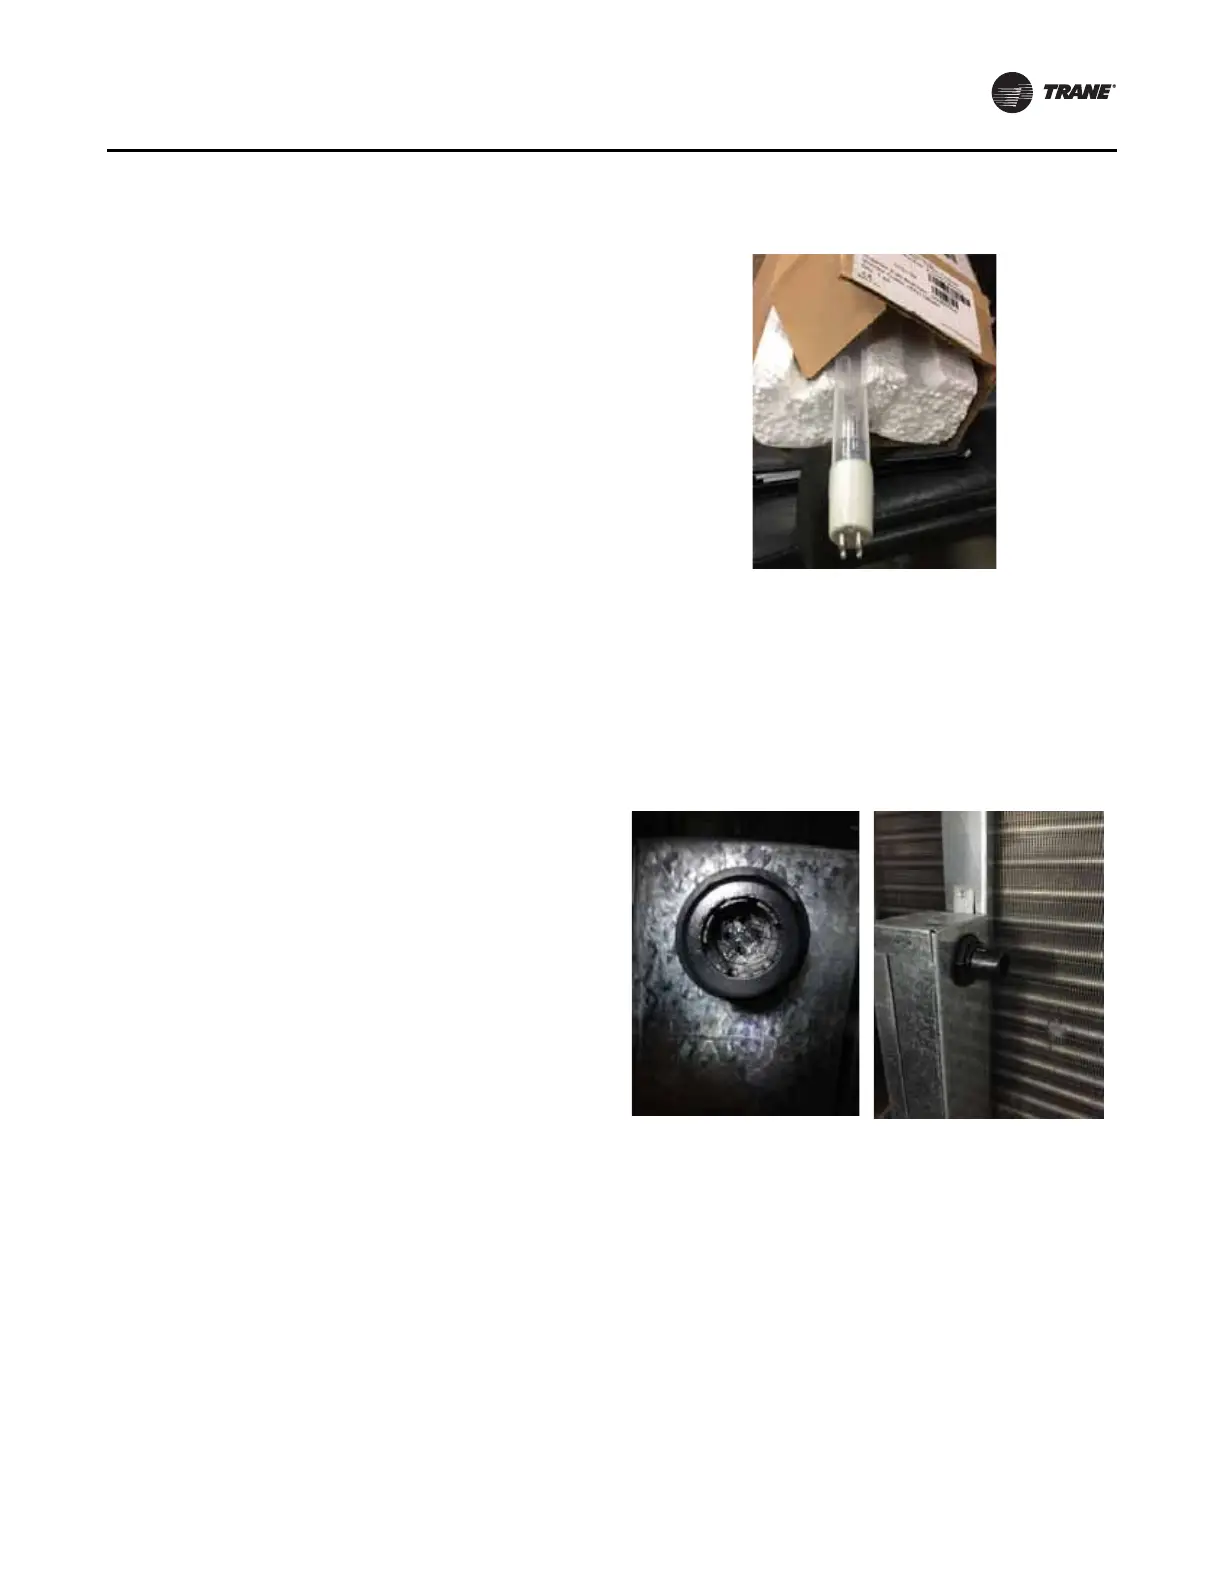
3. Wearing soft cloth gloves and safety glasses, install
lamp by grasping each non-glass end with the thumb
and index fingers. Carefully push lamp ends into
previously mounted lamp clamps and tighten
compression nuts.
4. Attach the loom to the lamp by firmly pushing the four-
port connector onto the four pins on the lamp end.
Note: Connection must be snug to avoid potential arcing.
5. If broken bulbs are found or if you are required to
dispose of used bulbs, the proper warning and
cautions must be followed.
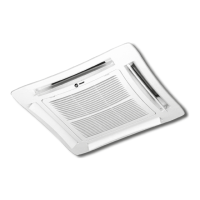
Figure 206. UV lamp
Figure 207. Plug pins into socket, then tighten
compression nut