V7 / V9
750 50 0042 03 41
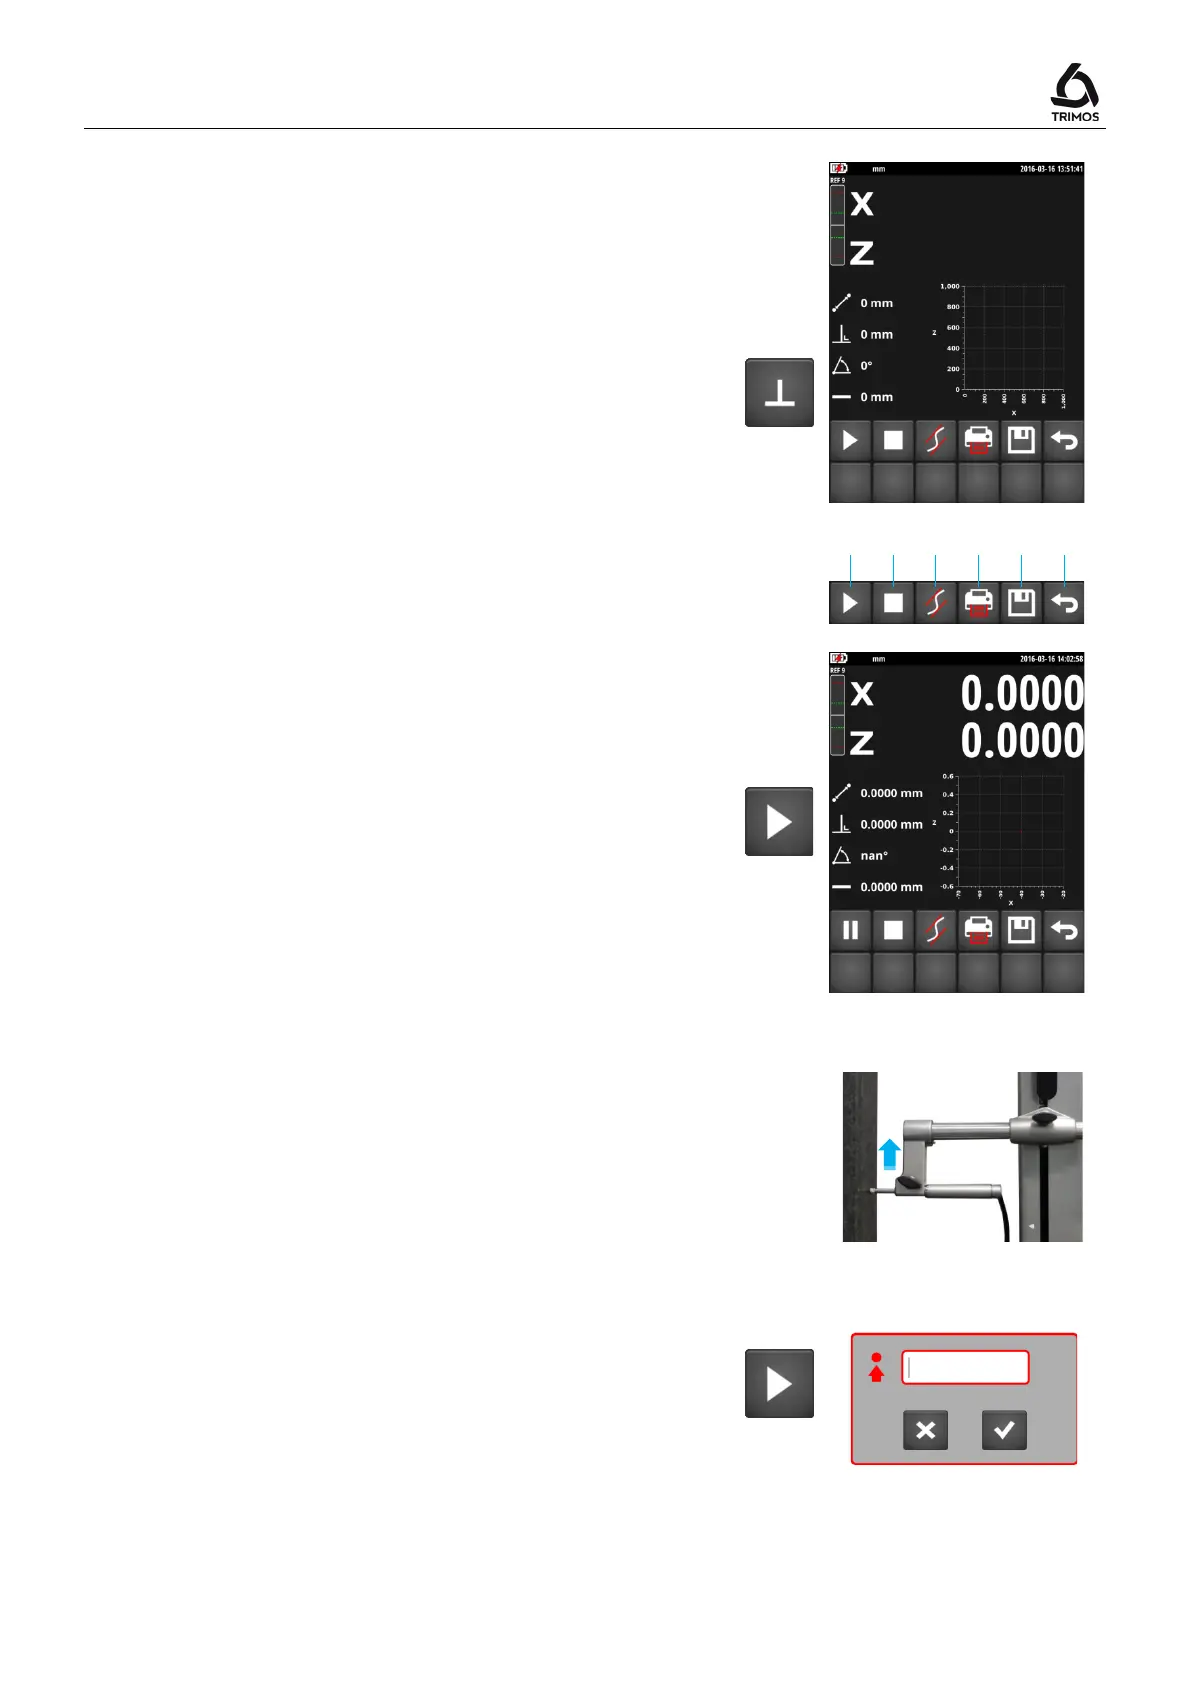
4. Call the perpendicularity measurement function by
pressing on the key shown alongside.
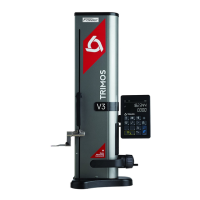
The following menu is displayed:
a) Start/Pause
b) Stop
c) Display trend curves
d) Print data
e) Save data
f) Exit
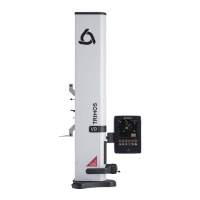
5. To start the perpendicularity measurement, press the
key.
The probe measurement (X) appears on the first line of
the display. The measured height (Z) is displayed on
the second line. These two values are initialised to 0 at
start-up.
6. Slowly move the probe along the side to be measured.
While moving, the X (horizontal axis) and Z (vertical
axis) values as well as the perpendicularity curve and
its parameters (distance, perpendicularity, inclination
and rectitude) are directly displayed.
Note 1:
In motorised mode, the carriage will start moving
immediately after having pressed the
key.
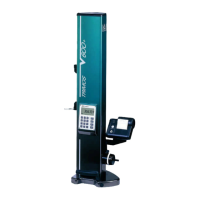
Note 2:
In motorized mode it is possible to move the probe
from a predefined distance. To do this, press the
key for 2 seconds and enter the desired distance
(positive value = upward movement, negative value =
downward movement).
The move starts directly after confirmation.
> 2s