2AV/X
1-7-1
1-7
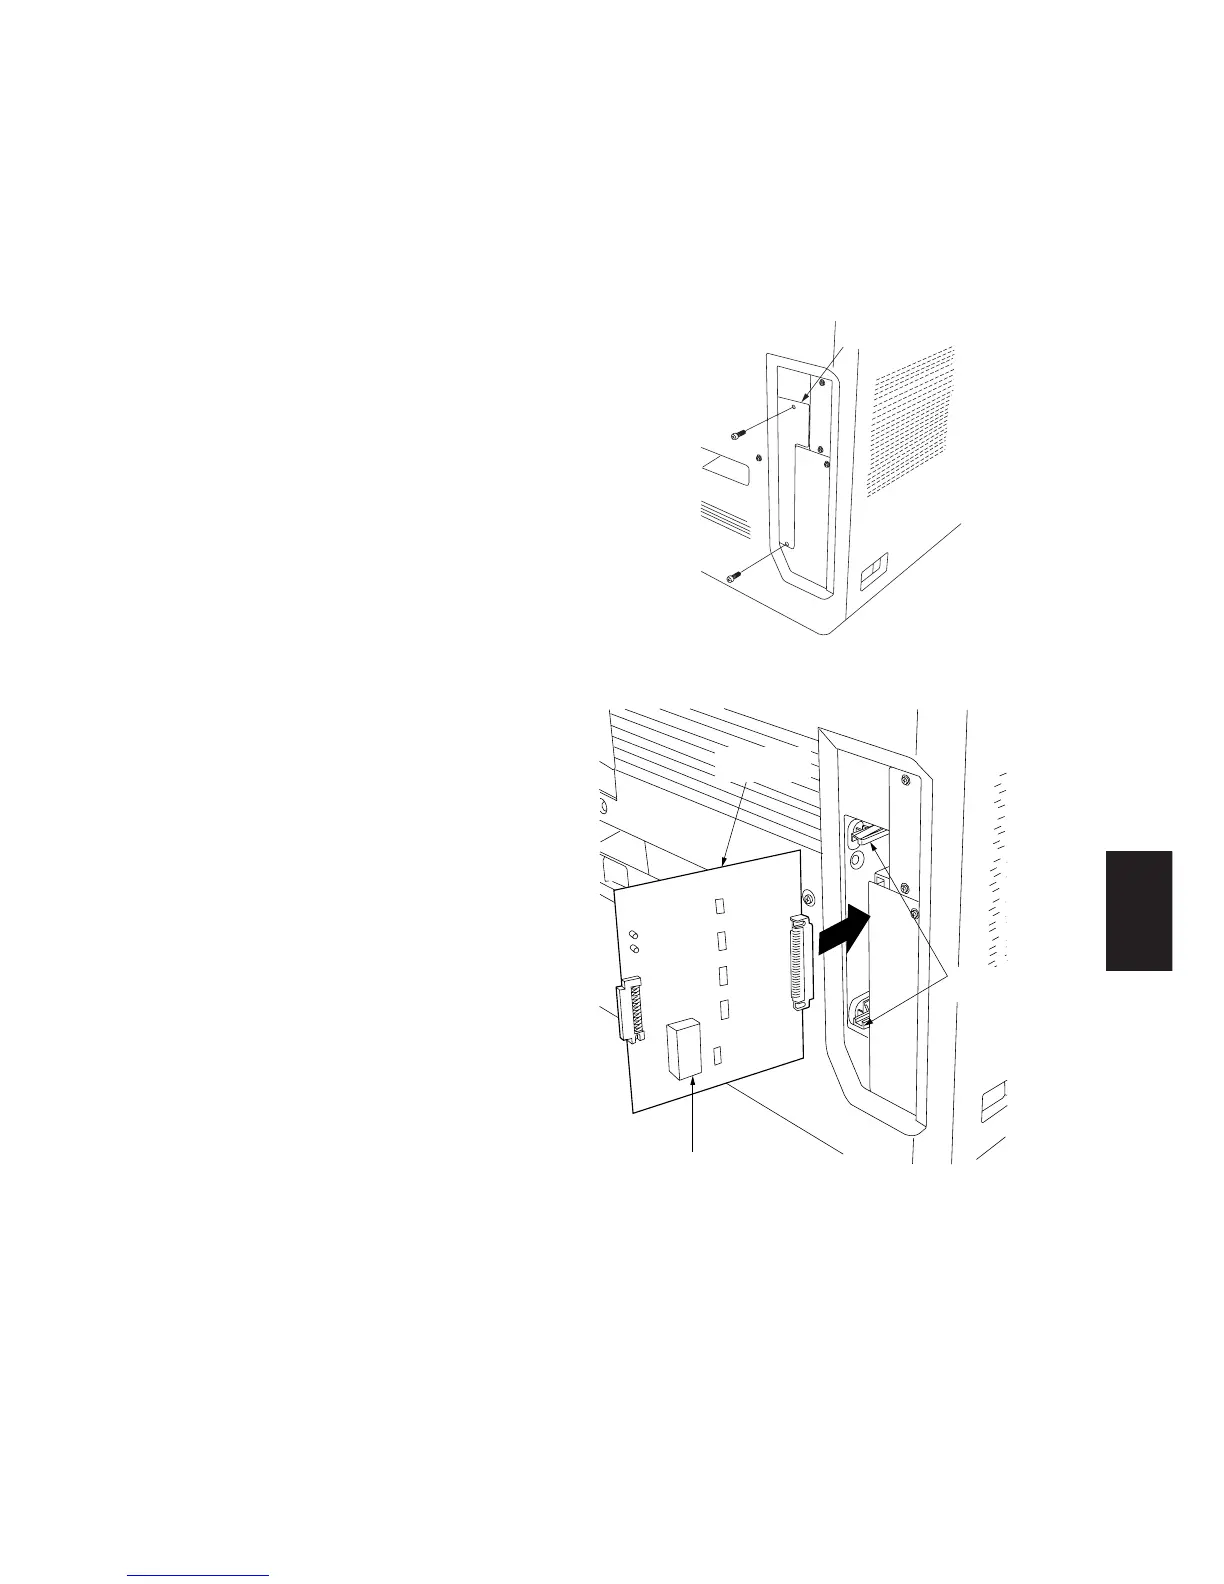
Upper shield
cover
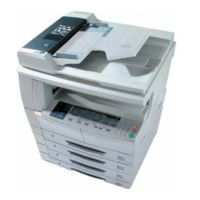
NVRAM
LED2
LED1
CN1
Memory tool
PCB
Guides (15 cpm
copier only)
Figure 1-7-1
Figure 1-7-2
1-7-1 Replacing the main PCB
Main PCB replacement requires the following tools:
Memory tool PCB (P/N 2AV68030)
NVRAM (P/N NAC06020)
Procedure
• Before replacing the main PCB (backing up the machine data)
1. Turn the main switch off and disconnect the
power plug.
2. Remove the two screws holding the upper
shield cover and then the cover.
3. If the optional memory board is installed,
remove the memory board (15 cpm copier
only).
4. Fit the NVRAM to the memory tool PCB.
Caution:
After fitting the NVRAM, do not remove it until
the writing of the machine data completes.
5. Insert the memory tool PCB into the copier and
connect its CN1 to CN31 on the main PCB.
Note:
On the 15 cpm copier, insert the memory tool
PCB along the upper and lower guides.
On the 20 cpm copier, take care not to allow
the memory tool PCB to make contact with the
metal components of the copier.