1-3-9
2AV/X
1-3
2. Check that the cleaning shaft is inserted as far as
it will go.
3. Refit the image formation unit using the two
screws.
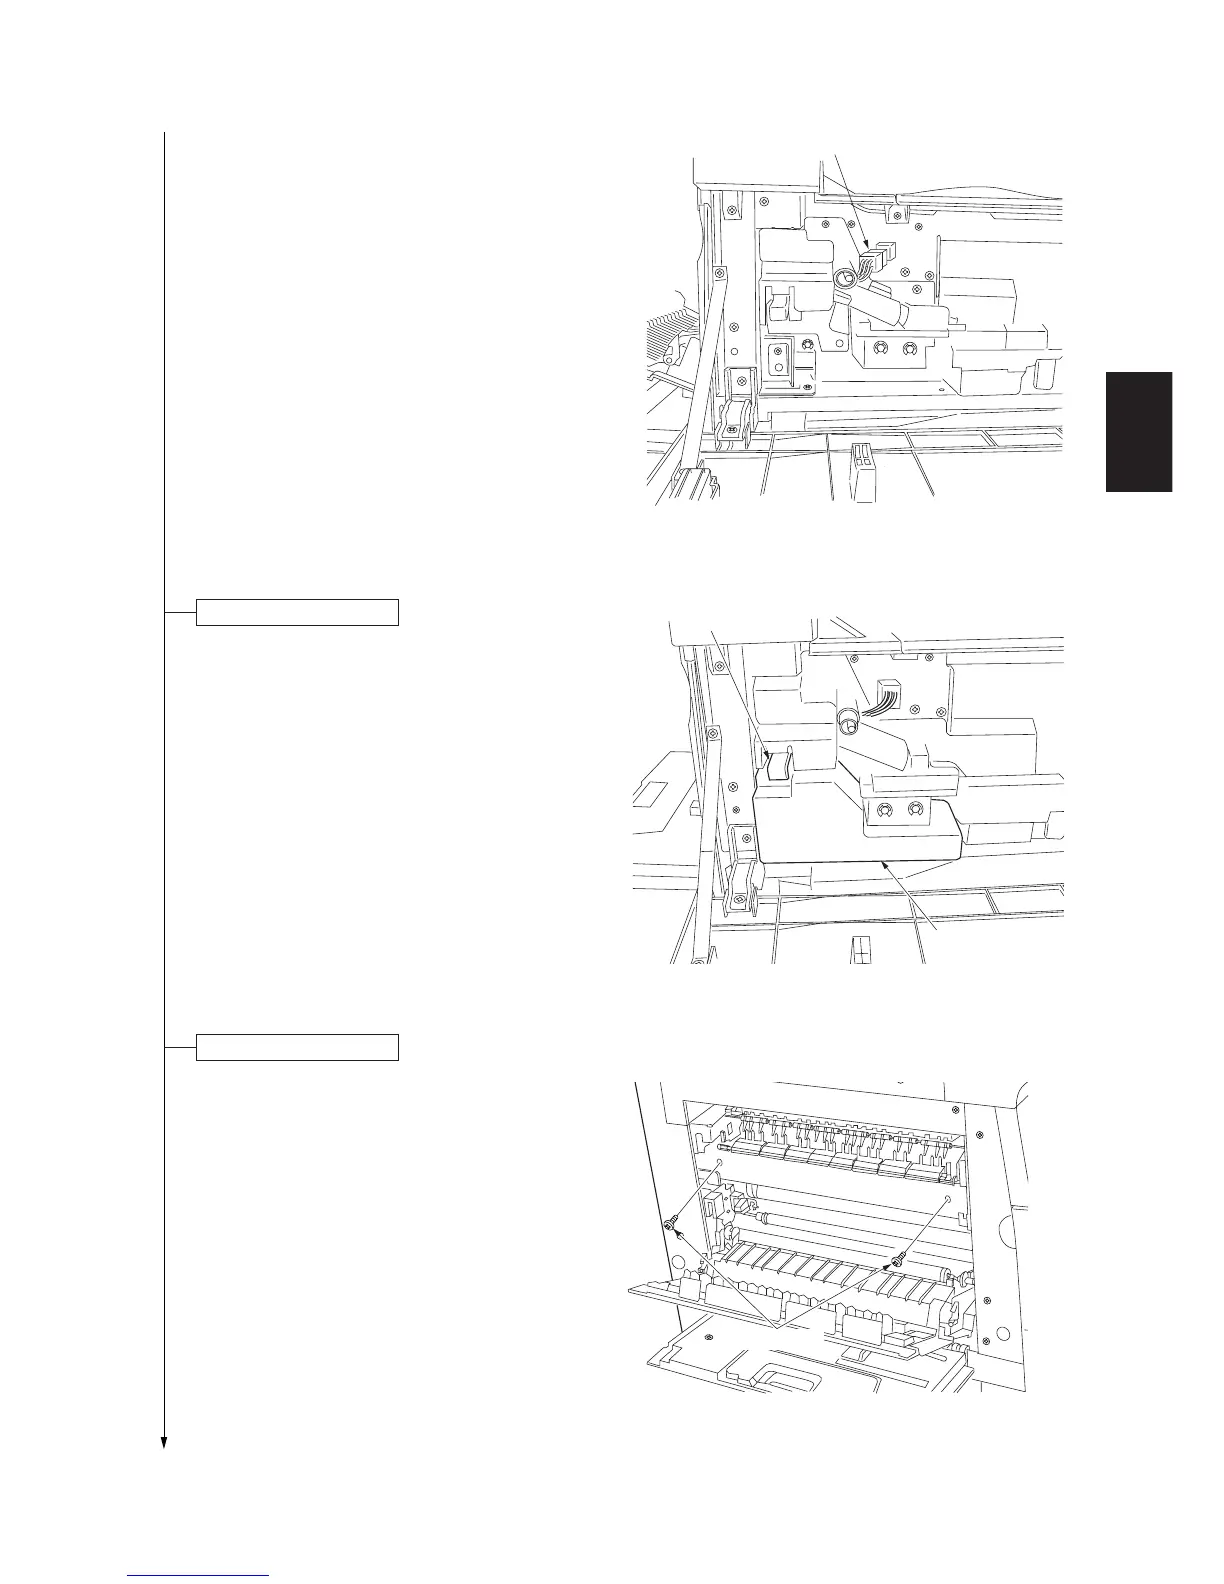
4. Connect the 12-pin connector.
1.While holding the waste toner tank release lever
up, fit the waste toner tank in the copier.
2. Close the front cover.
1. Remove the two blue screws.
2. Close the paper conveying unit and the bypass
tray.
Figure 1-3-13
Figure 1-3-15
12-pin connector
Adjust the fixing pressure.
Blue screws
Figure 1-3-14
Install a waste toner tank.
Waste toner tank
Waste toner tank
release lever