ROBOT HP7E / HP10E / HP12E / HP15E / HP20E 3. Installation and commissioning
3-9© VEMAG 2010
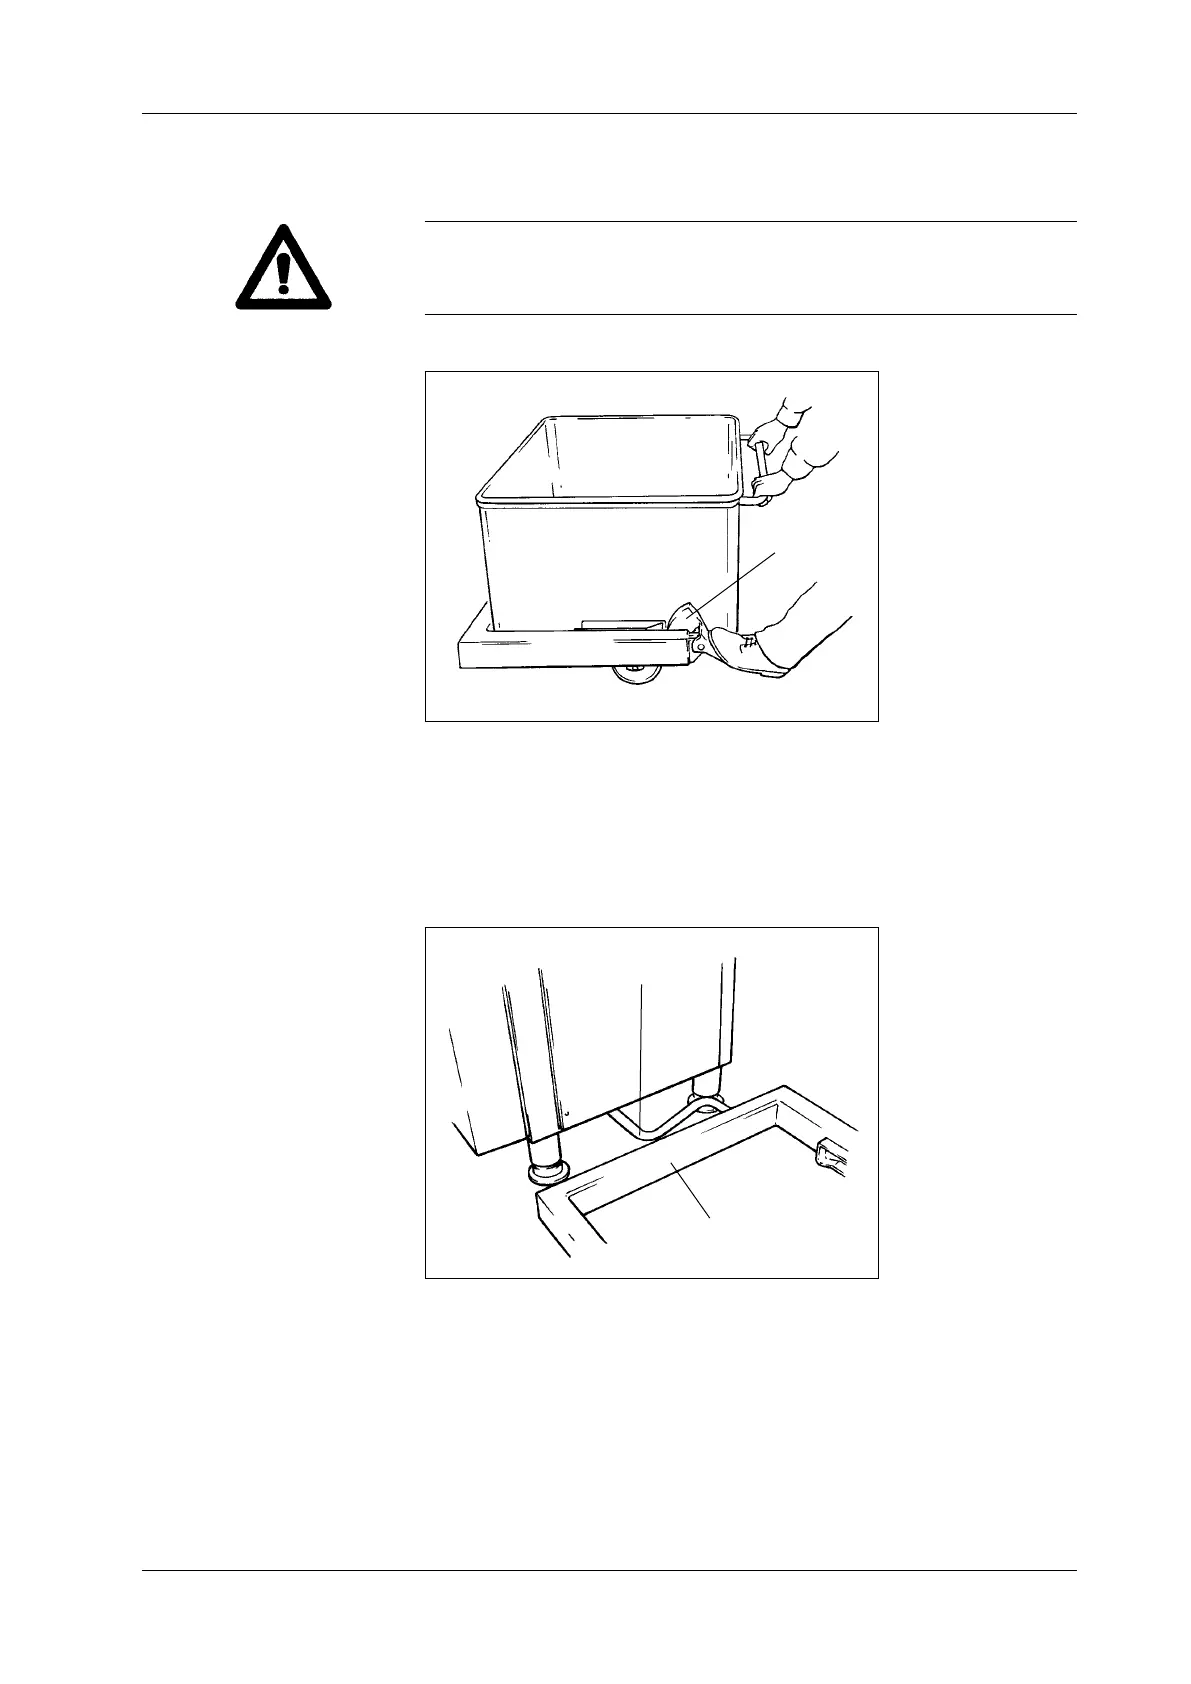
• Check that the trolley hoist is level using a spirit level, and push a
trolley right into the trolley hoist.
Warning!
Check whether the locking lever (1) is properly locked and is holding the
trolley securely in the trolley hoist.
1 Locking lever
Fig. 3-11
Locking the trolley in
position
1
• Then lock the stop screw with the guard nut again.
• If the trolley hoist (1) is correctly level, pull the stop bar (2) out far en-
ough for the gap between the bar and the trolley hoist to be 5 mm and
tighten up the four mounting bolts again.
1 Trolley hoist
2 Stop bar
Fig. 3-12
Setting the stop
2
1
 Loading...