ROBOT HP7E / HP10E / HP12E / HP15E / HP20E 4. Setting up
4-7© VEMAG 2010
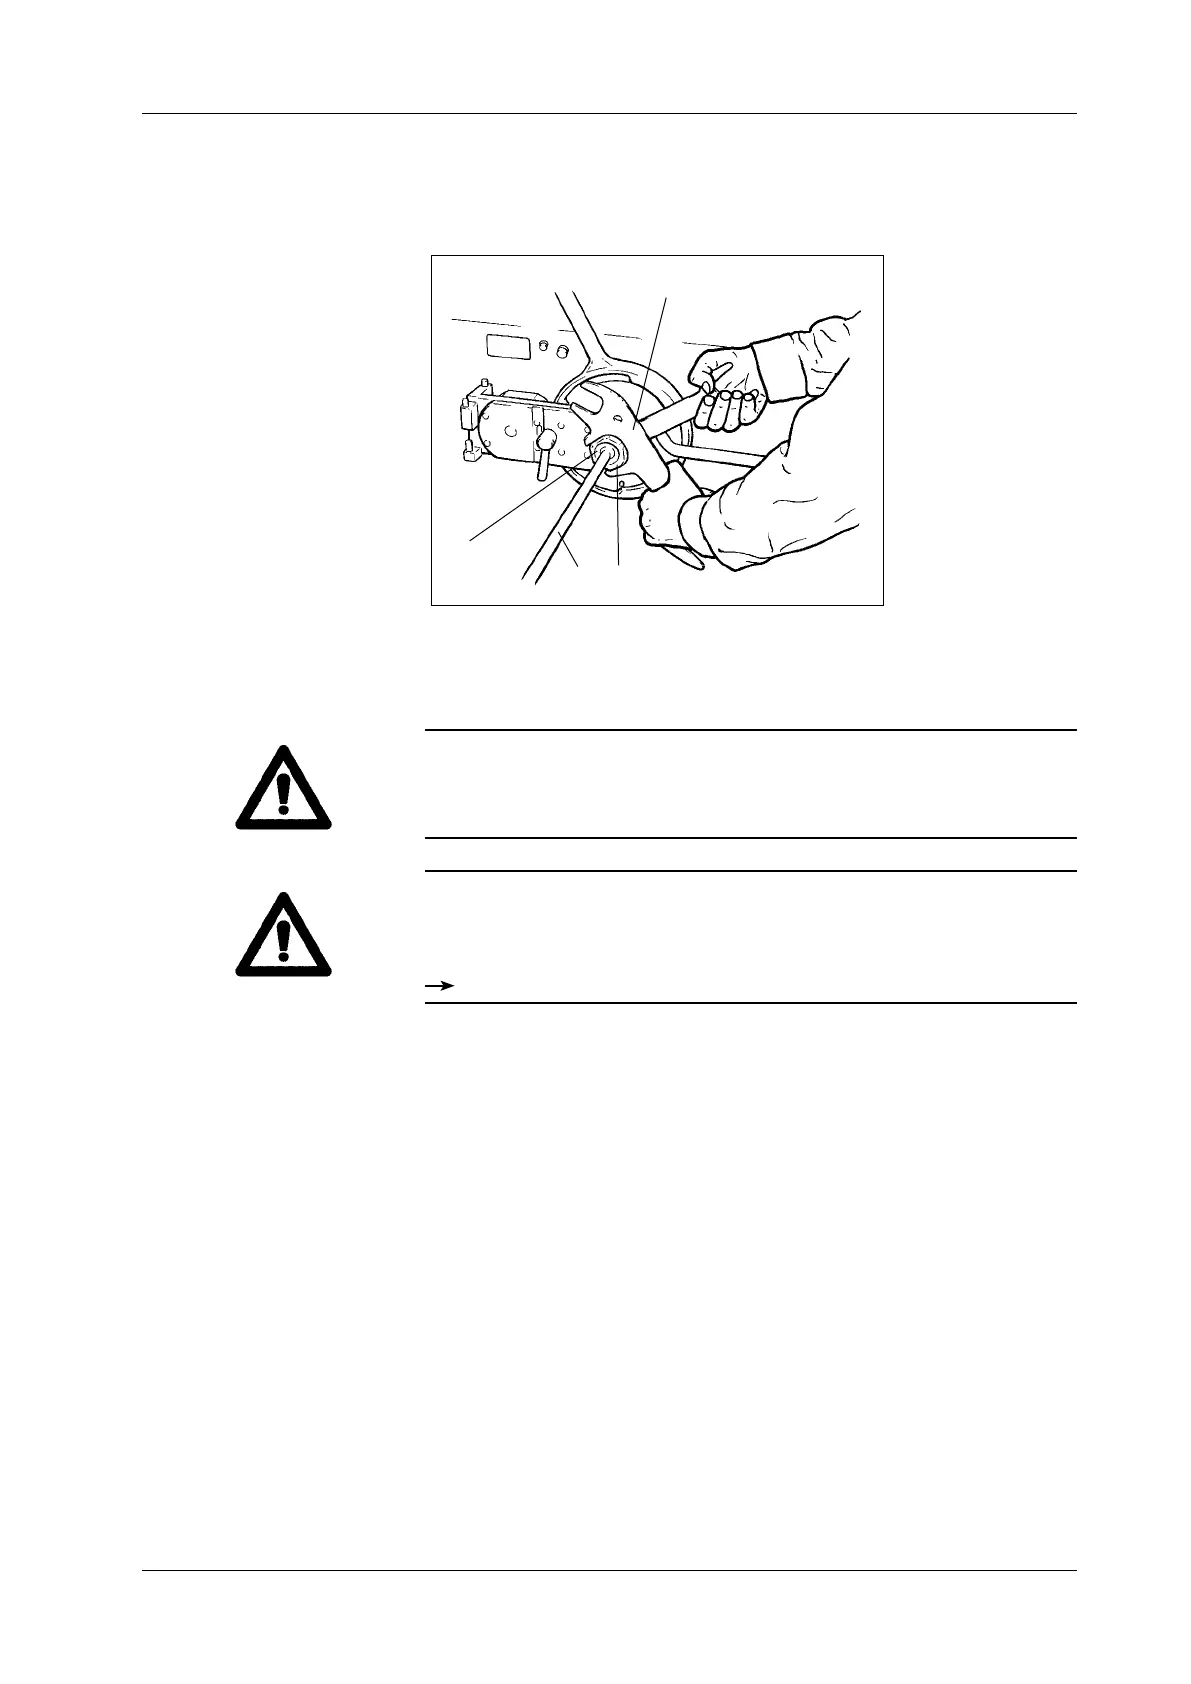
• Insert linking horn (1) into linking head (2) and tighten linking nut (3)
using universal spanner (4). Hold the linking head steady with the
second universal spanner as you do so.
1 Linking horn
2 Linking head
3 Linking nut
4 Universal spanner
Fig. 4-12
Fitting the linking horn
1 3
2
4
• Remove the spanners from the linking nut and linking head before you
start the machine.
Warning!
The linking head has a left-hand thread.
• To tighten: turn anti-clockwise
• To loosen: turn clockwise
Warning!
When processing very ne product (e.g. cooked sausage meat) a ller
cone can be inserted in the linking gear to optimise the particle denition
of the end-product.
Linking gear spare parts catalogue
 Loading...