VideoIQ User Guide73
2. Select the Baud rate that corresponds to the serial configuration of the PTZ
camera. If you’re uncertain what the baud rate of your camera is, consult your
camera manual.
Note: Some PTZ cameras use an autobaud algorithm and do not allow you to
set a baud rate. If you have this type of camera, select your baud rate,
and press and hold the Stop button until the PTZ autobaud function is
completed.
3. Indicate if the PTZ camera you’re configuring is Half duplex.
4. Set the PTZ Protocol for either Pelco D or Pelco P.
5. Click OK.
Home
Using the Encoder, video analytics are supported on one preset PTZ location,
which is referred to as the Home position. The Home position of the camera is
indicated by a red plus sign on the live video window.
Note: Analytics operates only when the camera is in the Home position. Once
the camera has left this position it will continuously record, but analytics
will not be active.
1. To set or change the Home position use the directional arrows or click your
cursor in the live video window to move the position of the camera, then click
the Set Home Position button.
On some cameras, clicking the Set Home Position button may bring up the
on-screen camera menu. If you see this behavior consult your camera
manual to determine what additional steps are needed to set the Home
position.
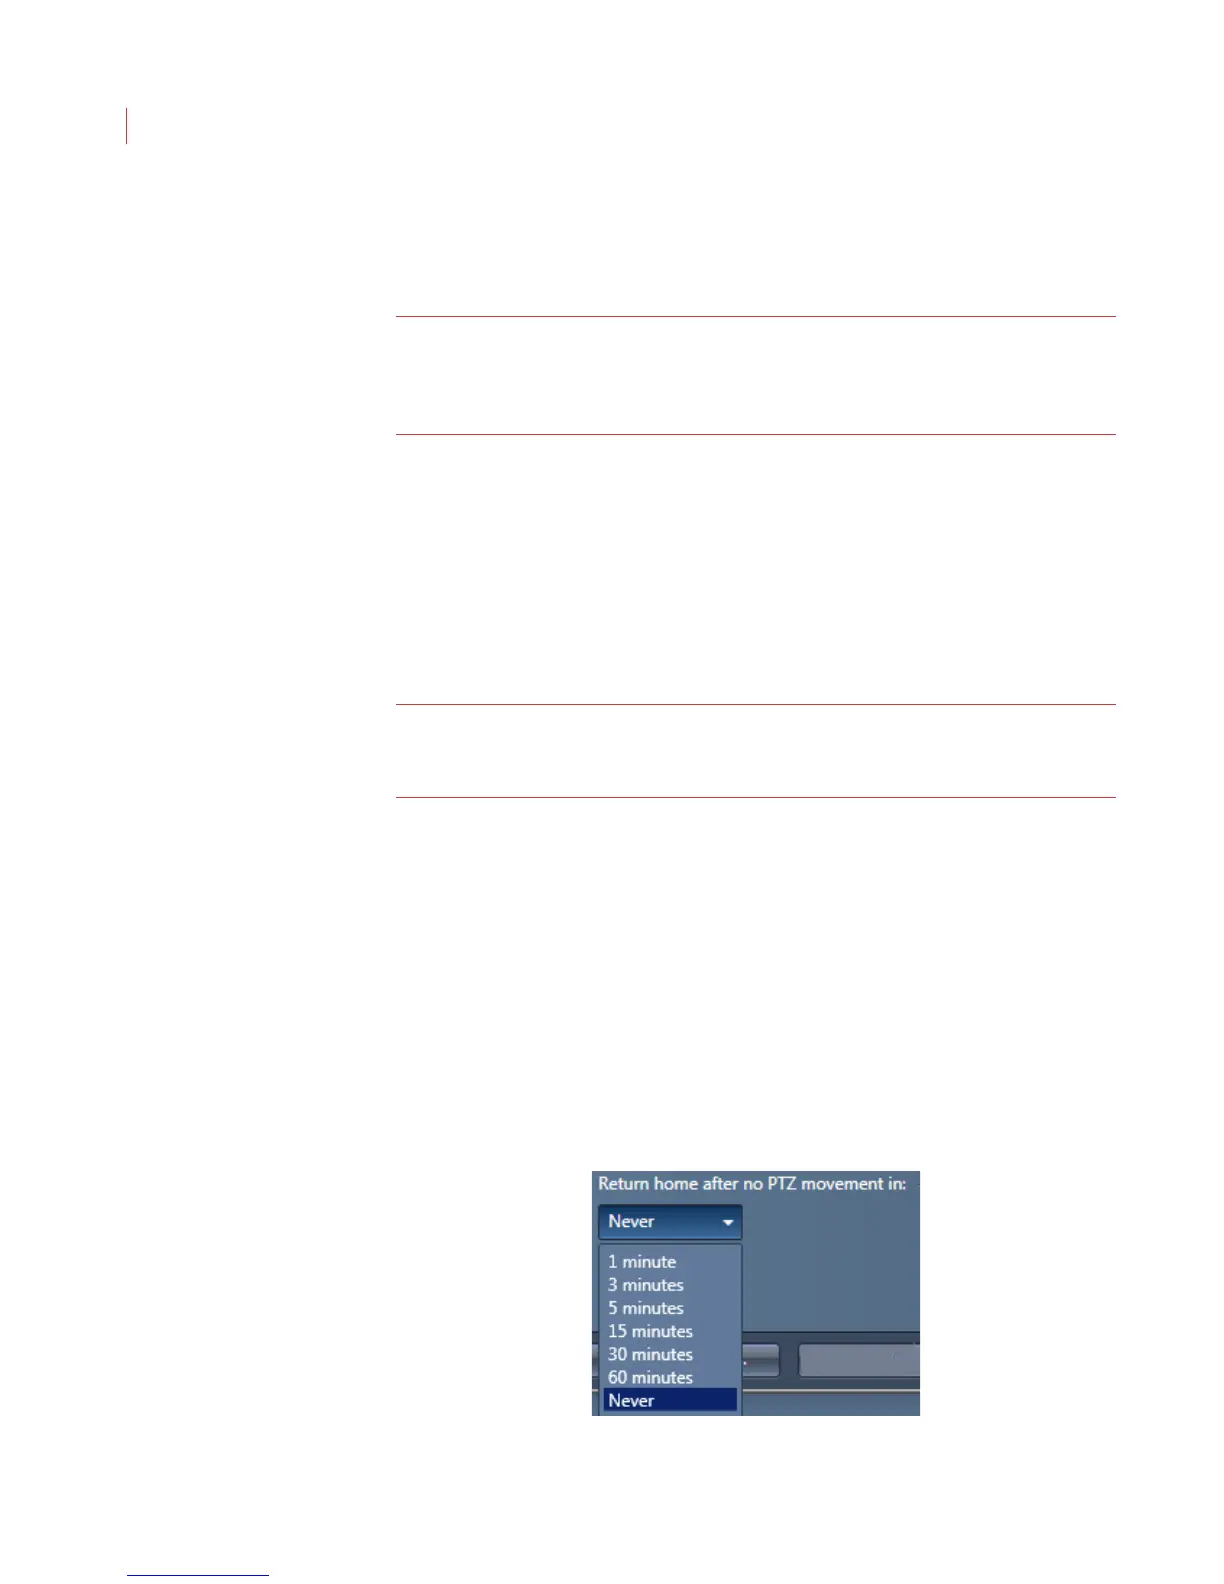
2. Use the Return home after no PTZ movement drop-down menu to select
how quickly you want the camera to return to its Home position after manual
PTZ control has stopped. The camera will automatically return to the Home
position after this time period has elapsed, and the analytics will re-engage
automatically. If you don’t want it to return to the Home position automatically,
select Never.