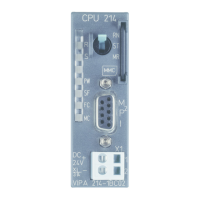
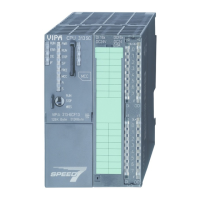
Manual VIPA CPU 21x Chapter 3 Deployment CPU 21x
HB103E - Rev. 05/45 3-11
Project transfer
There are two possibilities to transfer your project into the CPU:
• Transfer via MPI
• Transfer via MMC when using a MMC programmer
The structure of a MPI network is principally the same than the one of a
1.5MBaud Profibus net. This means that the same rules are valid and for
both networks you use the same components for building.
Per default the MPI net runs with 187kBaud.
Every bus participant identifies itself at the bus with an unique MPI
address.
You link up the single participants via bus connectors and the Profibus bus
cable.
A line has to be terminated with its ripple resistor. For this you switch on
the terminating resistor at the first and the last participant of a network or a
segment.
Please take care that those participants with the terminating resistor are
supplied with power during start-up and operation.
• Connect your PG resp. PC with your CPU via MPI.
If your PG doesn't support MPI, you may use the VIPA "Green Cable" to
establish a point-to-point connection.
The "Green Cable" has the order number VIPA 950-0KB00 and may
only be used with MPI interface of VIPA CPUs.
• Configure the MPI interface of your PC.
• Via PLC > Load to module you transfer your project into the CPU.
• If you want to save your project on MMC additionally, plug-in a MMC and
transfer your user application via PLC > Copy RAM to ROM.
During the write process the "MC"-LED at the CPU is blinking. Due to
the system, the completion of the write operation arrives too soon. It is
only completed when the LED has been extinguished.
Outline
Transfer via MPI
Terminating
resistor
Approach
 Loading...