Miscellaneous—Carrier
T7M7G6M,00006AA-19-23MAR22-1/1
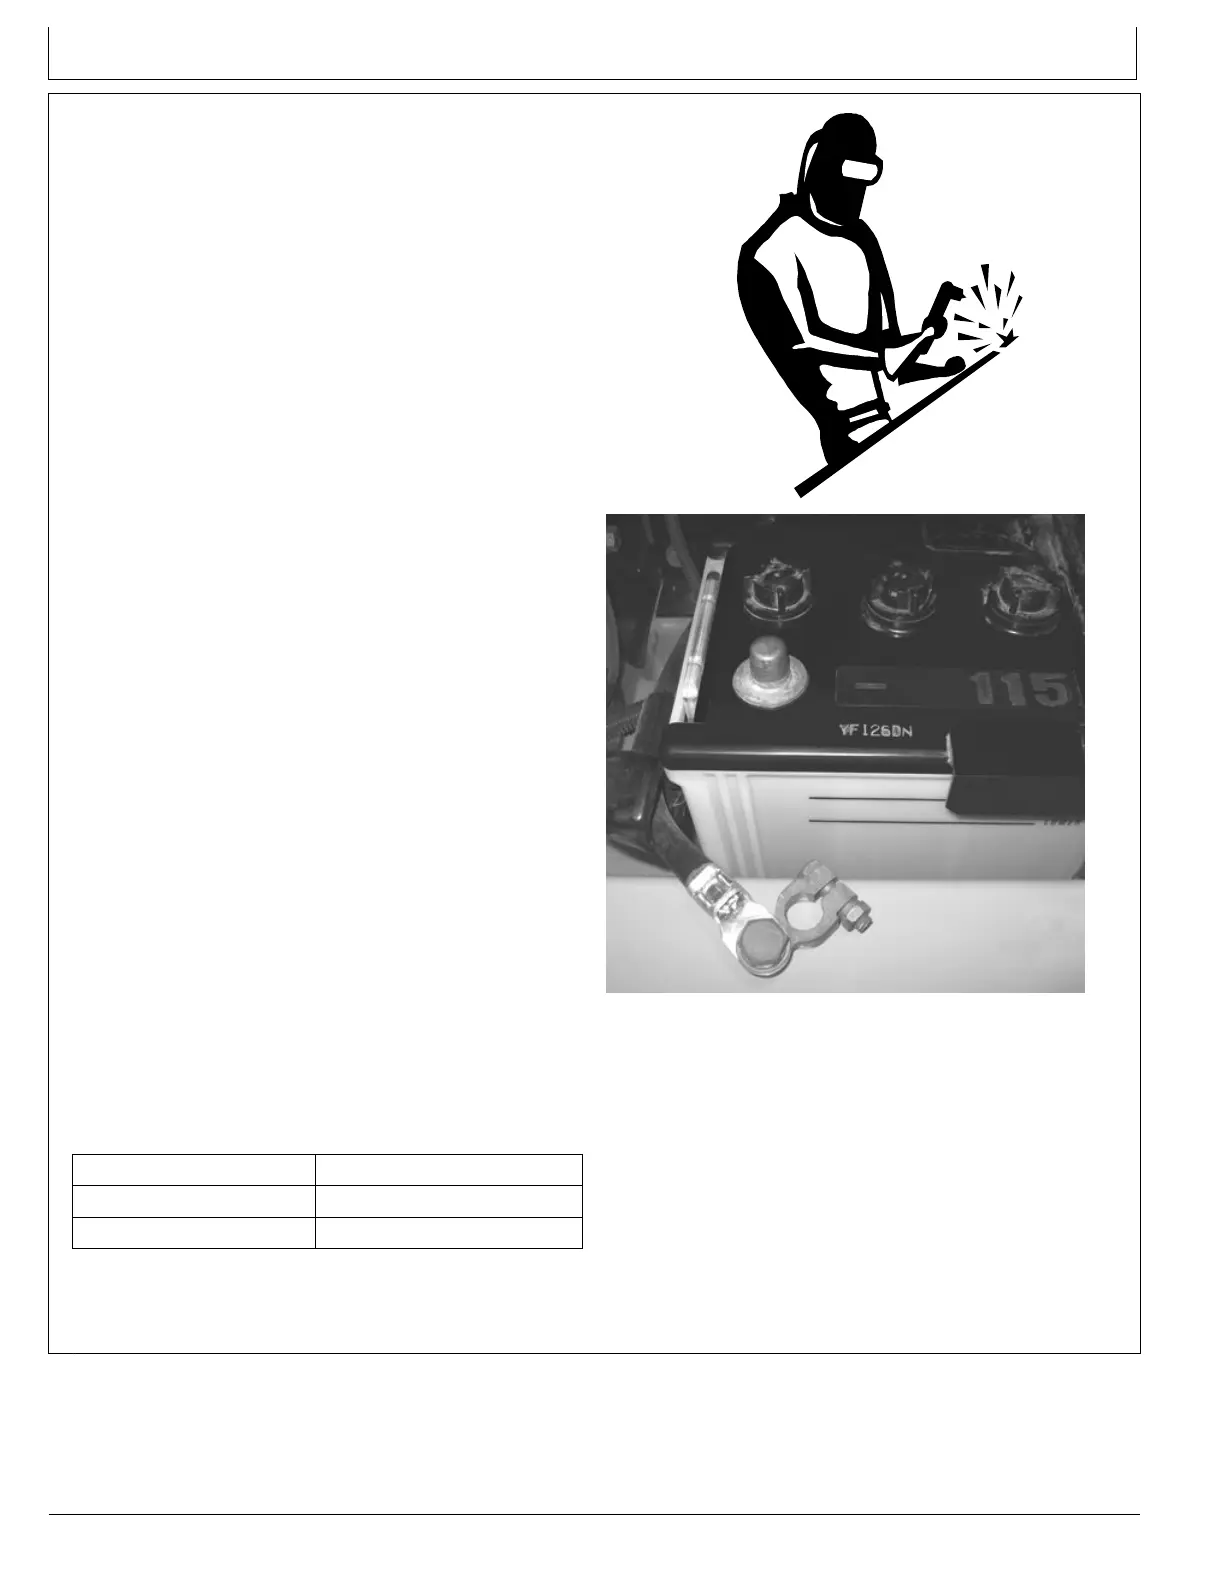
Weldingonthecarrierorharvesterhead
IMPORTANT:Electricalweldercurrentcandamage
electricalcomponents.Alwaysensurethatyou
isolatetheelectricalsystembeforewelding.
NOTE:turningtheswitchtotheOFFposition
isnotsufcient.
1.Parkthecarrierandplacetheharvesterheadona
at,evensurface.
2.TurntheWaratahswitchtotheOFFposition.
3.Turnoffanyelectronicsthatarewireddirectlyfrom
thebattery.
4.Turnoffthemainpowertocarrier.
5.Disconnectthecarrierbattery,followedbythe
connectorsonthebaseandcabcontrollers.
6.DisconnecttheWaratahcontrolmoduleandPC
connectorswhenweldingontheharvesterhead.
7.DisconnecttheJ1,J2,andJ3plugsfromthehead
module(HHC)whenweldingontheharvesterhead.
Disconnectthebasemodule,PC,andexbox
connectorswhenweldingonthecarrier.
8.Theattachmentismanufacturedfromhigh-tensile
steel,soonlyuselow-hydrogen(E11018-M)welding
rodsonit.
9.Cleantheareaofanyoil,paint,andrustcontaminants.
Thesewouldmaketheweldbrittle
10.Ensuretheweldingearthisdirectlyattachedtothe
itembeingwelded.
11.Preheatweldareaaccordingtothetablebelow.
NOTE:Measurethetemperature300millimetres
(11.8inches)fromtheweldineachdirection
foragoodheatsoak.
MetalThicknessPre-heatTemperature
6–20mm(0.2–0.8")20–150°C(68–302°F)
20–50mm(0.8–2.0")50–175°C(122–340°F)
12.Whenweldingmultipleruns,allowtemperaturetodrop
downtospecicationbeforestartingthenextrun.
TX1022193—UN—17MAY07TX1033494A—UN—14DEC07
Specication
Weldtemperature..................................................1750–2200°C
3179–3989°F
13.Allowtheweldtocoolslowly.Rapidcoolingcancause
cracking.
14.Re-connecttheconnectorstothecontrollers,the
harvesterhead,thesolenoid,andthesensorharness.
15.Re-connectthecarrierbattery.
4-1-2
053122
PN=81