Installation and Initial Operation 40075165 Markoprint integra PP108
Page 41 of 104 GB
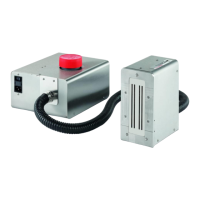
Positioning the Print System
Material damage due to improper print system
installation!
With the print system switched on, a defect may occur in
the system electronics.
Therefore:
– Only install the system when it is switched off.
– Network cables only connect or disconnect if the
power supply is dead voltage.
Possible material damages!
Product mounting rails prepared by the customer protect
the system unit from vibrations and damage while the
product is passing the system unit.
Required Resources
Setscrew wrench (Allen key
®
)
Instruction
Please install the print system as follows:
Attach mounting brackets to the production line.
Slide the ink system and printhead onto the mounting brackets.
Set the distance between the print head and the product surface. A distance
of 0 to 3 mm is optimal.
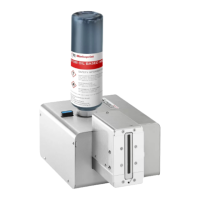
Mount the ink system horizontally and place the nozzle plate vertically to the
product transport direction