Installation and Initial Operation 40075165 Markoprint integra PP108
Page 48 of 104 GB
Connecting the optional Product Sensor
If more options will be used simultaneously, a splitter-box (Art.-No.: 72900545) can
used.
Requirements
The optional product sensor is mounted at the production line or at the print head
directly.
The sensor is mounted in product running direction, near the Markoprint integra
PP108.
Between the sensor and the nozzle plate is maximum a product, because
another print activation is otherwise ignored.
Instruction
Please connect the optional product sensor with the print system as follows:
If necessary install the optional product sensor at the production line or print
head and connect it to the option-connection socket.
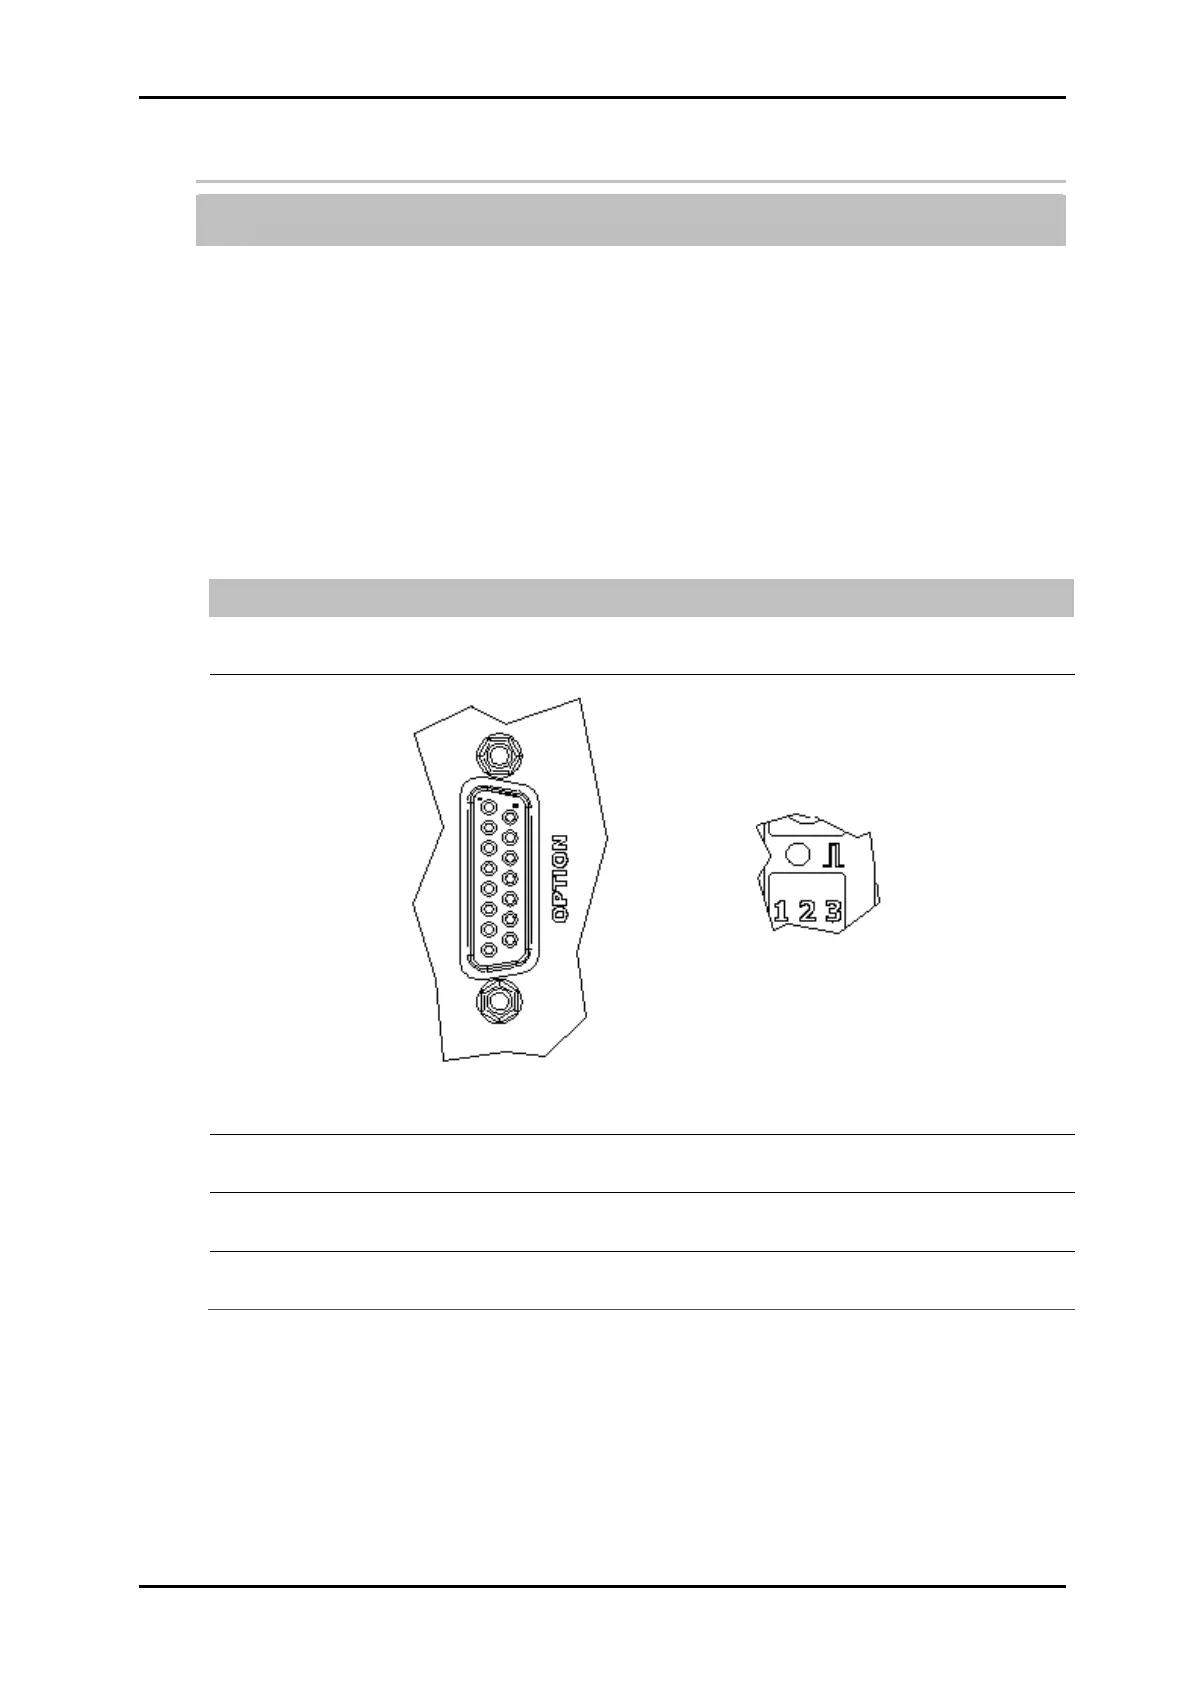
Fig. 11: Option-Socket (Sub-D 15-pole) on the system-back and Sensor-LED on the top side of the
system
The sensor input is set to External. Standard in the iDesign software.
(System settings – Advanced settings - Periphery)
The Sensor LED lights green with print activation from product identification
to the end of the print.
If no print image is loaded, the Sensor LED lights yellow as long as the
sensor is covered.