Working Remotely 27
7. Select the new server that you just added.
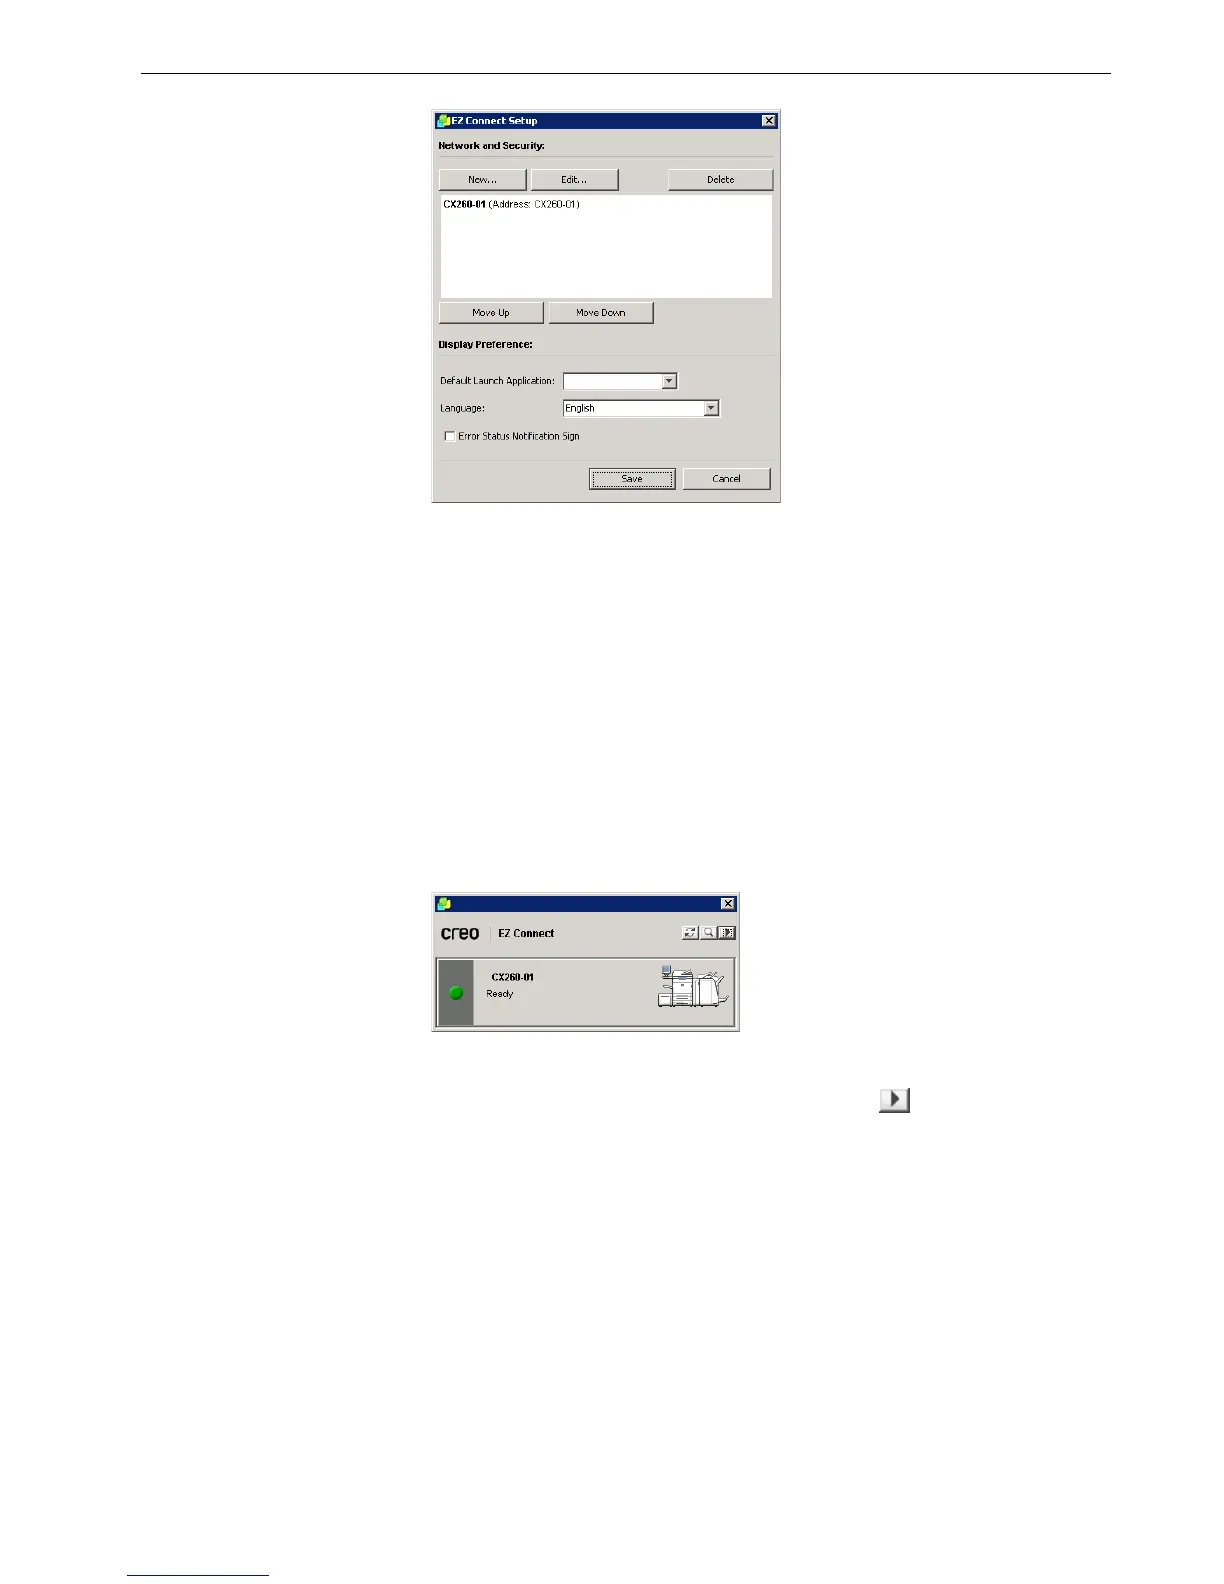
8. Click the Move Up or Move Down buttons to change the position of the server
in the list, if desired.
9. From the Default Launch Application list, select the desired application
(Remote Workspace or Web Viewer) that you will use to access the server.
10. From the Language list, select the desired language.
11. Select the Error Status Notification Sign check box to display a sign for errors.
12. Click Save.
The server appears in the EZ Connect window.
To change a server’s display name:
1. In the EZ Connect window, click the Settings button , and select Setup from
the list.
2. In the list of servers, select the desired server.
3. Click Edit.
The Edit Server window appears.
Note: The Remote Workspace application is only available for Spire color
servers that support this feature.