MIPI CSI-2 RX Subsystem v4.0 70
PG232 July 02, 2019 www.xilinx.com
Chapter 5: Application Example Design
- Press h to switch the display to HDMI monitor if not already displayed.
- Press d to switch the display to DSI panel.
- Press r to bring up the resolution menu.
Note:
Selecting an invalid option prompts an Unknown option error message on the
console. All resolutions support only four (4) lanes. The supported lane and other
pipeline configurations are listed under the Current Pipe Configuration section
displayed on the console.
Implementing the Example Design
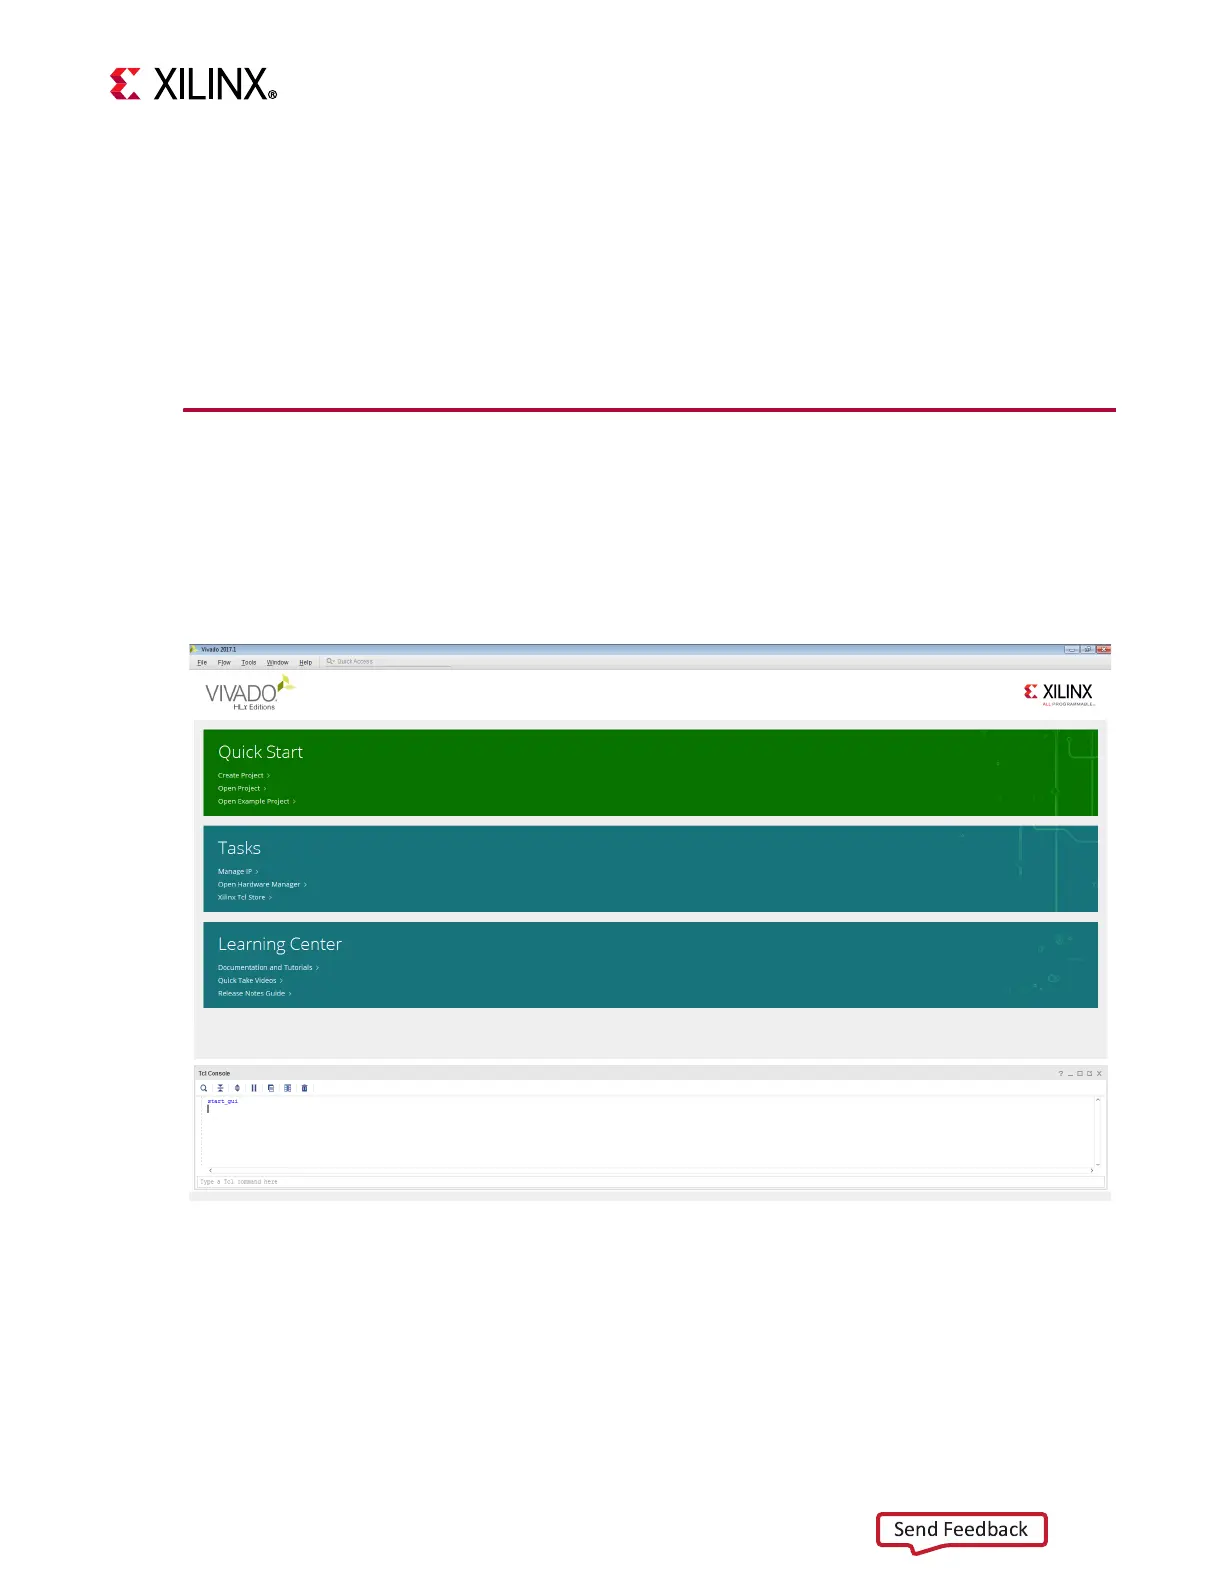
1. Open the Vivado Design Suite.
The Vivado IDE Getting Started page contains links to open or create projects and to
view documentation.
2. In the Getting Started page, click Create Project to start the New Project wizard.
3. In the Project Name page, name the new project and enter the project location. Make
sure to check the Create project subdirectory option and click Next.
4. In the Project Type page, specify the type of project to create as RTL Project, make sure
to uncheck the Do not specify sources at this time option, and click Next.
X-Ref Target - Figure 5-6
Figure 5-6: Vivado IDE - Getting Started
 Loading...