2-4
IM WT5000-02EN
2.2 Setting the Voltage Range and Current Range
Setting the Voltage Range (Voltage Range)
3.
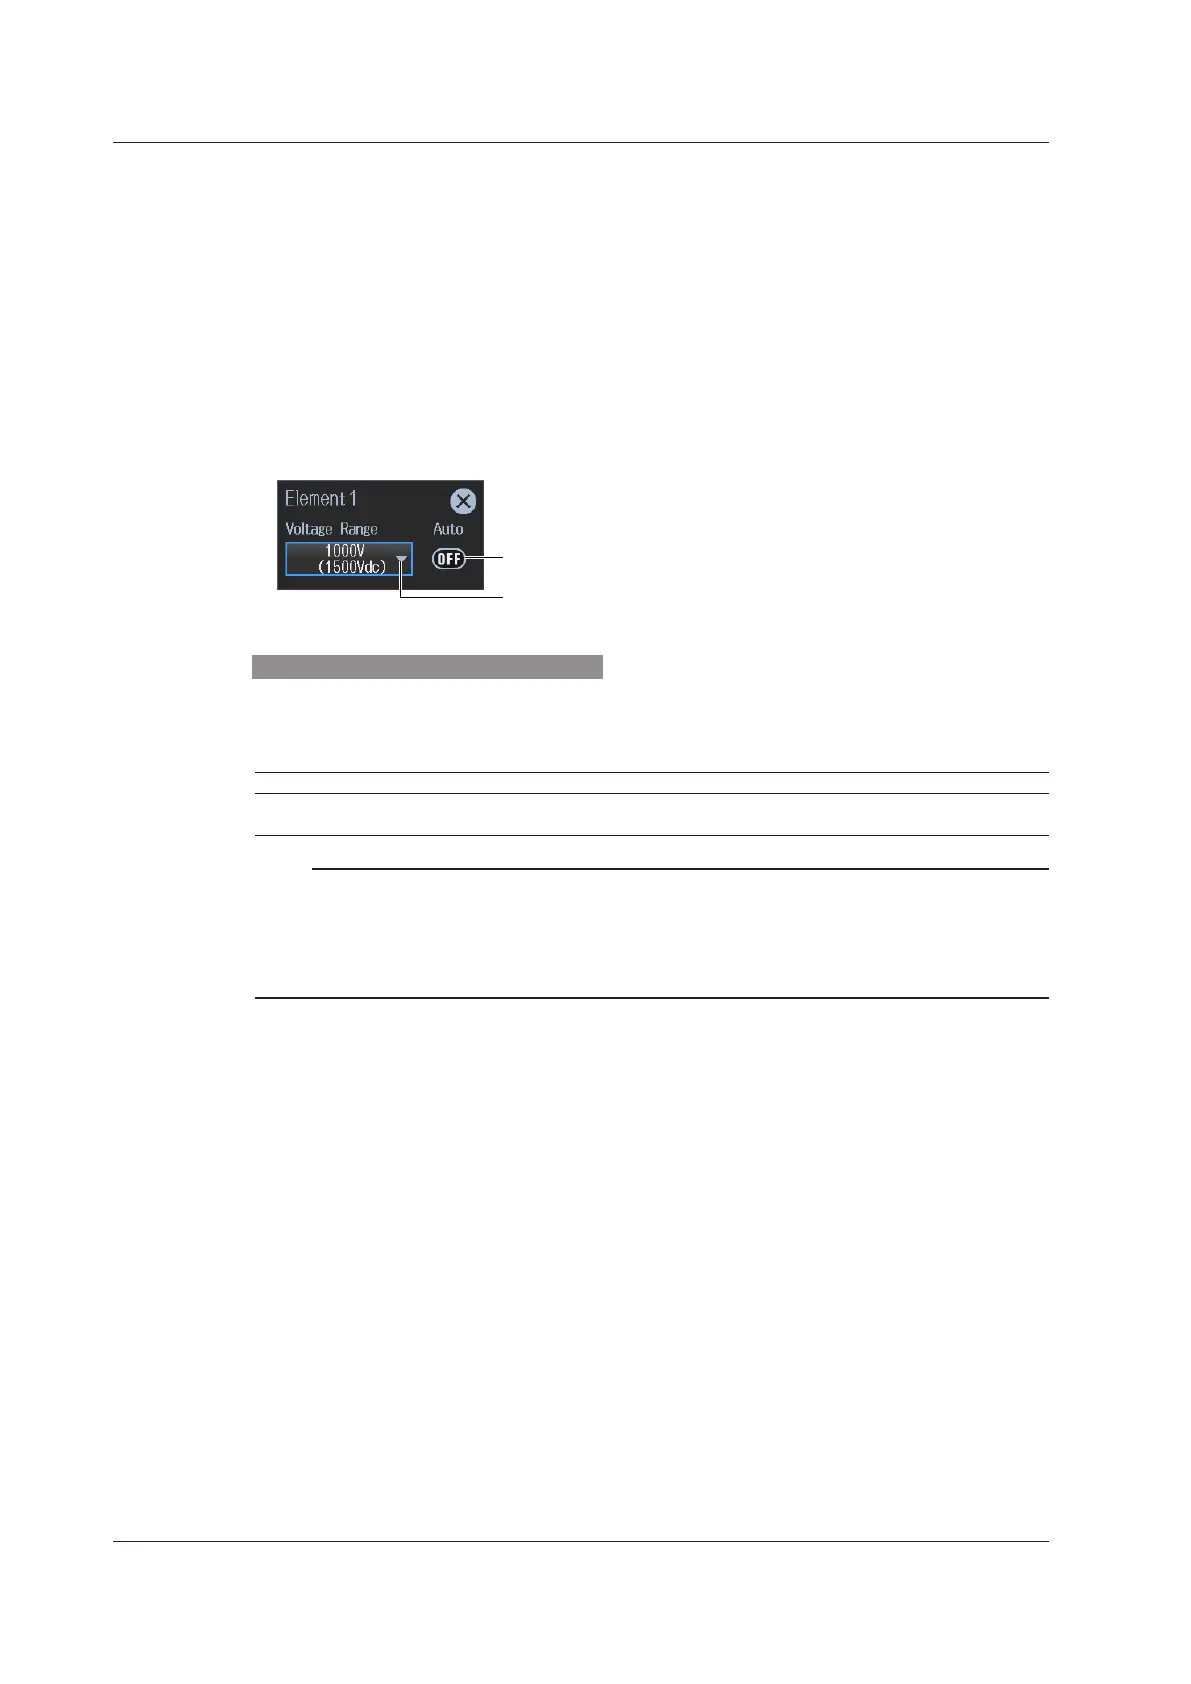
Tap Voltage Range of the input element number you want to configure. A voltage range setup
menu appears.
4.
Follow the instructions below to set the voltage range.
• Sets auto range mode
3. Tap Auto. The AUTO key illuminates.
• Setting the Fixed Range
Tap Voltage Range. A voltage menu appears.
Tap a voltage range on the menu to set the voltage range.
Set the voltage range to auto.
Select the voltage range (1000V, 600V, 300V,
150V, 100V, 60V, 30V, 15V, 10V, 6V, 3V, 1.5V).
Voltage range (example of element 1)
Operations in the Input Information Area
See page 2-8.
Available voltage range options
When the Crest Factor Is Set to CF3 When the Crest Factor Is Set to CF6 or CF6A
1.5 V, 3 V, 6 V, 10 V, 15 V, 30 V, 60 V, 100 V,
150 V, 300 V, 600 V, 1000 V
0.75 V, 1.5 V, 3 V, 5 V, 7.5 V, 15 V, 30 V, 50 V,
75 V, 150 V, 300 V, 500 V
Note
• WhenrangeΣlink(seesection2.1)issettoon,thevoltagerangesoftheinputelementsassignedtothe
samewiringunitaresettothesamerange.WhenrangeΣlinkissettooff,thevoltagerangesoftheinput
elements can be set independently even when they are assigned to the same wiring unit.
• When the setup menu screen is overlapped on the range display of each element, press ESC. The setup
menu screen will close.
 Loading...