4 Repair
4.4.4. Replacement of upper arm
2753HAC026876-001 Revision: F
© Copyright 2007-2010 ABB. All rights reserved.
Refitting, upper arm
The procedure below details how to refit the upper arm.
15. Carefully remove the attachment screws and
washers, upper arm.
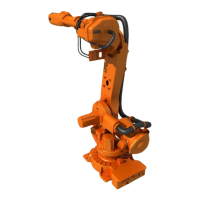
Shown in the figure Location of
upper arm on page 272.
16. Lift the upper arm and place it on a secure surface.
Make sure the lift is done completely level! In case
of necessary adjustments, use the shortening loops
on the lifting tool (chain), but make sure to place the
chain the right way through the loops!
17. Remove the sealing, axis 2/3 from the lower arm. Shown in the figure Location of
upper arm on page 272.
Action Note
Action Note
1.
DANGER!
Turn off all electric power, hydraulic and
pneumatic pressure supplies to the robot!
For Foundry Prime robots:
Do not turn off the air pressure to motors and
SMB.
2. Fit the two guide pins, sealing axis 2/3 in two of
the attachment screw holes on gearbox 3, see
figure to the right.
Guide the new sealing, axis 2/3 into position on
gearbox 3, using the guide pins.
Always use a new sealing when reas-
sembling!
Art. no. is specified in Required
equipment on page 273.
xx0200000166
A. Holes for the guide pins (sealing
axis 2/3).
B. Holes for the upper arm
attachment screws (33 pcs).
C. Holes for the gearbox
attachment screws (not affected
in this instruction).
Continued
Continues on next page
 Loading...


