Mounting Locations for External Equipment
Adept Cobra s600/s800 Robot User’s Guide, Rev H 89
5. In the next window, enter Y to the prompt, “Do you wish to modify servo
options?”
6. In the next window, enter Y to the prompt, “Bit 1 clear. Change it (Y/N)?”.
7. In the next window, you should see this line:
Edit Servo Option Word 1
This confirms that you have enabled the Breakaway E-Stop function.
8. Select “Exit to robot menu”.
9. Select “Exit to main menu” on the next displayed menu.
10. Select “Save all specifications to system disk”.
11. Finally, answer yes to write the data to the boot disk.
NOTE: When the Breakaway E-Stop function has been enabled, you must
connect a normally-closed circuit to pins 1 and 2 of the ESTOP connector,
as described above. If this is not done, the system will be in an E-Stop
condition and you will not be able to enable power.
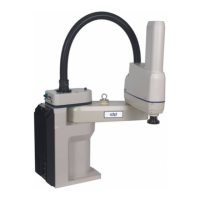
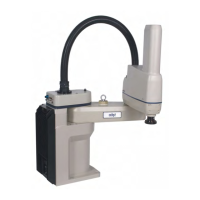
7.5 Mounting Locations for External Equipment
Three locations are provided for mounting user’s external equipment on the robot arm.
The first location is on the J1 Harness Support (top side of the inner link), a second is on
the top side of the outer link, and a third is on the bottom side of the outer link. Each
location has a set of four tapped holes. See Figure 8-5 on page 109 and Figure 8-6 on page
110 for the dimensions.
NOTE: The cover on the outer link must be removed for maintenance
(lubrication), so keep this in mind when mounting any external
equipment to the outer link cover.
Also see Section 7.7 on page 94 for information on mounting cameras on the robot.
 Loading...