EasyManuals Logo

Advanced Instruments OsmoPRO Service Manual

Advanced Instruments OsmoPRO
139 pages
To Next Page IconTo Next Page
To Previous Page IconTo Previous Page
Page #110 background imageLoading...
Page #110 background image
708029RPM Rev0
(OsmoPRO Service Manual)
Page 2 of 2
5. Unplug the PR1 Connector from the
Printer.
6. Plug the PR1 Connector into the replace-
ment Printer.
7. Place the Printer into the instrument’s
Bezel.
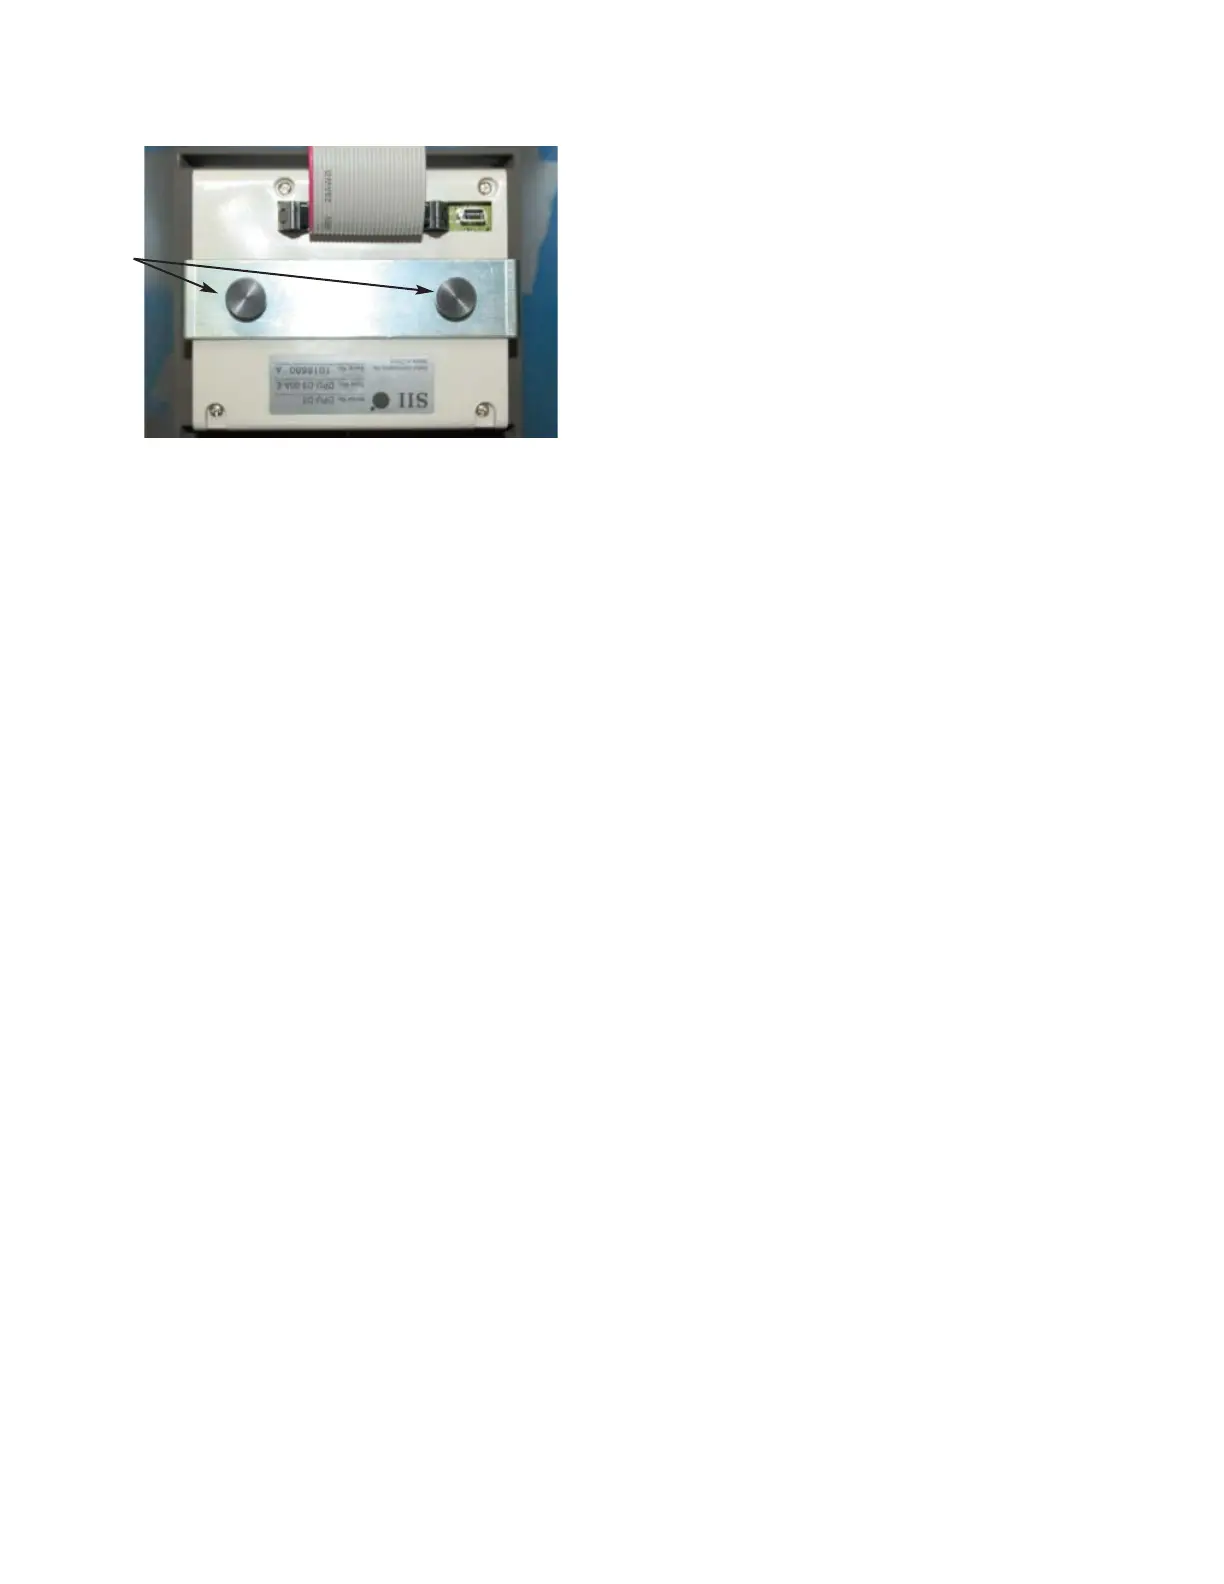
8. Attach the Printer to the Bezel with the
two thumb screws and the Mounting
Bracket
.
9. Plug the C2 Connector into the Control
PCB.
10. Slide the Rear and Side Enclosure onto
the instrument and secure it with the four
screws.
Figure 3
Two
Thumb
Screws

Table of Contents

Questions and Answers:

Question and Answer IconNeed help?

Do you have a question about the Advanced Instruments OsmoPRO and is the answer not in the manual?

Advanced Instruments OsmoPRO Specifications

General IconGeneral
BrandAdvanced Instruments
ModelOsmoPRO
CategoryMeasuring Instruments
LanguageEnglish

Related product manuals