49
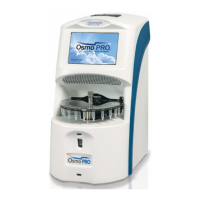
The OsmoPRO
®
Micro-Osmometer Service Manual
Turntable Alignment
Alignment
To perform the alignment procedure, press ALIGNMENT. Select a user and enter the password to
open the Alignment screen. In this screen, the alignment of the instruments motors can be changed.
The sample tube Height Positioning Fixture ( P/N 112170FX), is necessary to perform alignment.
NOTE: The instrument is properly aligned from the manufacturer and this process is not neces-
sary unless an alignment issue occurs.
After pressing LEARN the instrument requires calibration, and does not let the user run a sample test
until a successful calibration occurs.
Turntable Alignment
• Select the Turntable tab and press START.
• The turntable’s motor is now turned off; this allows the turntable to be rotated freely by hand
to center the sample probe as it is being lowered into the wipe position.
• The sample probe must be lowered until it enters the wipe position; use the Select number of
steps buttons to adjust the sample probe by pressing the arrows to move the sample probe up or
down.
NOTE: DO NOT LOWER THE SAMPLE PROBE MORE THAN NECESSARY.
• When the turntable cannot be rotated by hand using slight force, the correct alignment is
obtained.
• When the sample probe is in the correct wipe position, press LEARN. The sample probe and
turntable will return to their home positions.
• Verify the turntable’s positioning is correct by pressing WIPE TEST and RETURN. Carefully,
observe as the sample probe is being lowered into the wipe holes at positions 1, 6, 11 & 16. If
adjustments need to be made to the height or centering of the sample probe, select the number
of steps. Use the up/down and right/left arrows to re-adjust the wipe position and then press
LEARN.
 Loading...
