www.advancedco.com
41
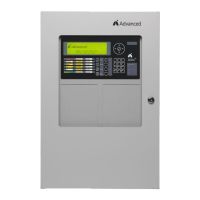
4.3.1 Installing the AX-DSP Alphanumeric Graphical Display
The AX-DSP alphanumeric graphical display is mounted in the double aperture of the AX-CTL-1V, AX-CTL-2V and
AX-CTL-4V inner door.
4.3.2 AX-DSP Alphanumeric Graphical Display Inputs
On the back of the AX-DSP alphanumeric graphical display is a 10-pin and 2-pin (duplicated common and input 8)
header, providing eight (8) programmable switch inputs, which can be utilized for special application monitoring and
control functions. Switch inputs can be programmed to monitor normally open or normal closed contacts depending
upon installation need (see figure 20).
4.3.3 Replacing the AX-DSP Alphanumeric Graphical Display
If replacing the AX-DSP alphanumeric graphical display remove power (AC and battery) from the system.
Unplug the flat ribbon cable attached to the AX-CTL base card and remove the seven (7) screws holding the
AX-DSP alphanumeric graphical display to its front metal faceplate (see figure 20).
Slide-in any customized labels and secure the new AX-DSP to the metal faceplate on the rear of the inner
door using the seven (7) removed screws. Plug the flat ribbon cable attached to the AX-DSP alphanumeric
graphical display into the designated connector on the AX-CTL base card and reconnect AC and battery
power.
Figure 20 - AX-DSP Installation and Inputs