OPERATION
3-1-40
Adjusting the display
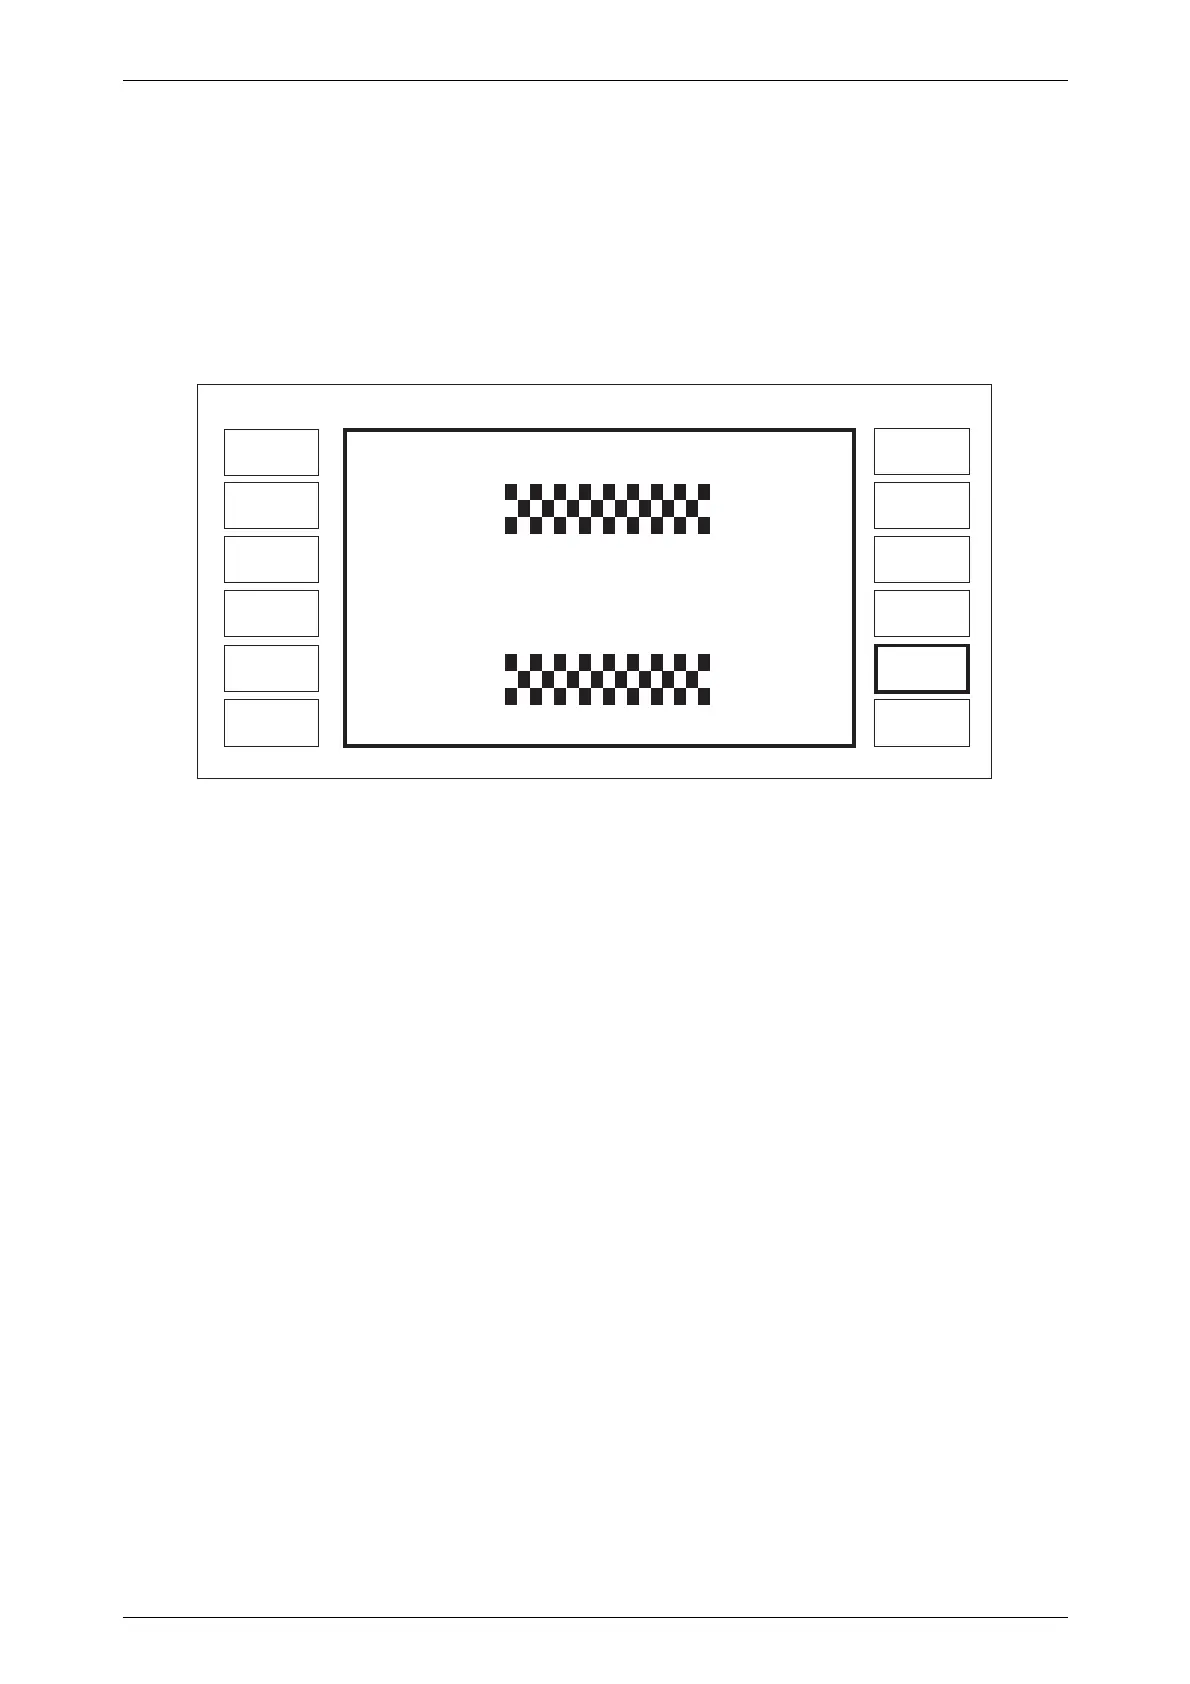
To adjust the display, press [Display Adjust]. The Display Adjust menu is displayed on
the screen, see Fig. 3-1-29. The backlight, which is on when the instrument is switched ON, can
be toggled ON or OFF using the [Display ON/OFF] key, and when ON can be varied in
brightness by [Dim], [Medium 1], [Medium 2] and [Bright]. Contrast is adjusted with the
control knob. Once adjusted, the LCD setting can be stored in the the non-volatile memory by
pressing [Save LCD Setting]. The instrument always activates the backlighting whenever it is
switched on.
Fig. 3-1-29 Display adjust menu
Hardware information
To obtain a description of the instrument hardware, press [Hardware Status] and the
following information is displayed:
Instrument type (e.g. 2031)
Serial no. (e.g. 1543256/045)
Options fitted (e.g. SECOND LF OSC.)
Attenuator type and serial number.
For attenuator calibration information, refer to the Service Manual.
Software information
To obtain a description of the instrument software, press [Software Status] and the
following information is displayed:
Software Version Number e.g. 2.001
Part number e.g. 44533/366
GPIB address e.g. 07
LOCAL
Save LCD
Setting
Display
ON/OFF
Dim
Medium 1
Medium 2
Bright
Use Knob to Adjust Contrast
C0024
 Loading...