6- 63
Calibrating for Increased Measurement Accuracy
Calibrating Using Electronic Calibration (ECal)
7. After you connect the second ECal module, press to continue the ECal.
8. Repeat steps 4 and 5 if you selected to calibrate using the manual thru option.
9. Review the displayed calibration results. Refer to "Perform the Confidence Check" on page 6-64.
10. Save the calibration results by pressing .
Display the Module Information
Display information about the module by pressing
.
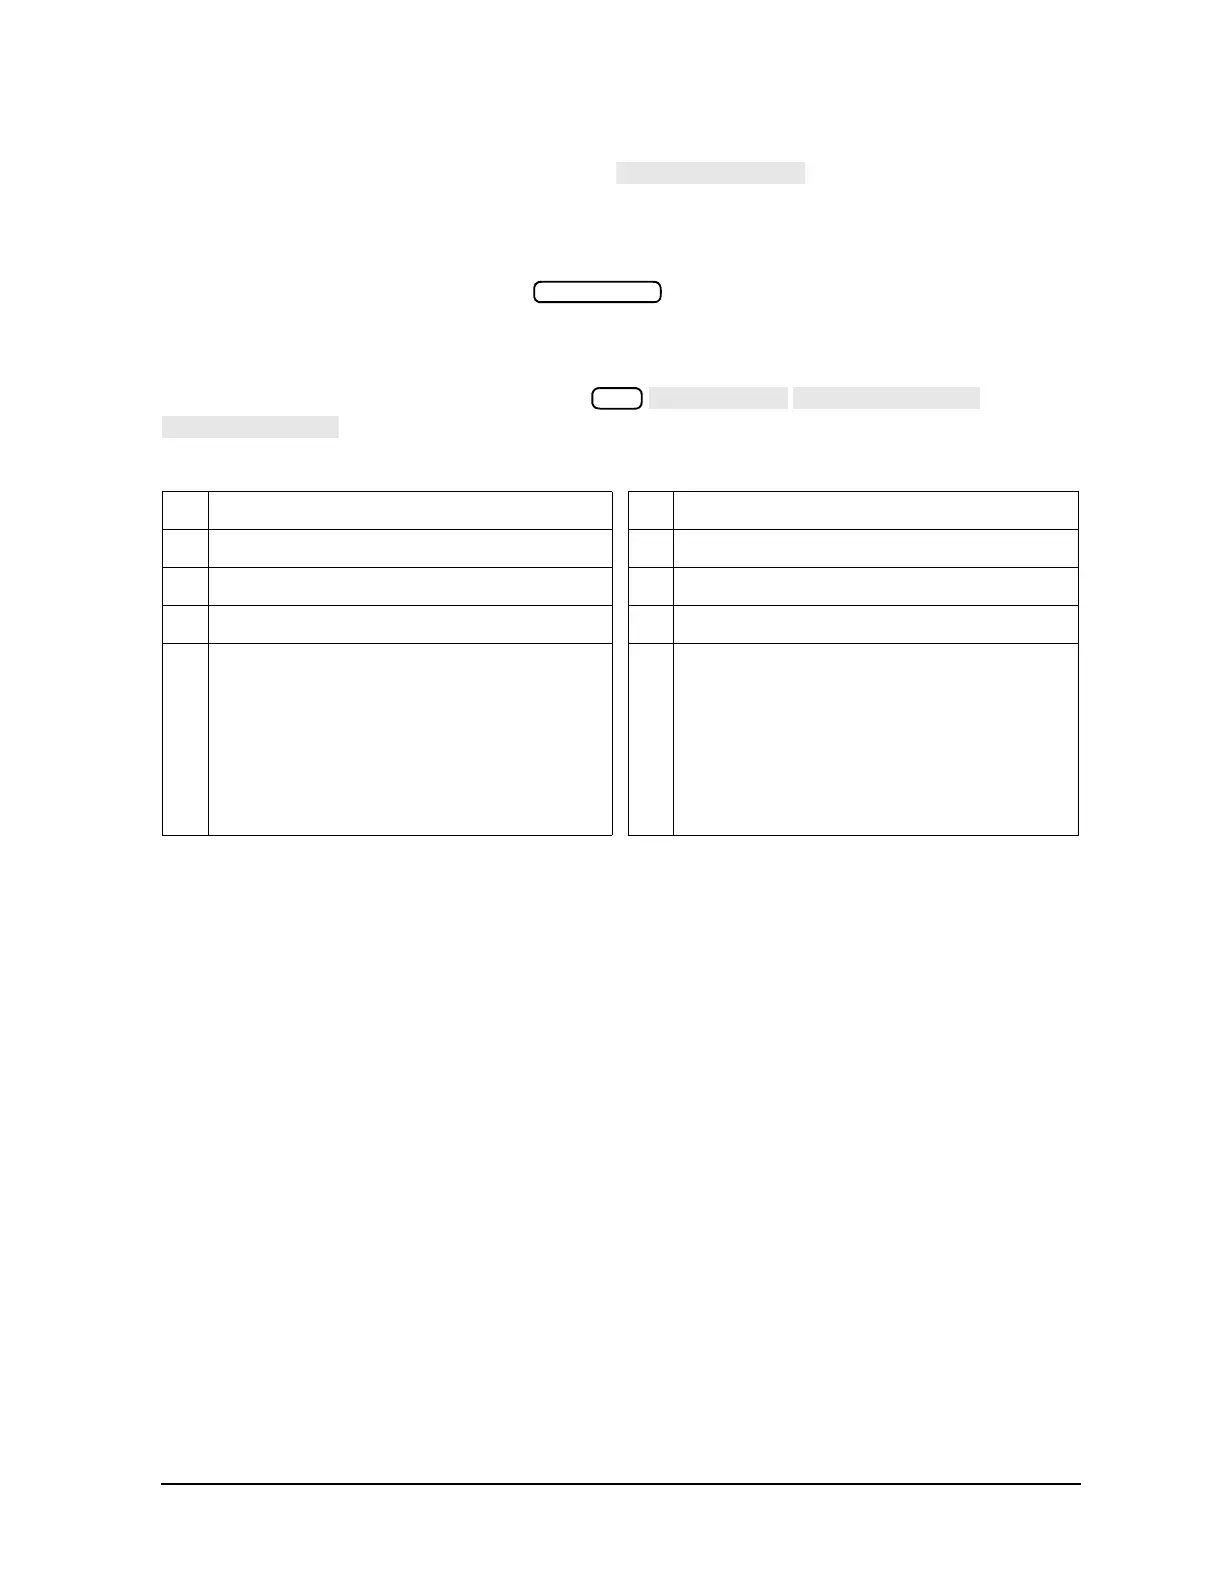
A text window is displayed that contains the following information about the selected module.
1 PC interface unit port to which it is connected 6 Number of measurement points
2 Model number 7 Start (minimum) frequency
3 Serial number 8 Stop (maximum) frequency
4 Connector type 9 Suggested warmup time
5 Date of last certification 10 Warmup status (This is the remaining time on an
internal analyzer timer. The timer simply counts down
the recommended ECal module warmup time. When
the timer reaches zero, a message is displayed
indicating that the ECal module is ready. The ECal
module temperature or status is not read. The timer is
reset when the analyzer is powered up or preset or
when a new module is attached.)

 Loading...


