SECTION 2: INSTALLING THE SYSTEM
DVRs and monitors generate heat and should be placed in a clean and well ventilated area. A high temperature environment will
reduce the life span and reliability of the equipment. Additionally, the DVR is not weatherproof, so avoid exposure to liquids and
excessive dust. Do not place objects along the sides of the DVR that will block airow through the unit.
Uninterruptible power supplies
It is strongly suggested that power to the system be routed through an uninterruptible power supply (UPS). These devices will keep
your security system running through most power outages, in addition to providing excellent surge and sag protection. The UPS
should support the DVR and all cameras to ensure normal operation during abnormal power conditions.
Proximity to other cameras and the local LAN
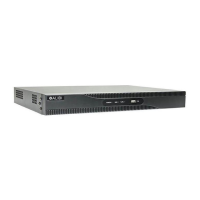
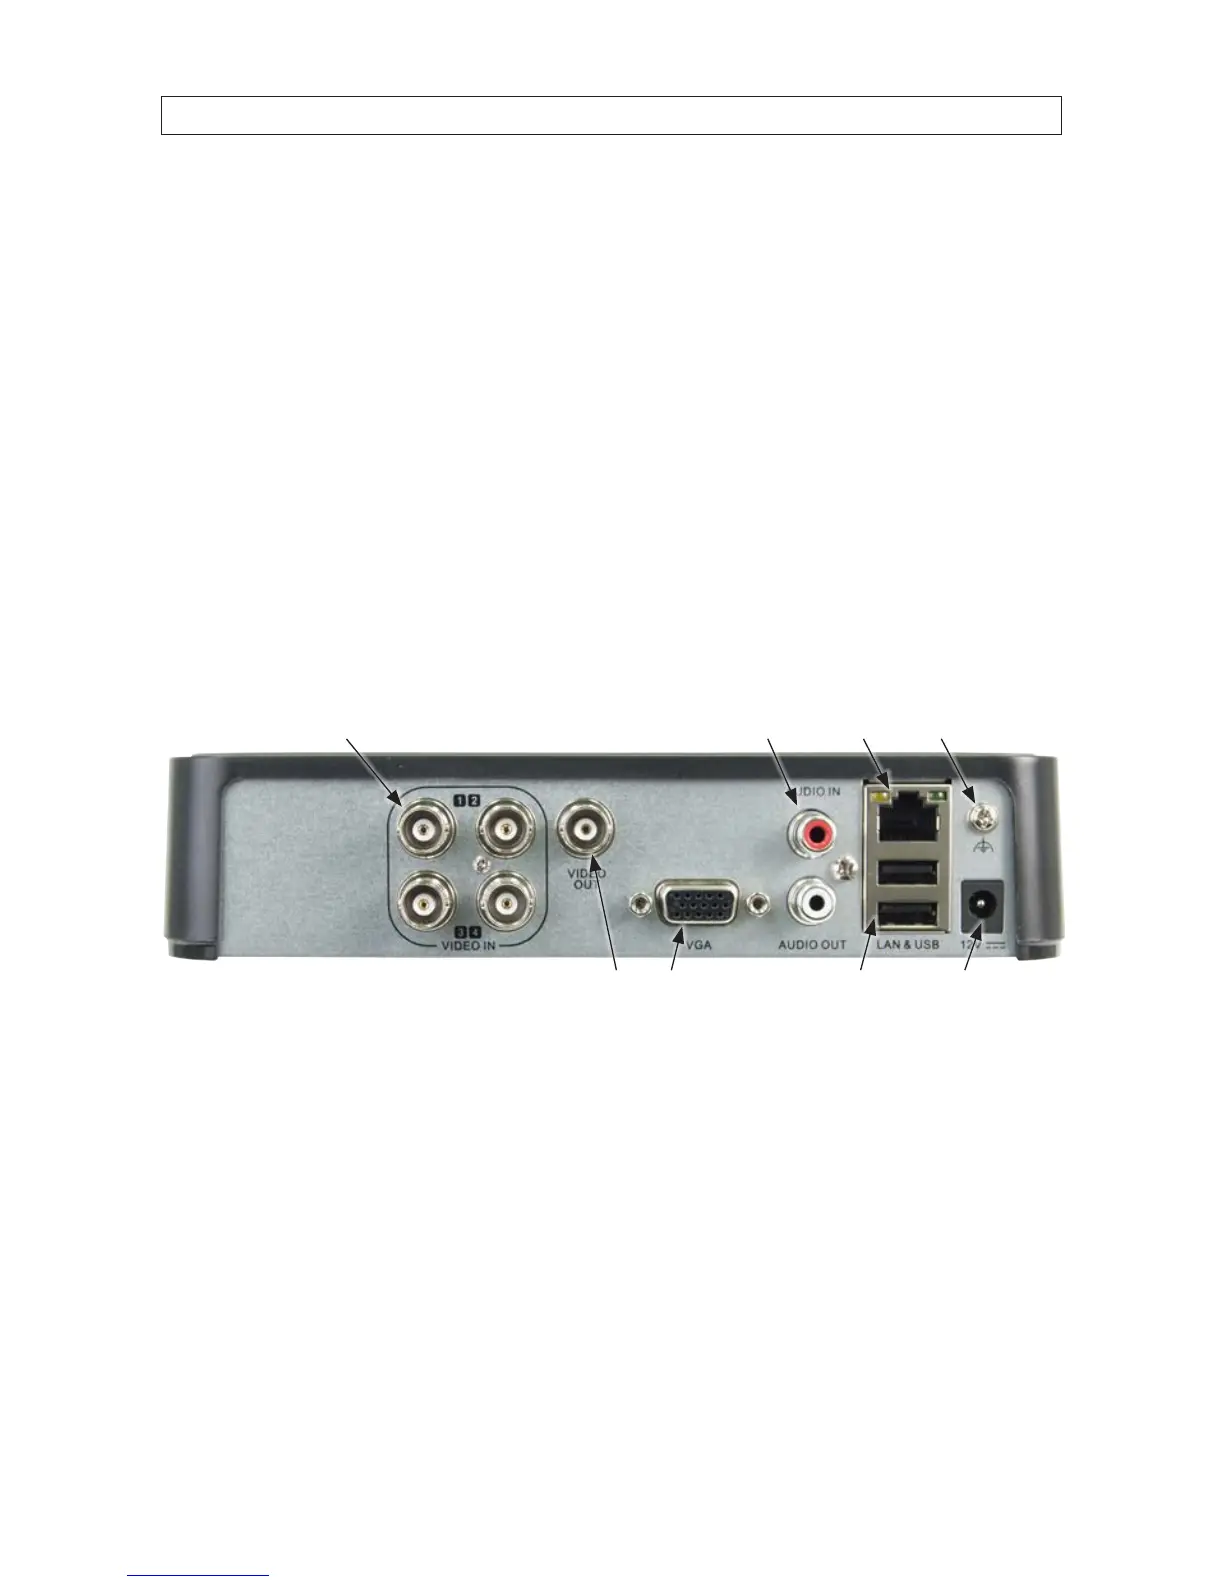
Your DVR connects to cameras through coaxial cables, and to an Ethernet network for remote access. The coaxial cables must be
short enough to provide a good signal level to the DVR from your cameras. Connectorized coaxial cables with a power and audio
leads are usually available in lengths from your supplier in lengths up to 100 feet. Ethernet drop cables can be up to 330 ft (100 m)
in length. All cables attach to the backpanel of the DVR (see below). A front panel USB port is also provided for a USB mouse or USB
ash memory device.
Camera video input (4)
LAN
Power adapter
connector
Chassis ground
terminal
Monitor out (CVBS, VGA)
Audio IN / OUT
USB (2)
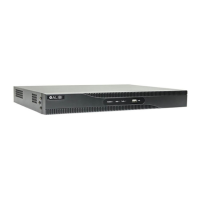
2.3 Install the DVR and monitor
For the following steps, refer to the back panel photo above for the location of connectors.
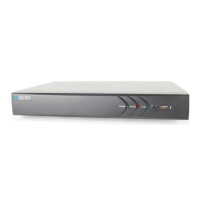
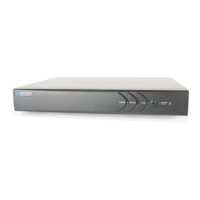
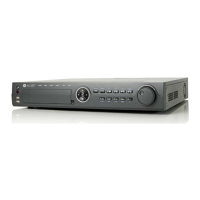
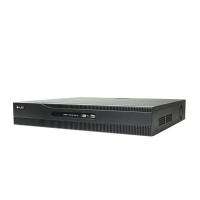
1. Place the DVR in a location that is secure, well ventilated and clean. The DVR should be positioned such that the back panel
connectors are accessible and the ventilation holes on the sides are not blocked.
2. Install and setup your monitor in accordance with the instructions provided with the monitor. Do not power it on at this time.
3. Cable the VGA connector to your monitor’s VGA input.
4. Plug the mouse into the USB connector on the front or back of the DVR.