20
b. Check the box for the HDD, then click the Init button. Follow the on-screen instructions to complete the initialization
process.
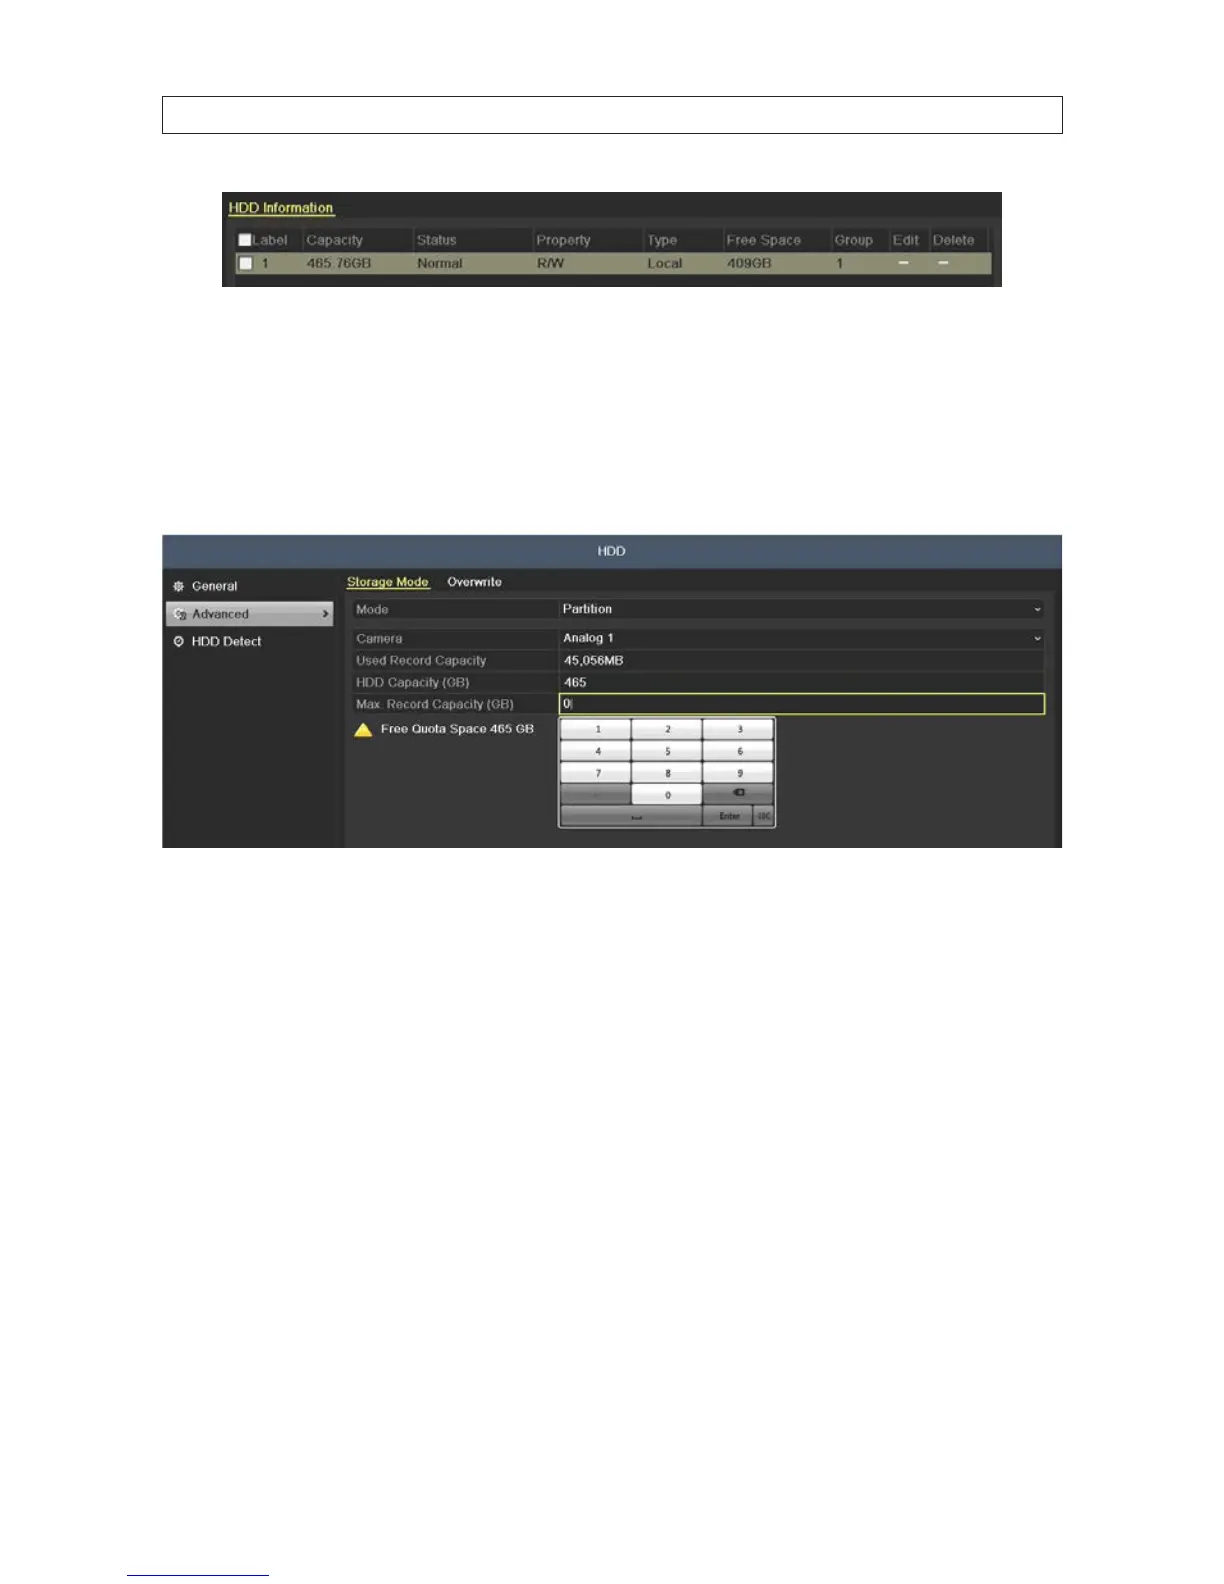
2. Click Advanced to check the storage mode of the HDD.
a. Open the Camera drop down list and select the camera channel for which you want set a storage quota. In the example
below, Analog 1 is selected.
b. Click the Max. Record Capacity eld, and then enter the number, in gigabytes, of the Free Quota Space you want to
allocate to the camera.
c. Click Apply to save your settings.
d. Click Copy and choose the other camera channels you want to replicate those settings for, and/or repeat sub-steps a
through c above for other camera channels in use by your DVR.
2.7.3 HDDDetect
The HDD Detect feature provides two methods of monitoring the HDD: display of S.M.A.R.T. (Self-Monitoring, Analysis and
Reporting Technology) data, and Bad Sector Detection. These methods can be used to assure the normal functioning of the disk,
and anticipate failures.
S.M.A.R.T. Display
1. Open the S.M.A.R.T. display menu. Go to Menu | HDD | HDD Detect
SECTION 2: INSTALLING THE SYSTEM