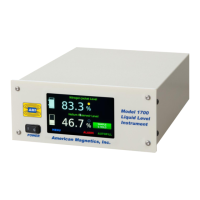
80 Rev. 2
Service and Repair
6.3 Battery Replacement
This section describes the procedure for replacing the battery on the
instrument's main circuit board.
Warning
This procedure should only be performed by a technician who is
familiar with electronic instrumentation and trained in electrical
safety and ESD precautions. Always disconnect the power cord and
any external wiring before removing the instrument cover.
Always disconnect all inputs, cords, and cables before disassembling the
instrument.
6.3.1 Tools Required
• Torx Plus (T.M.) size 10 driver (Wera 028034 or equivalent)
• Torx Plus (T.M.) size 15 driver (Wera 028035 or equivalent)
• Small, flat-blade screw driver (for prying)
6.3.2 Procedure
1. Unplug the instrument from the AC power source.
2. Using the T-15 driver, remove the four 8-32 machine screws on the
sides of the instrument cover. Set these screws aside as they will be
re-used.
3. Using the T-10 driver, remove the four 6-32 machine screws on the
rear of the instrument cover. Set these screws aside as they will be
re-used.
4. Lift the instrument cover off of the instrument chassis and set
aside.
5. Using the small, flat-blade screwdriver, carefully pry the battery
from the holder BH1.
6. Install the new battery into the battery holder BH1.
7. Replace the top cover and secure using the eight machine screws
which were removed previously.