SECTION 6 – TESTING AND PLACING IN SERVICE
UL EX3470 ULC EX3470
2014-SEP-01 REV. 11 PAGE 6-3
R-102 Restaurant Fire Suppression Manual
TESTING ELECTRIC SWITCH (Continued)
4. If test is successful, recock regulated release mechanism
using cocking lever (Part No. 441042 or 441041) and rein-
stall lock pin (Part No. 438031). If a manual reset relay is
installed,depresstheresetbutton(REDLIGHTON).Itwill
also be necessary to re-light any pilot lights on the cooking
appliances.
NOTICE
If no other devices are being attached,
proceed to Page 6-3, Step No. 1, and test
the detection system.
TESTING DETECTION SYSTEM
1. Test detection system by completing the following steps:
a. Raise the regulated release mechanism tension lever to
the‘‘UP’’position.
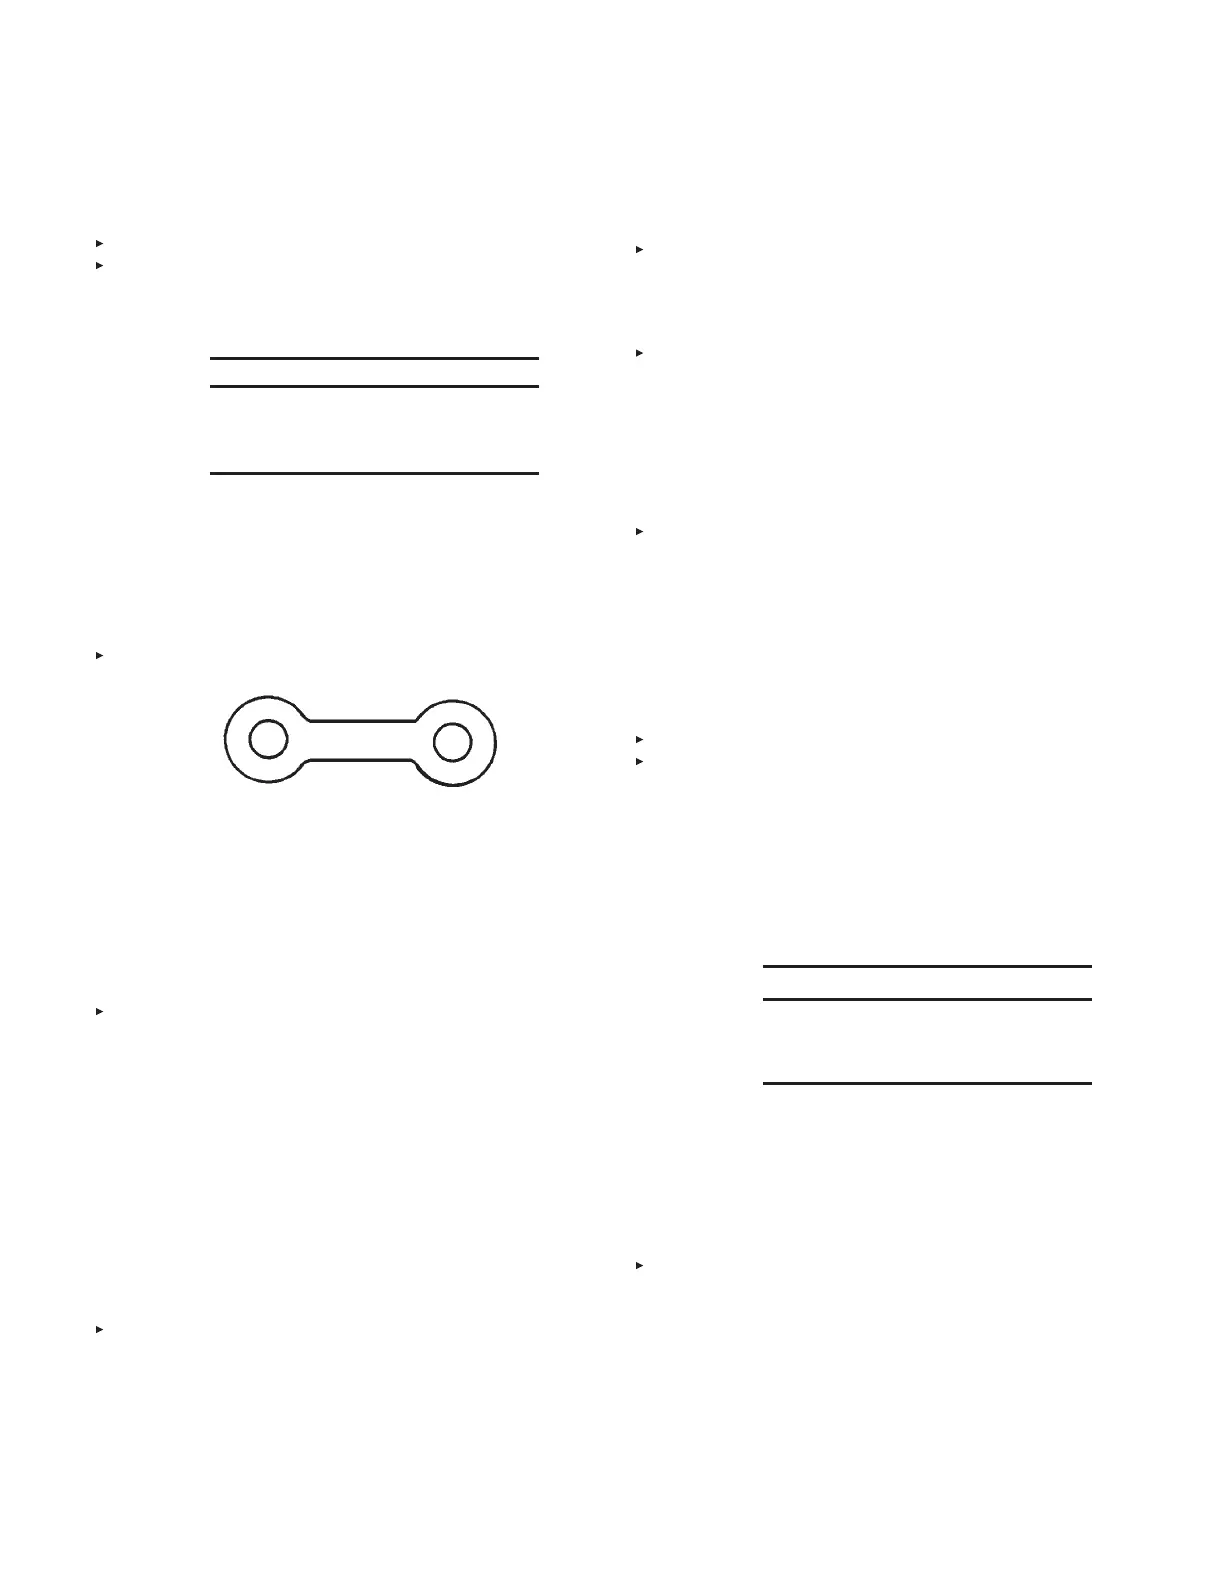
b. Remove the fusible link from the terminal detector and
install a test link (Part No. 24916). See Figure 6-2.
FIGURE 6-2
000363
c. Locate detector linkage and center in each bracket.
For ‘‘clip on’’ style linkage, locate linkage in bracket
slightly toward termination end of detection run.
For‘‘scissor’’ stylelinkage,locatelinkagein bracketall
the way toward termination end of detection run.
d. Lower regulated release mechanism tension lever to
‘‘DOWN’’positionandremove lock pin.
e. Using a wire cutter, cut the test link at the terminal detec-
tor to simulate automatic actuation.
f. If system actuates successfully, go to Step 4.
2. If the regulated release mechanism does not actuate, check
the following components and remedy any disorder as
follows:
a. Check the detector linkage for correct positioning.
b. Check the wire rope for knotting or jamming.
c. Check pulley elbows to see that wire rope is free and
centered in pulley sheaves. If any evidence of pulley
elbow deformation is found, replace the pulley elbow.
d. Make certain that lock pin is removed.
e. Make certain that regulated release mechanism is
cocked.
f. Makecertainthattensionleverisin‘‘DOWN’’position.
3. Re-test the system by completing the following steps:
a. Make certain regulated release is cocked and lock pin is
inserted.
b. Raise the regulated release mechanism tension lever to
the‘‘UP’’position.
c. Install a new test link (Part No. 24916) on the terminal
detector.
d. Lower the regulated release mechanism tension lever to
the‘‘DOWN’’position.
e. Check for 1/4 in. (6.4 mm) minimum 3/8 in. (9.5 mm)
maximum clearance between the trip hammer assembly
and the cable lever assembly.
f. Remove the lock pin.
g. Using a wire cutter, cut the test link at the terminal detec-
tor to simulate automatic actuation.
4. Upon successful actuation of the system, complete the
following steps:
a. Raisetensionleverto‘‘UP’’positionandinstallaproper-
ly-rated fusible link in the terminal detector.
b. Cock regulated release mechanism using cocking lever
(Part No. 441042 or 441041) and insert lock pin (Part
No. 438031).
c. Lowertensionleverto‘‘DOWN’’position.
d. For scissor-style linkage, locate linkage in bracket all the
way toward termination end of detection run.
e. Make certain the 1/4 in. (6.4 mm) minimum to 3/8 in.
(9.5 mm) maximum clearance was maintained between
the base of the trip hammer assembly and the cable
lever assembly.
NOTICE
Reset any electrical equipment that may
have been affected by the system actu-
ation.
f. Remove shipping cap and weigh each cartridge. Replace
if weight is 1/2 ounce (14.2 g), or more, below weight
stamped on cartridge.
g. Install cartridge into the regulated release mechanism
receiver and each regulated actuator receiver. Hand
tighten firmly.
h. Remove the lock pin.
 Loading...