15
3 GETTING STARTED
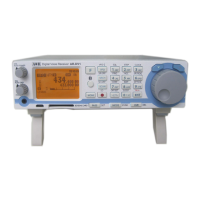
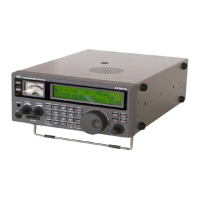
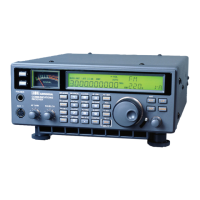
3-1 MAKING THE AR-DV1 READY FOR OPERATION
3-1-1 CONNECT THE ANTENNA
For reception on all bands, connect the antenna to the antenna connector on the rear panel
of the AR-DV1.
3-1-2 CONNECT POWER
Connect the power to the DC power jack on the rear panel of the AR-DV1.
The supplied AC power adapter or a regulated DC power supply (10.7 ~ 16.0 V with capacity 1A) may be
used. Do not connect to a 24 V system.
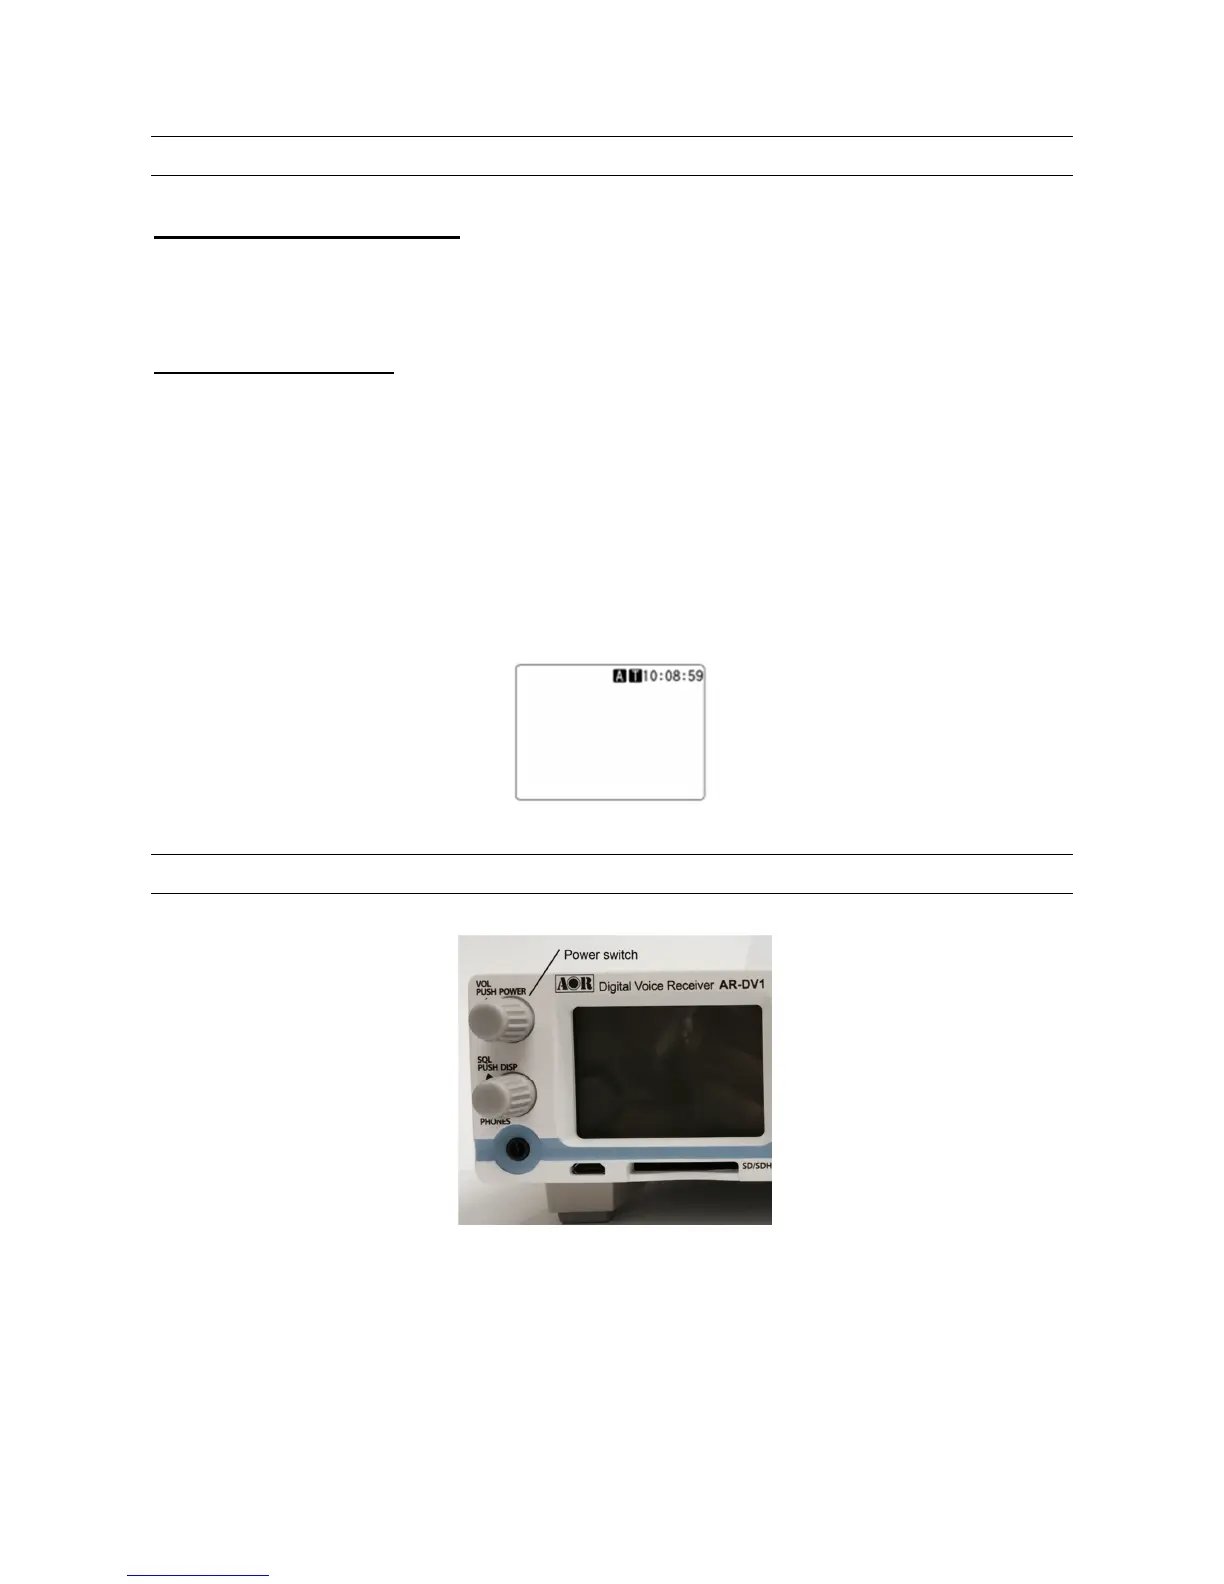
The clock will be displayed on the LCD.
(Note: To use the clock function, a power adapter must be always connected and power supplied to
the AR-DV1.)
3-2 SWITCHING ON FOR THE FIRST TIME
Press the volume knob on the front panel of the AR-DV1. This is the power switch.
As you push the volume knob, a ‘click’ will be heard.
Please be careful NOT to switch on the receiver with an earphone connected because there may be an
audible click when the unit is switched on and the volume may be accidentally set too high.