Maintenance
USER MANUAL
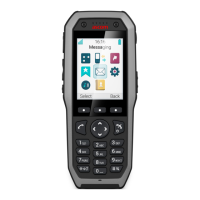
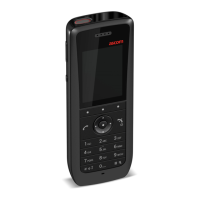
Ascom d83 DECT Handset
15.2 Easy Replacement
Easy replacement can be used if a handset needs to be replaced due to, for example, a broken display. The
easy replacement procedure is done via the handset display and the CR3 Charging Rack.
Easy replacement is not supported when using DP1 Desktop Programmer.
The following settings are replaced during easy replacement:
• DECT registration
• User parameters (including User ID)
• Contacts
• The extension number is assigned to the new handset
The following settings are not replaced during the easy replacement:
• Call list
• Messages
• Bluetooth pairing list
15.2.1 Before Starting Easy Replacement Procedure
1. Check that both the old handset (that is, the handset to be replaced) and the new handset (that is, the
replacement handset) are of the same device type.
The Easy Replacement procedure can be used if the old and new handsets are different
product variants, that is, Talker, Messenger, and Protector.
2. Use the WinPDM or the Device Manager to check that the software of CR3 Charging Rack is of version
1.3.x or greater by using the WinPDM.
For more information on how to use the WinPDM/Device Manager, refer to the User Manual for the
Device Manager or the Installation and Operation Manual, Portable Device Manager (WinPDM),
Windows Version, TD 92325EN.
3. Make sure that the handset batteries are charged before starting the easy replacement procedure.
4. Switch off the new handset by long pressing
.
15.2.2 Easy Replacement Procedure
During the Easy Replacement procedure, the LED indications on the charger and on the handset can be
used to follow the replacement procedure. For more details, see also LED Indications during Easy
Replacement, page 91.
Never remove a handset from the charger until the instructions in the display tells you to do so. If
there is an error indication, it may be allowed to remove the handset, see 13 Troubleshooting,
page 83 for further instructions.
After the old handset has been in the charger, the new handset needs to be placed in the charger
regardless if the replacement was successful or not. Failing to do so may result in malfunction and
the new handset will need to be sent for service.
90 TD 93434EN / 01 December 2021 / Ver. B