22 User’s Manual—SNAP™ 700 Printer
Classification: Avery Dennison - Public
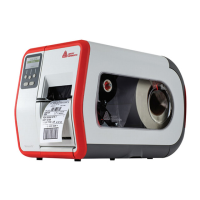
3.5.2 Attaching the Unwind Assembly
Figure 5A: Unwind Assembly Installation
The unwind assembly is shipped detached from the printer to prevent damage
during shipping.
1. The unwind assembly is easily attached by sliding the shaft on the assembly
into the receiving shaft mounted on the printer.
2. Line up the holes in the assembly shaft and receiving shaft and insert
provided Philips head sem screw and tighten.
3.5.3 Checking the Main Fuse Configuration
WARNING: Before powering on the printer, you must check to be sure the
main fuses on the AC power receptacle are set for the appropriate voltage
for your location (Line voltage of 90-132VAC @ 50-60Hz, single phase or
180-265VAC @ 50-60Hz, single phase).
The main fuse(s) on the SNAP 700 printers are located inside the AC power
entry receptacle on the backside of the printer (see Figure 5). The AC power
entry has a fuse drawer that holds the fuse(s) and selects the appropriate line
voltage.
1. Look at the line voltage level shown in the window on the back of the printer
(see Figure 1). If the number in the window matches the appropriate voltage