User’s Manual—SNAP™ 700 Printer 59
Classification: Avery Dennison - Public
5.4.3 Resetting the Printer to DHCP Mode
Before moving the printer to a new network, set up the printer for automatic
connection to the new network. Put the printer into DHCP:
Access the web browser as described above
Click the Network button. The window shown above will appear.
Click the Reset to DHCP Address button.
5.4.4 Troubleshooting the Network Connection
1. Turn the printer off and connect a standard computer monitor and
keyboard to connections on the printer’s motherboard.
2. Turn the printer on. When the prompt “Press F1 to enter setup” appears,
press the <F1> key on the keyboard. You have about a second to do this.
3. A window will appear asking for a password. Type IP and press the
<Enter> key.
4. A list of commands will appear. Refresh the list by entering a ? (question
mark).
5. Make sure TCPIP is enabled. Type “TCPIP” <Enter> If TCPIP is disabled,
enter “TCPIP ENABLE” <Enter>.
6. Enter “IP” and the address e.g. “IP 198.1.63.123” <Enter>.
7. Type “Exit” <Enter>. Wait for the printer to complete its initialization.
8. From a PC on the
network, start a Command
Prompt window by clicking
Start – Run and entering
“cmd” in the box, then click
the OK button.
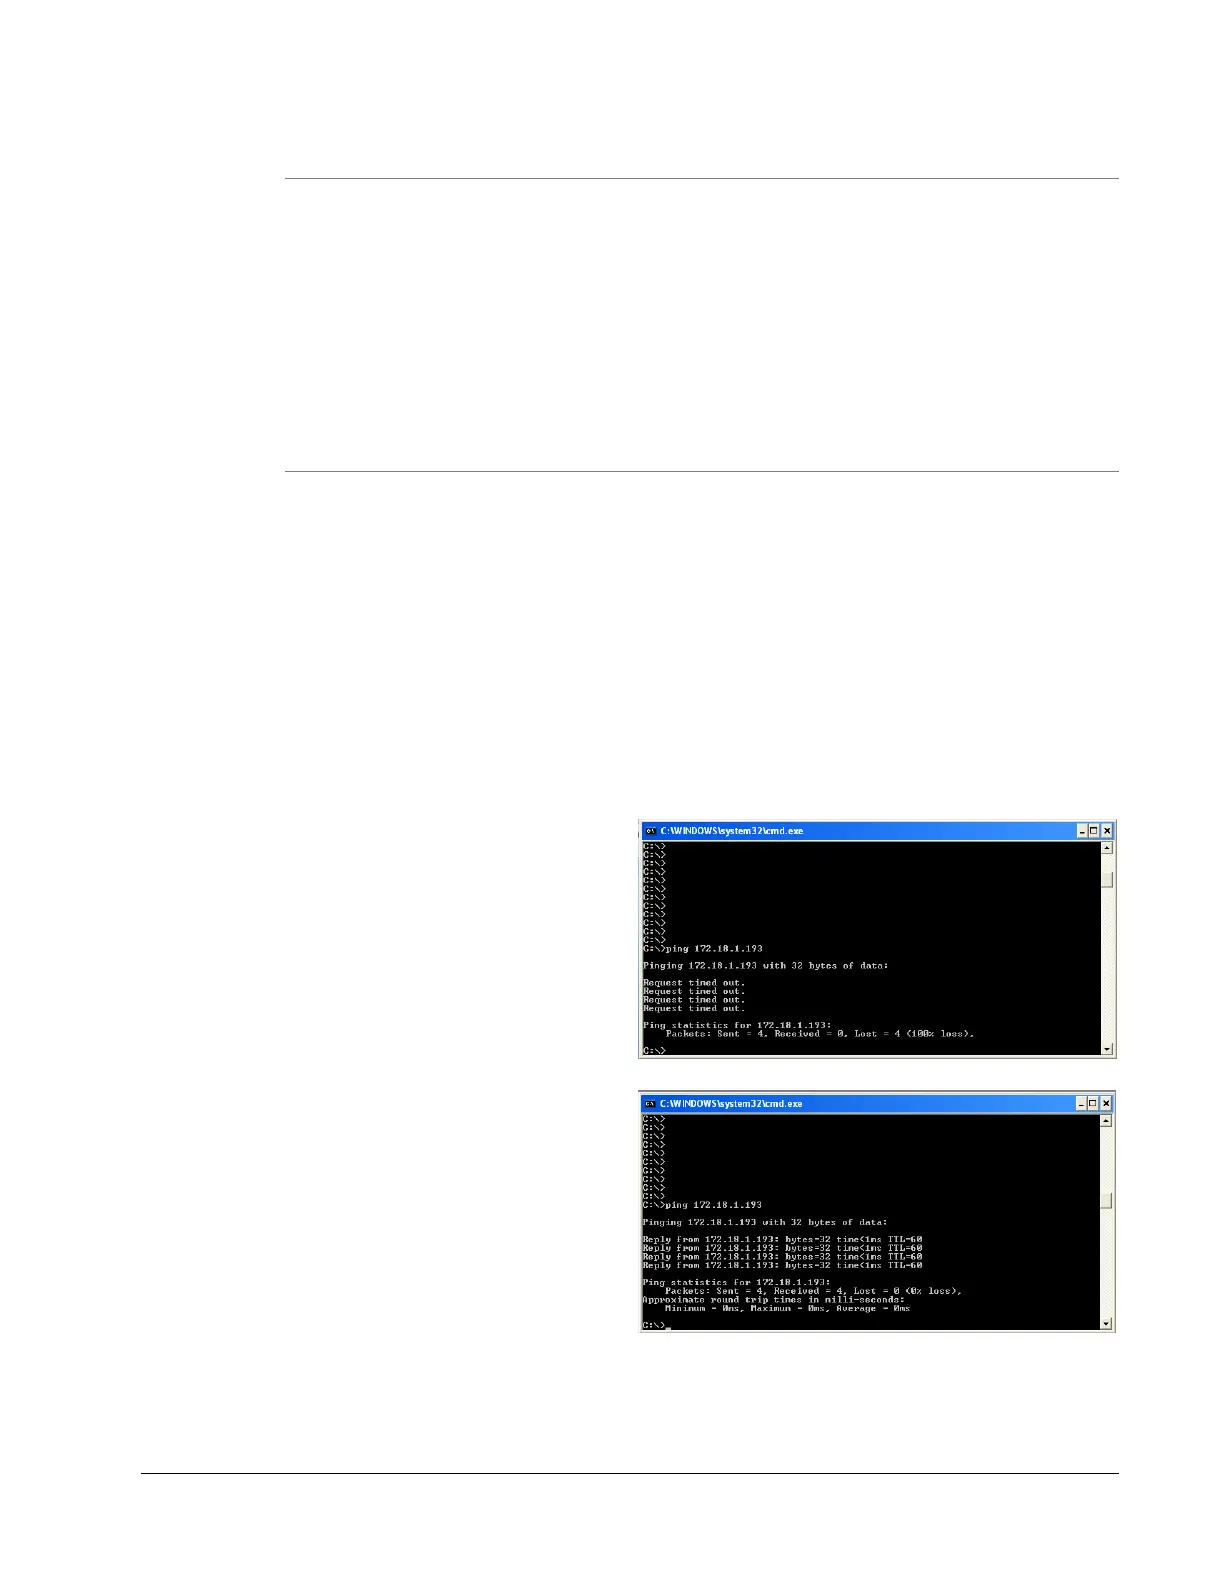
9. Ping the printer to test it. At
the command prompt enter
“ping” followed by the IP
address e.g. “ping
198.1.63.123” <Enter>.
10. The ping command will try
to contact the printer four
times. If there is a problem
with the connection, the
result will be “Request
timed out”
11. A successful ping looks like
this