26 User’s Manual—SNAP™ 700 Printer
Classification: Avery Dennison - Public
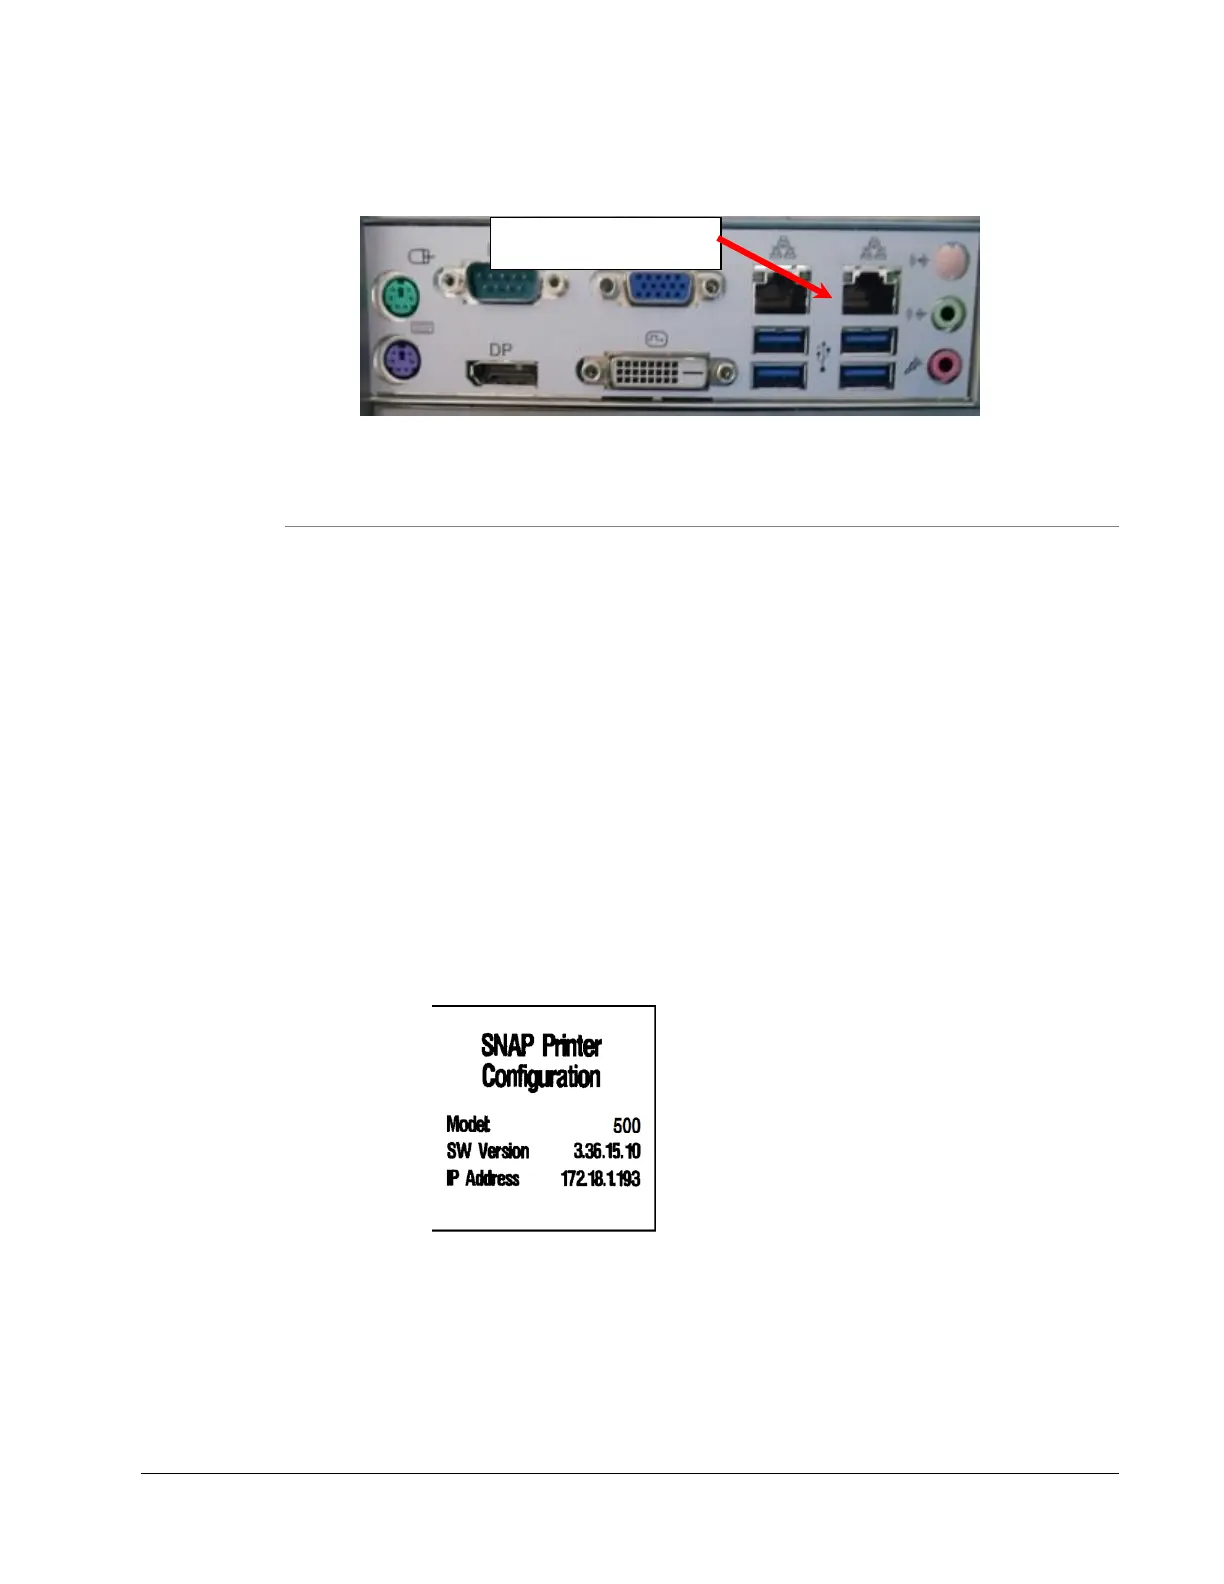
Newer motherboard:
3.7.3 Setting the Printer IP Address
DHCP process may take some time so wait at least one minute after the printer
finishes its initialization with the “Ready” light is on steady before continuing. Do
this only the first time a printer connects to the network.
1. Contact your Network Administrator to obtain a static IP address.
2. The default mode is DHCP mode. When attached to the network, the printer will
obtain a DHCP address from the network.
3. Find the DHCP address by printing a Network ID Test Label.
Press and hold the Voice Button until the printer says “Press Start for
Test Patterns.”
Press the Start Button
Press the Voice Button until you hear “Press Start for Custom Test
Pattern 1.”
Ensure only the top printhead is open.
Press the Start Button
Find the IP address on the resulting label.
4. Use a browser such as Internet Explorer and enter the printer’s IP address to
access the printer’s webserver. Enter the static IP address as described in
section 5.4.2.
5. If moving to another network, set the printer back into DHCP mode. See section
5.4.3 for instructions using the webserver.
6. See section 5.4.4 for troubleshooting tips on the network connection.