R5905754 /13 DPxK-32B 47
Image 4-18
If no, make sure that there is no anode adapter installed on the anode of the xenon lamp.
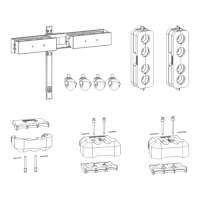
3. Install the anode wire lug (reference 7 Image 4-19) on the anode socket of the Lamp House as illustrated. Use
an open-end wrench of 22 mm to hold the first nut (reference 5 Image 4-19) while fastening the second nut
(reference 9 Image 4-19) with a torque of 25Nm (18.4 lbf*ft) using a torque wrench. Ensure that there is a flat
washer (reference 6 & 8 Image 4-19) at both sides of the wire lug (reference 7 Image 4-19).
Warning: A torque of 25Nm (18.4 lbf*ft) must be applied to fasten the nuts. Make sure that there is no
tension on the anode wire of the xenon lamp.
Caution: Do not tighten the first nut against the connector housing. There must be some play
(minimum 1 mm to maximum 4 mm). This is important to insert the Lamp House smoothly into the
projector
Note: Alter tightening the two nuts, the connector should still be “floating”.
Image 4-19
Tip: Write down the serial number of the xenon lamp. You will need this while updating the lamp
parameters after installation of the xenon lamp. The serial number of the xenon lamp is engraved in
the neck of the xenon lamp.
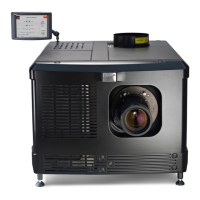
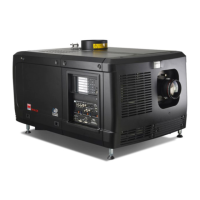
Lamp & Lamp House
 Loading...